How to View and Schedule Posts, Campaigns, Ads, and Broadcasts in the Calendar in Quick Hub
The calendar option inside Quick Hub is a great way to stay organized and view all your postings in one place. Follow the steps below to explore this feature:
- Go to Quick Hub.
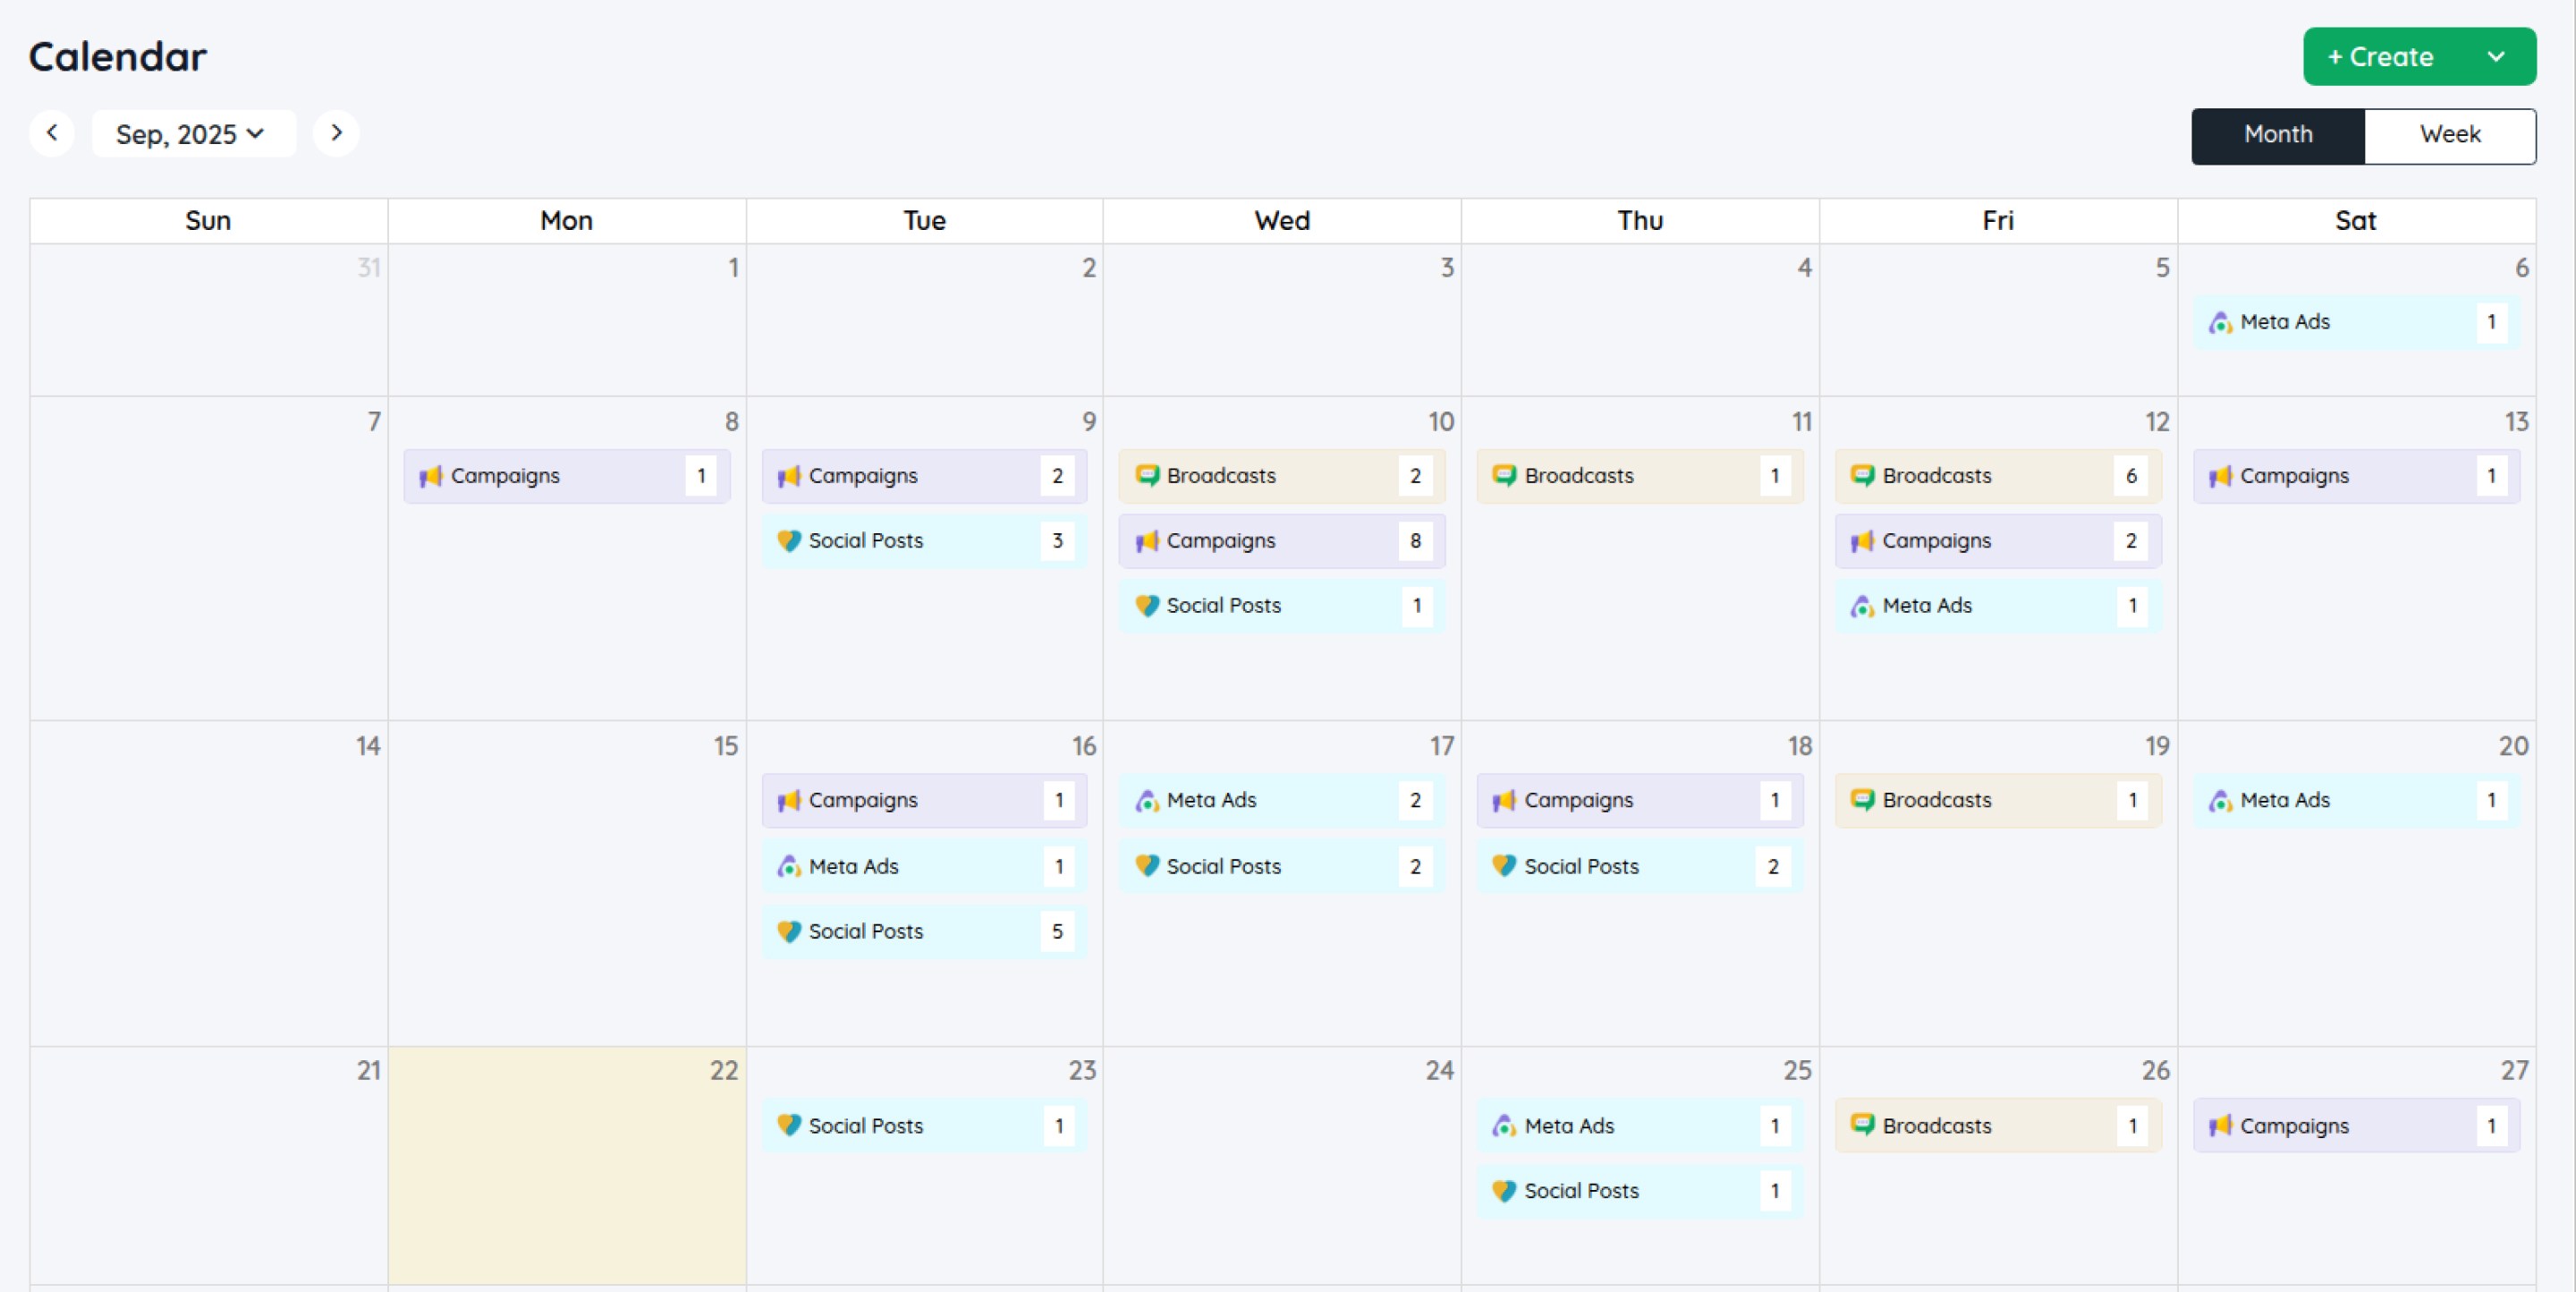
- Click on the Calendar option.
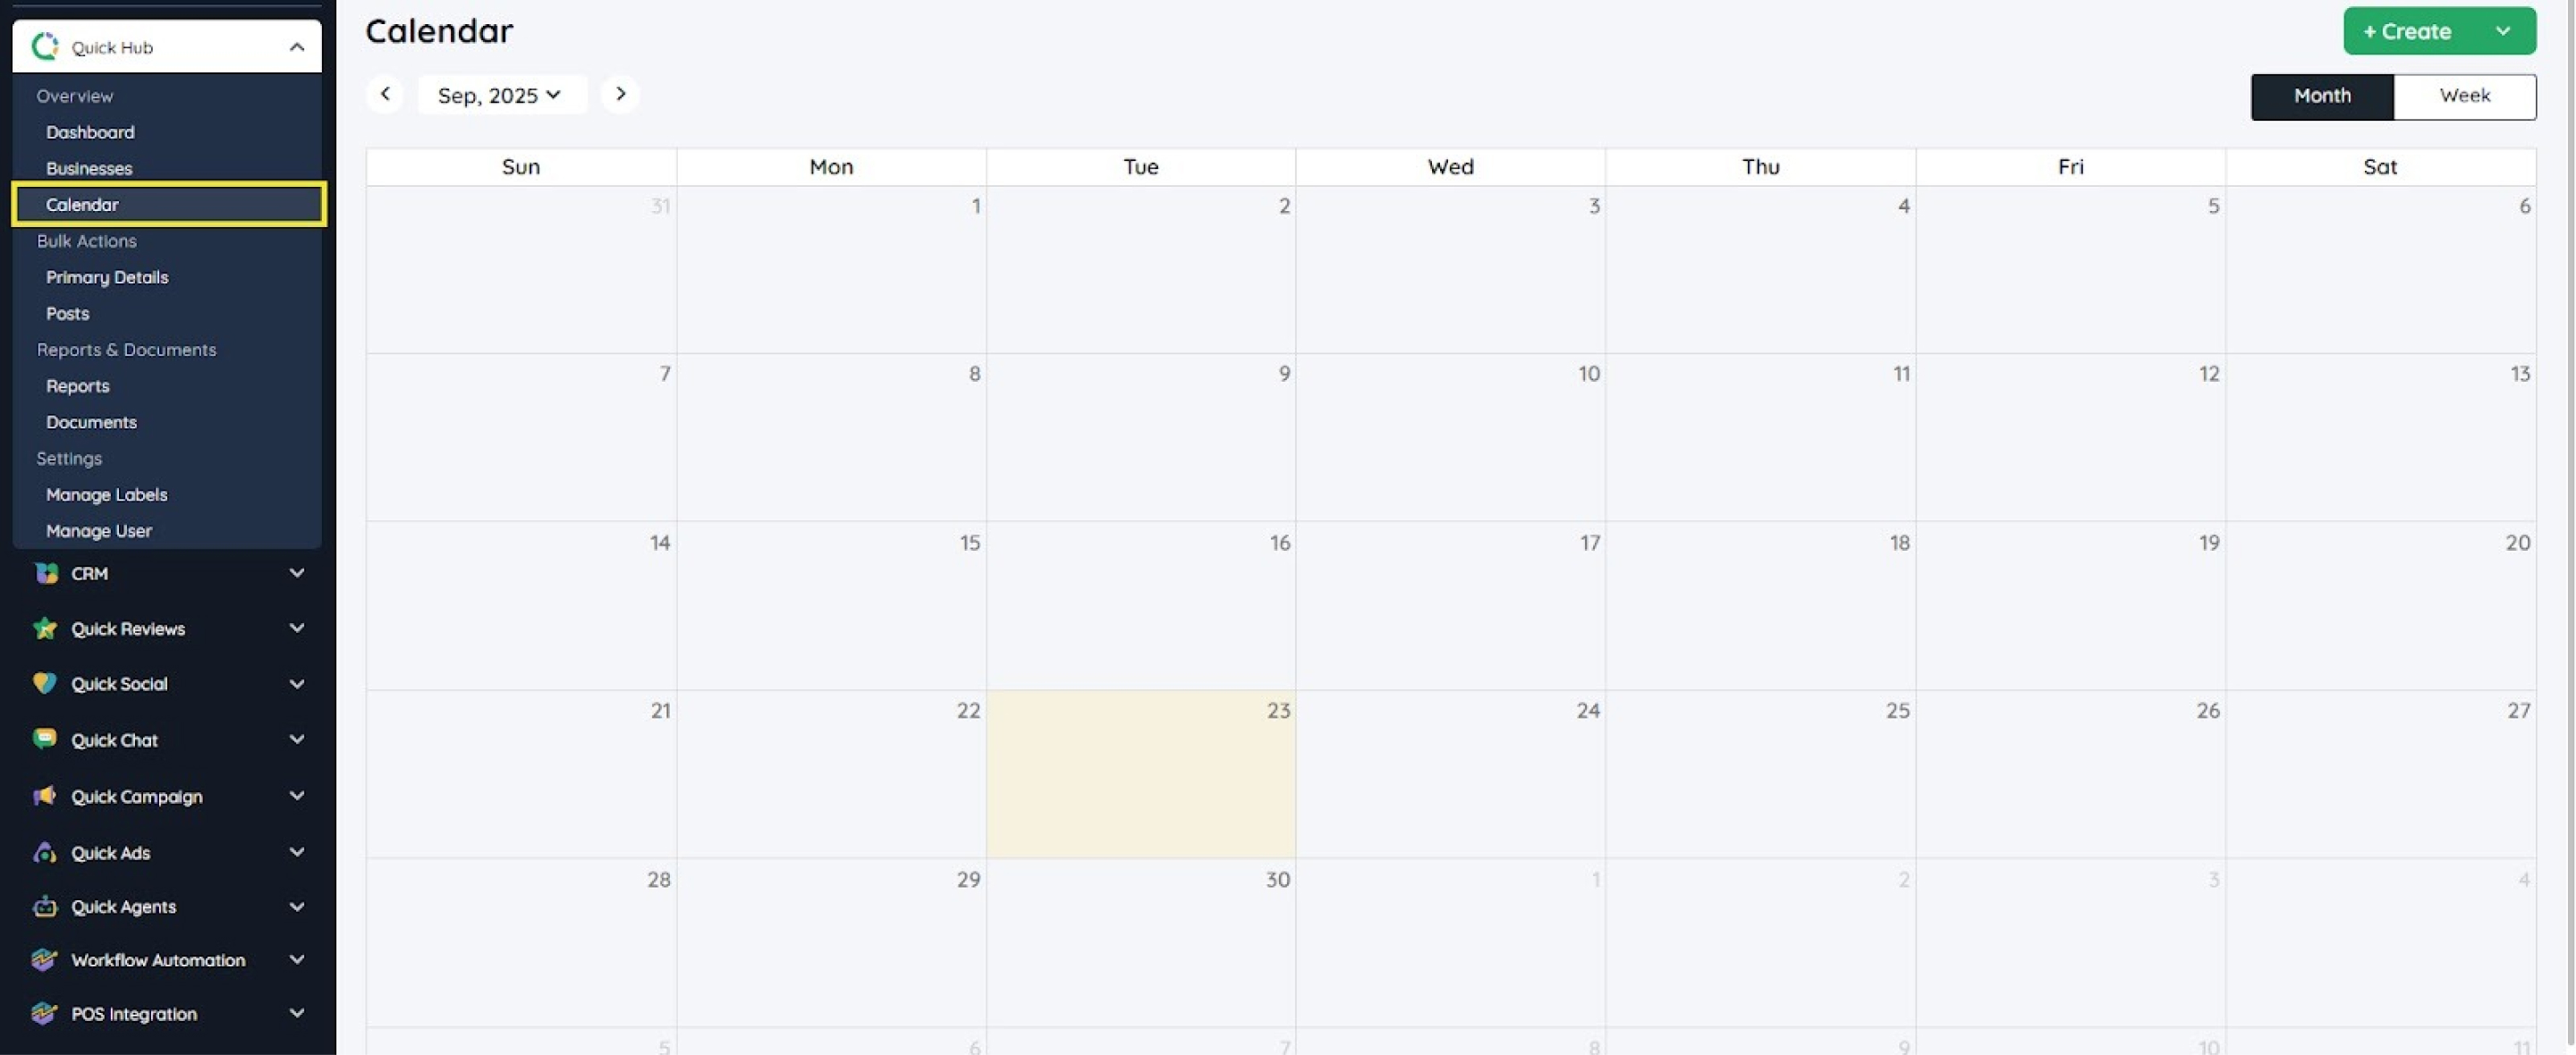
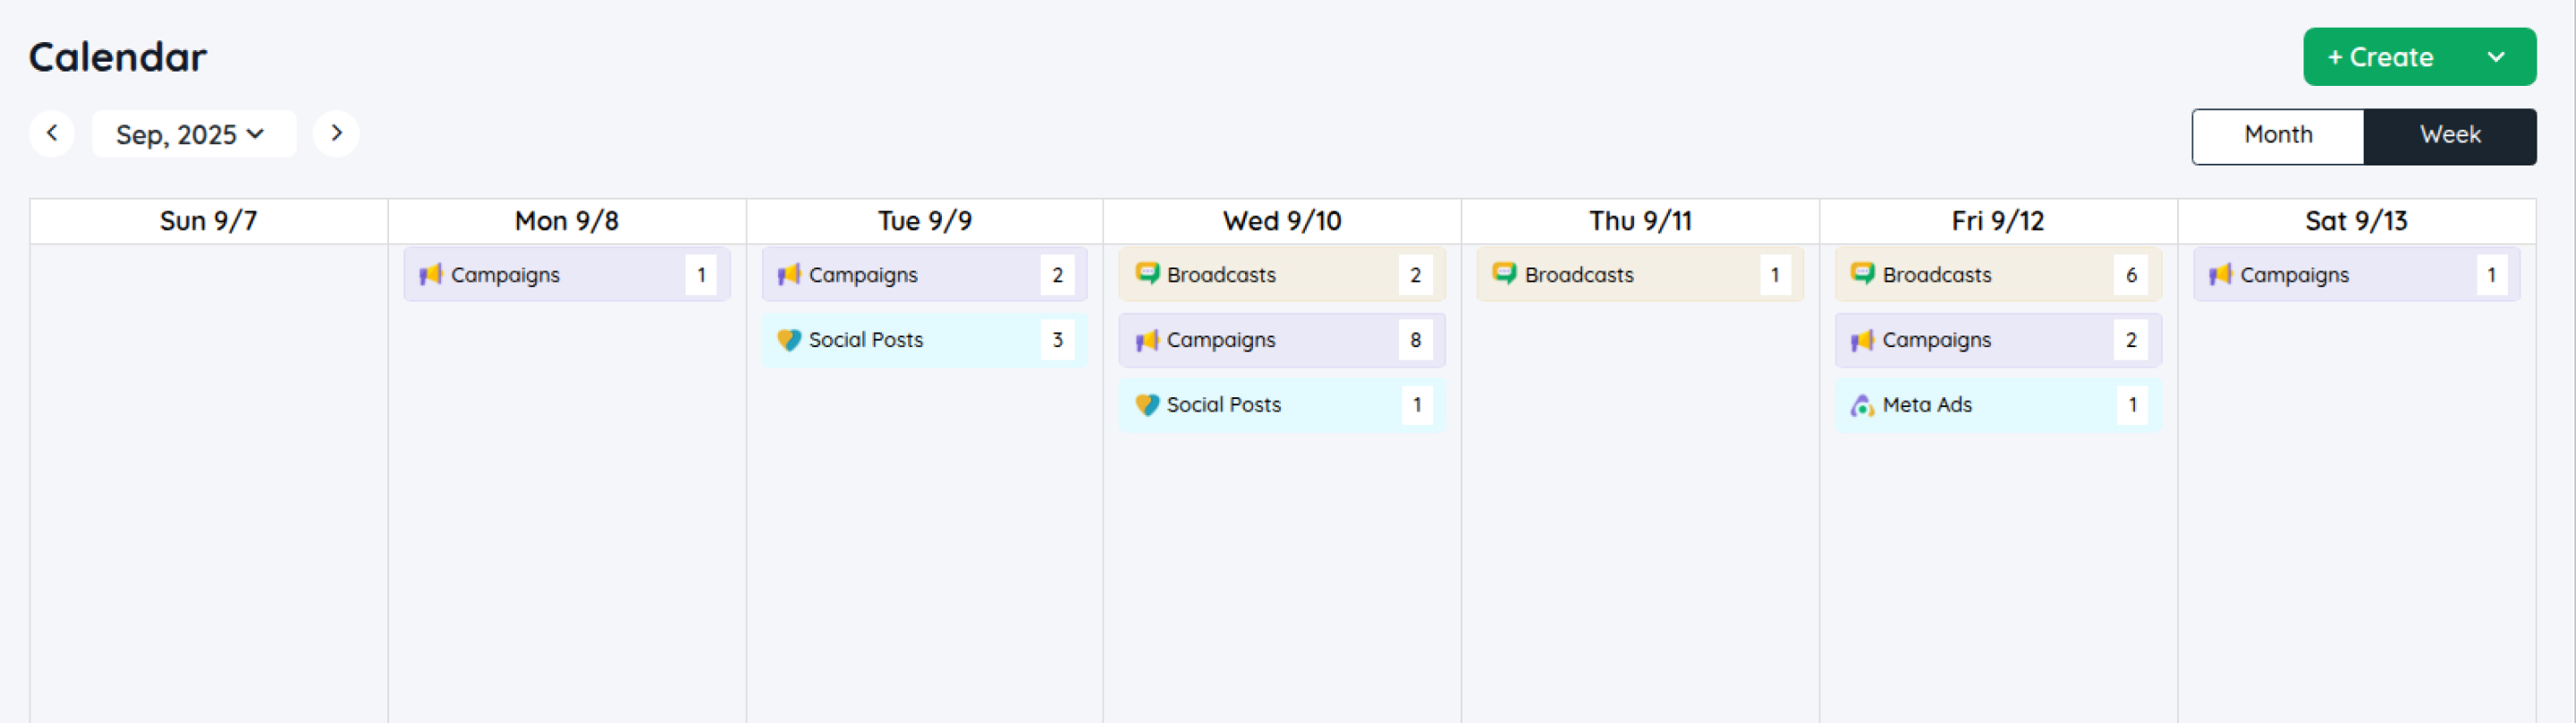
- Here, you’ll be able to view all activities—whether they’ve already been posted or are scheduled. You can view both monthly and weekly layouts.
- To create a post, campaign, ad, or broadcast, click the 'Create' option in the top right corner.

- For this example, let’s create and schedule a post. Click Create Post.
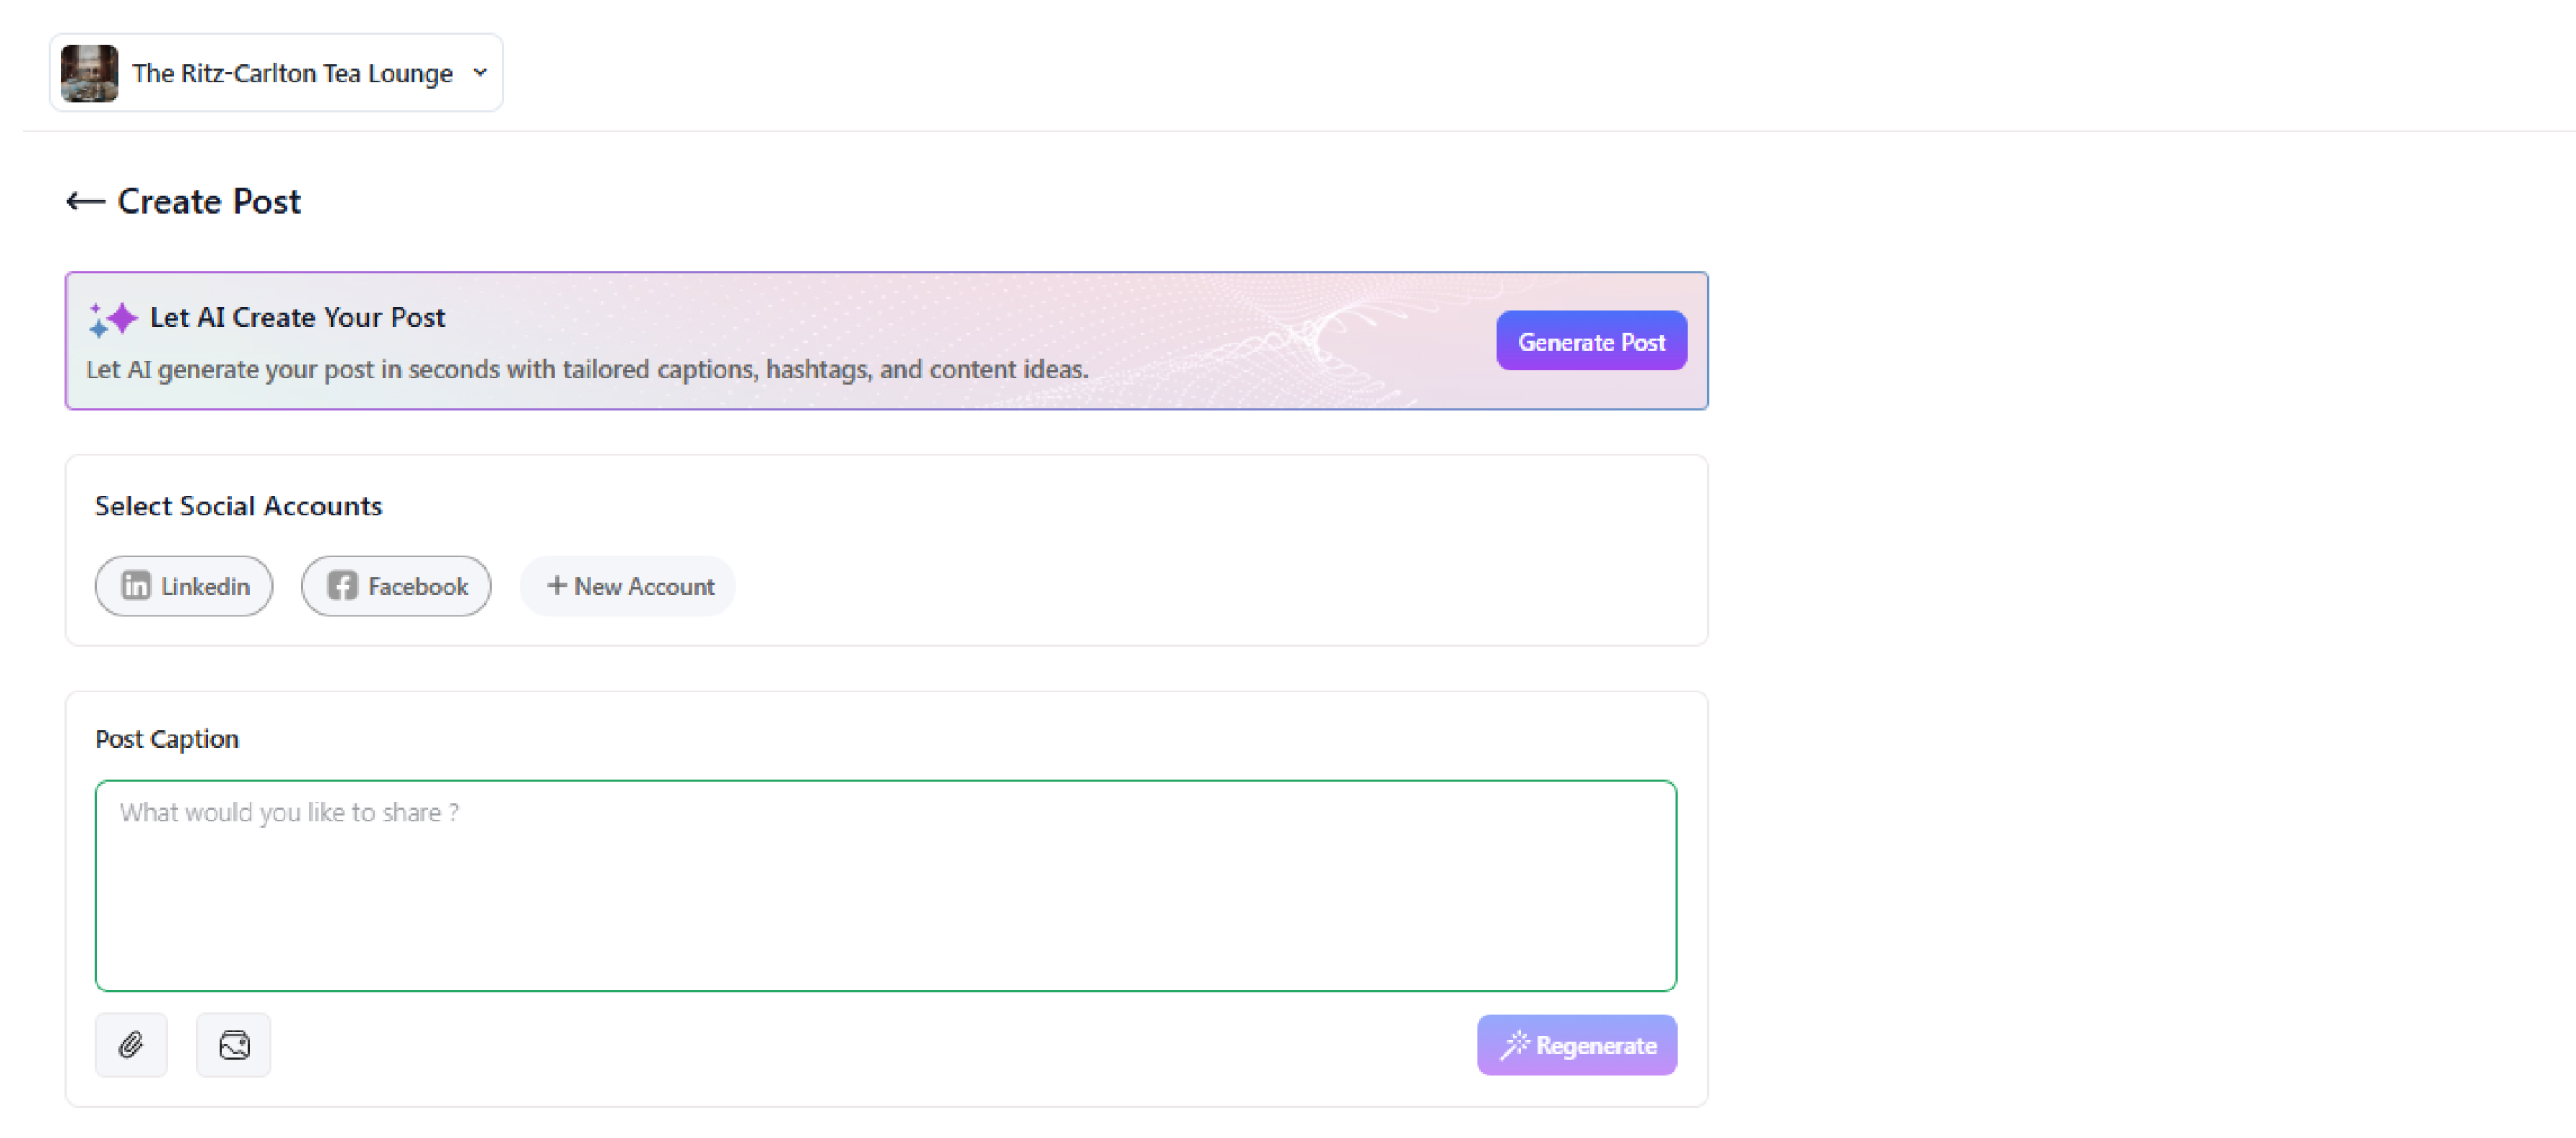
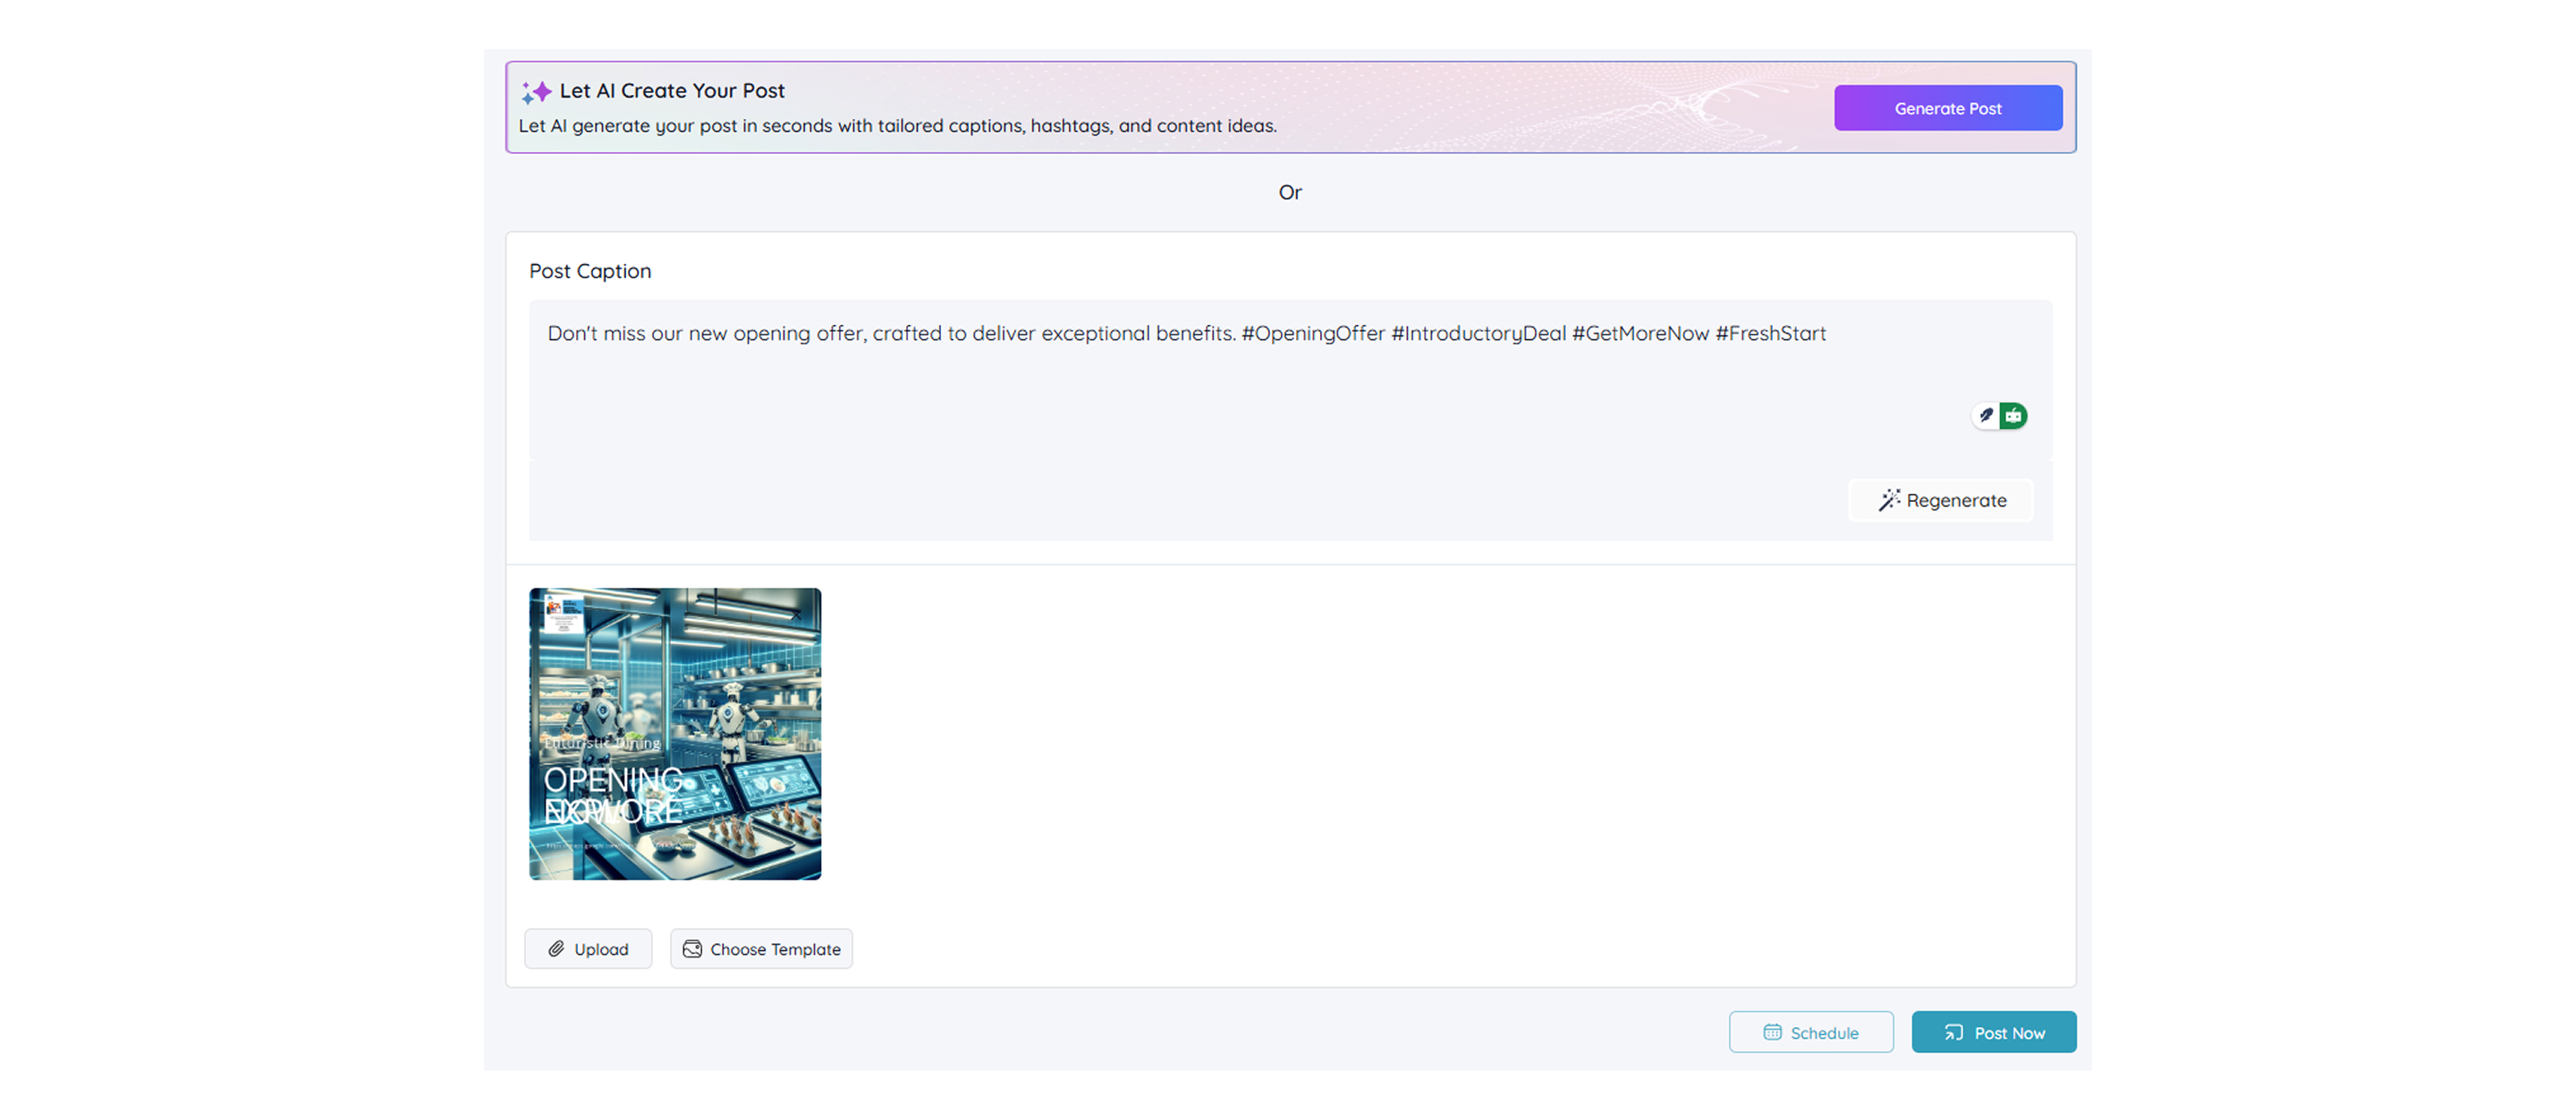
- Here, you can select and add the social media accounts where you want to publish the post.
- You also have the option to upload a pre-designed image, choose from our 100+ ready-made templates, or use AI to generate a fresh post.
- Let’s go through these steps one by one.
- To upload a pre-designed image, click Upload and select the image you like.
- Click 'Choose Template' to select a template, then click 'Create Post.'

- On the next screen, which is the Edit Template tab, you will be able to edit the template details, such as the text and image.
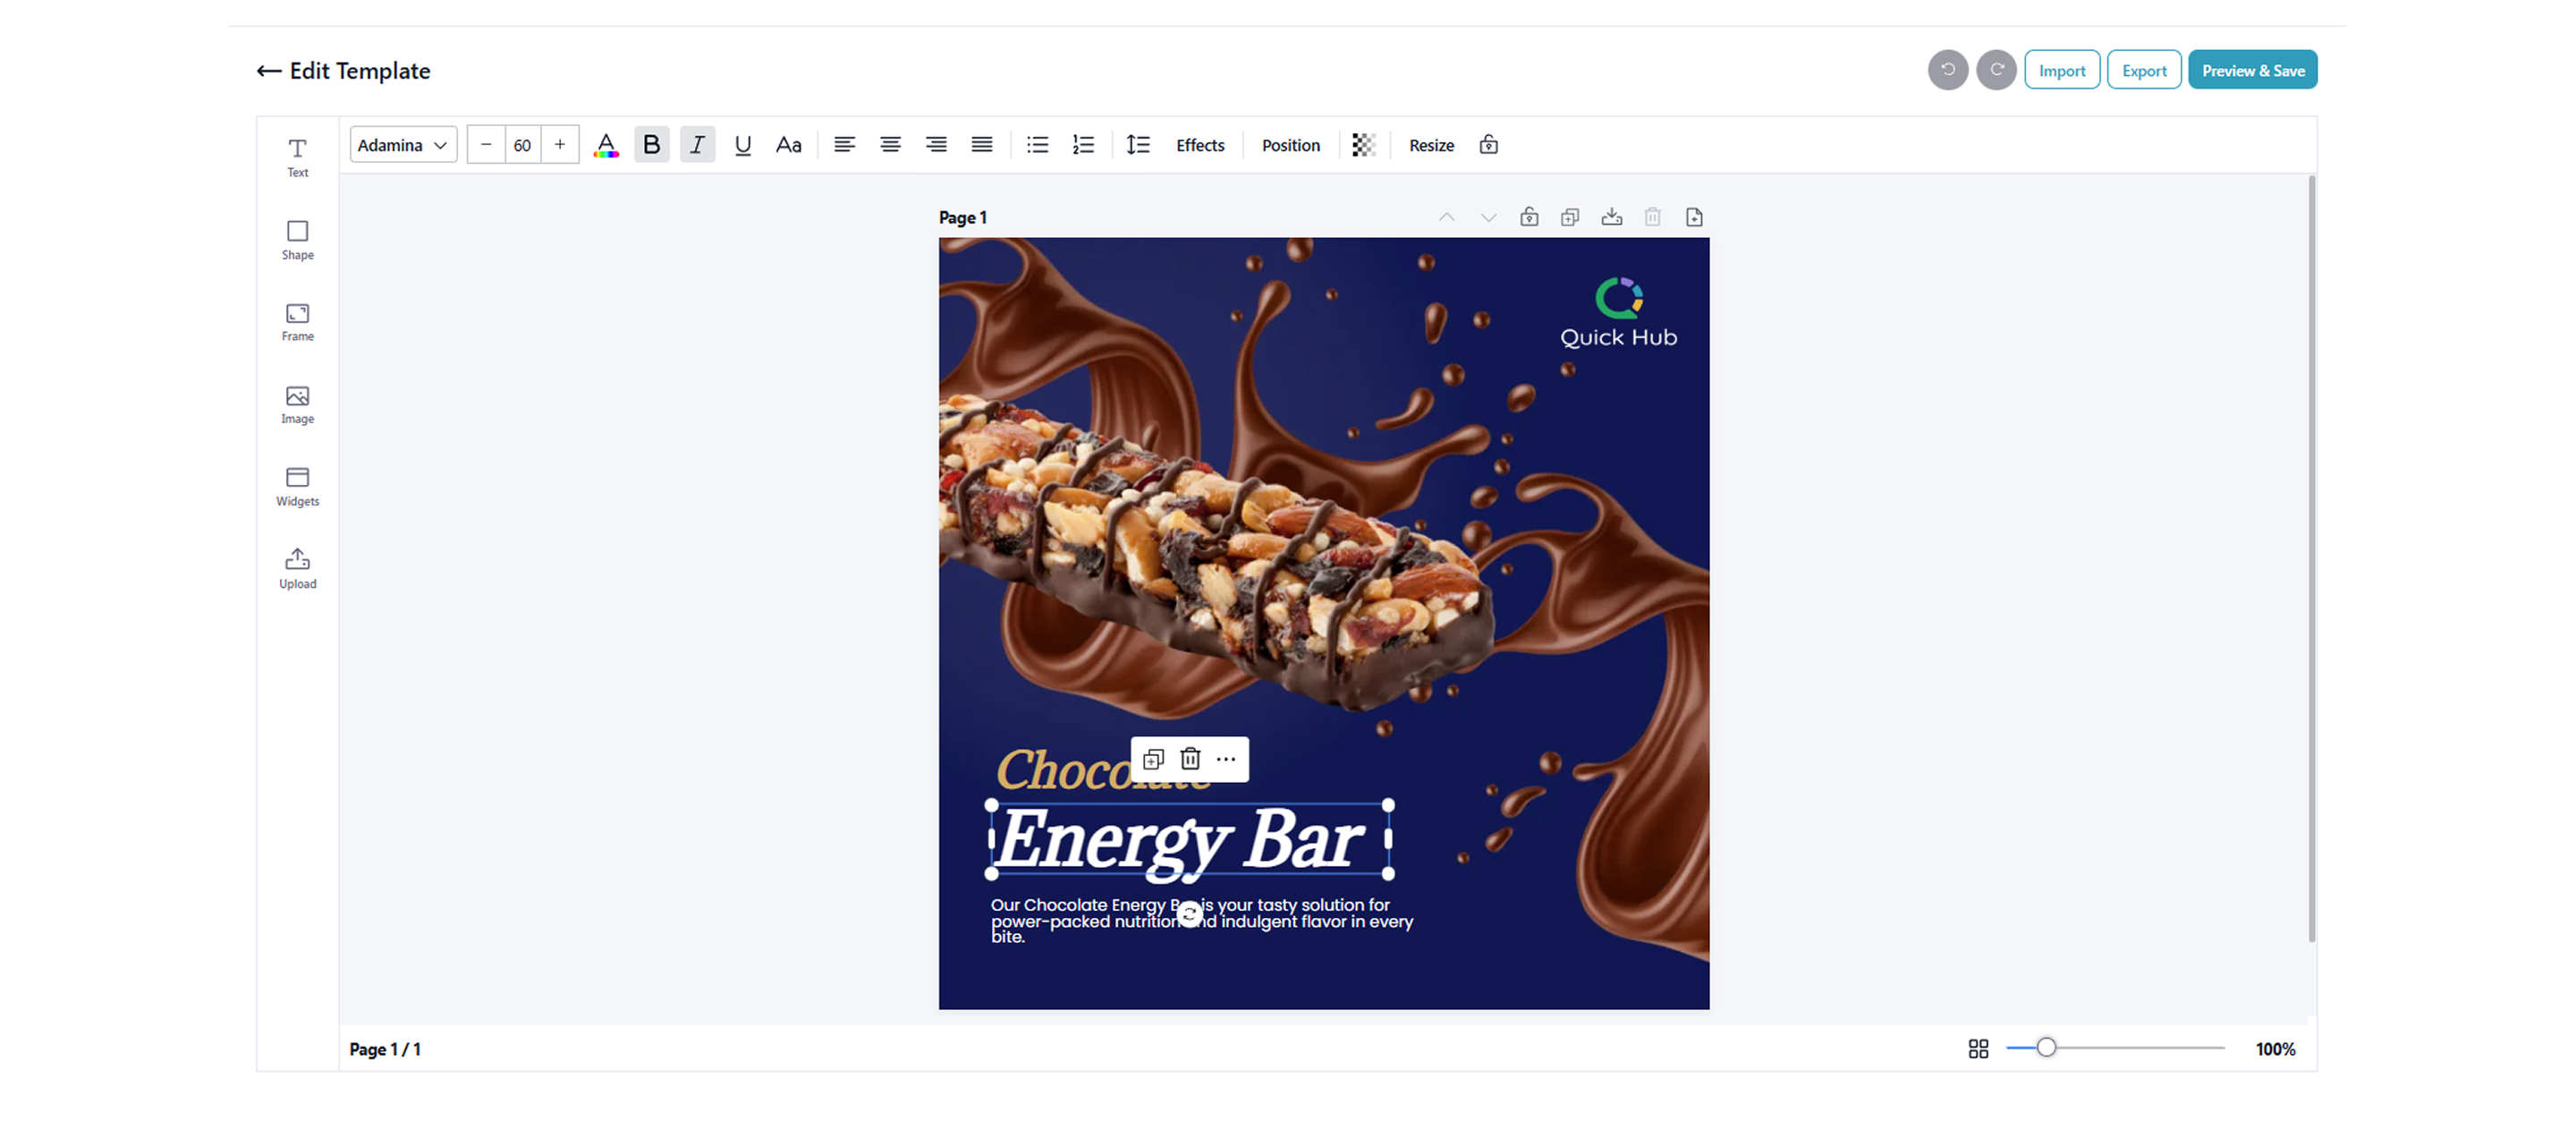
- Once you have finished editing, click Next.
- To create a post with the help of AI, click Generate Post.

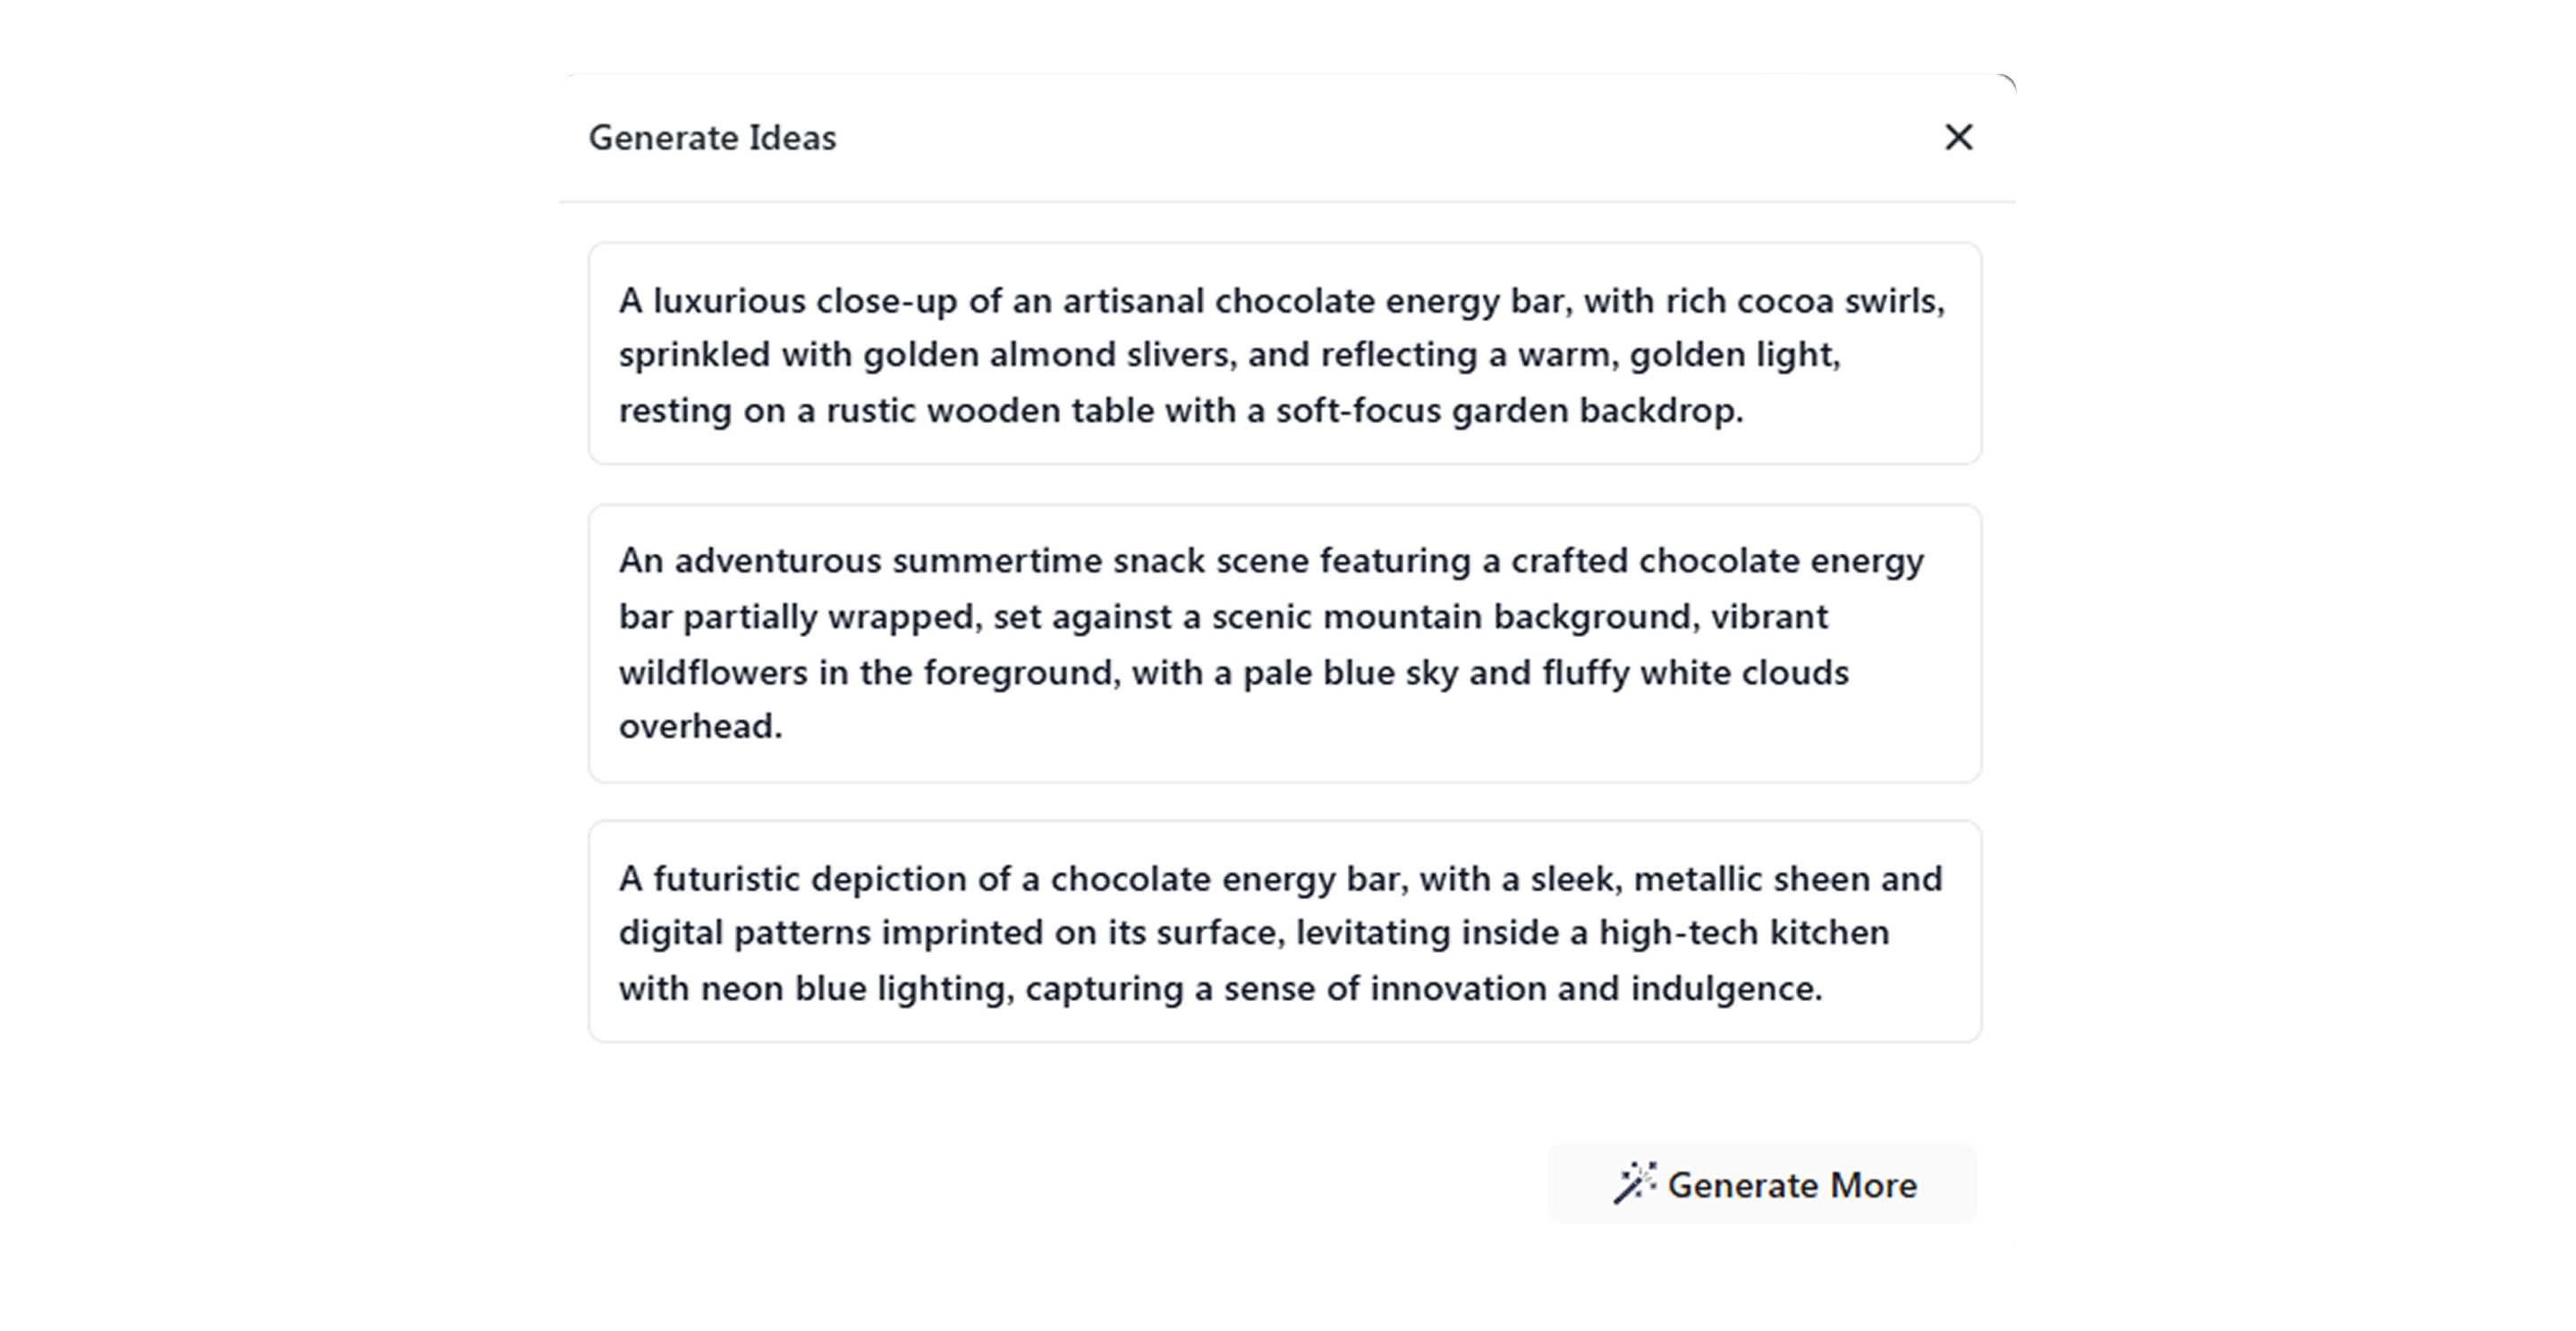
- Here, enter a few keywords describing your image, and click Surprise me to let the AI suggest a prompt.

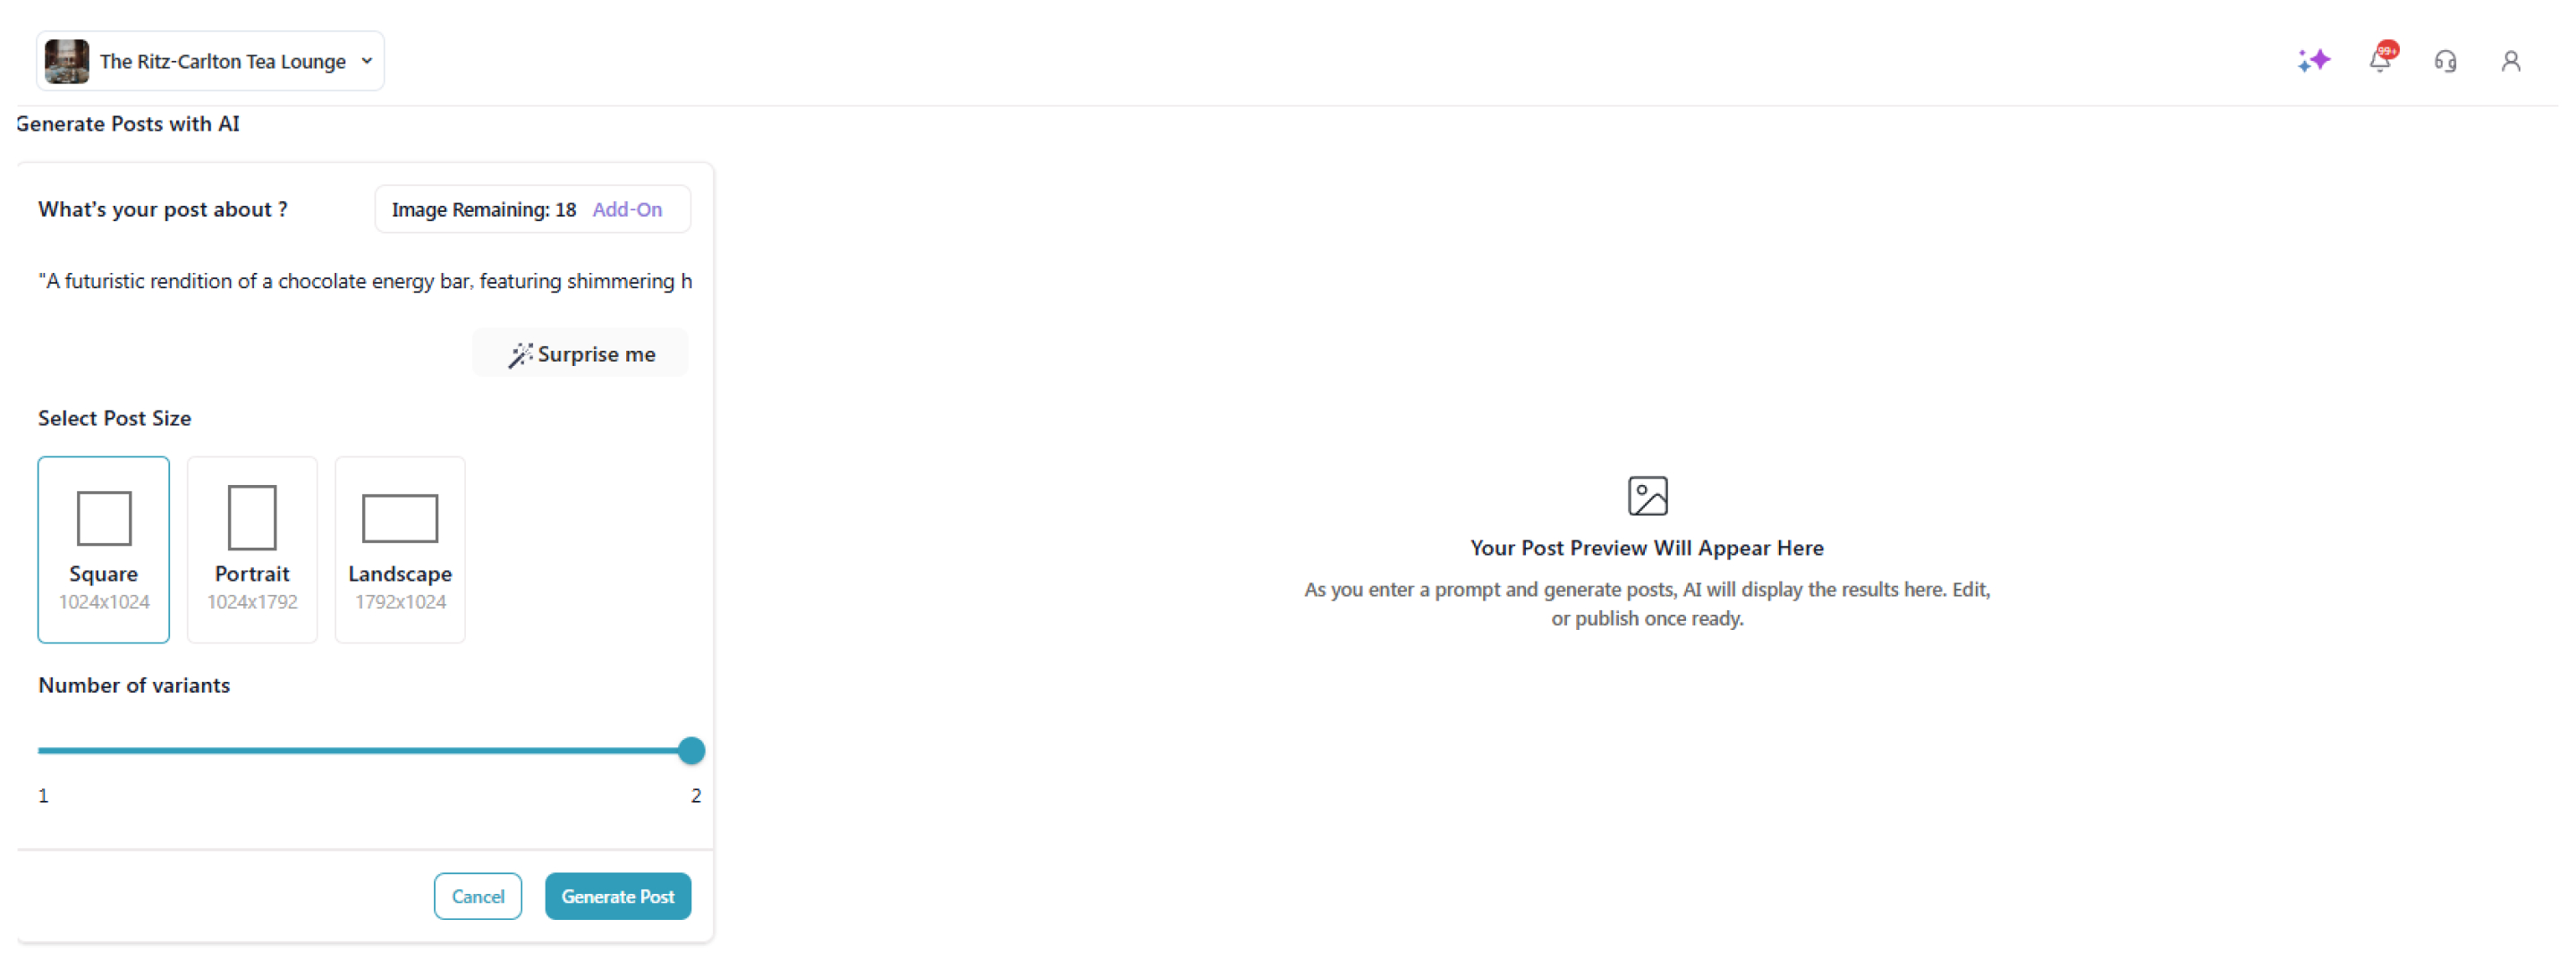
- After selecting the prompt, choose the post size and number of variants, then click 'Generate Post.'
- The AI will generate two variants for your prompt. Click Use this Template to proceed.
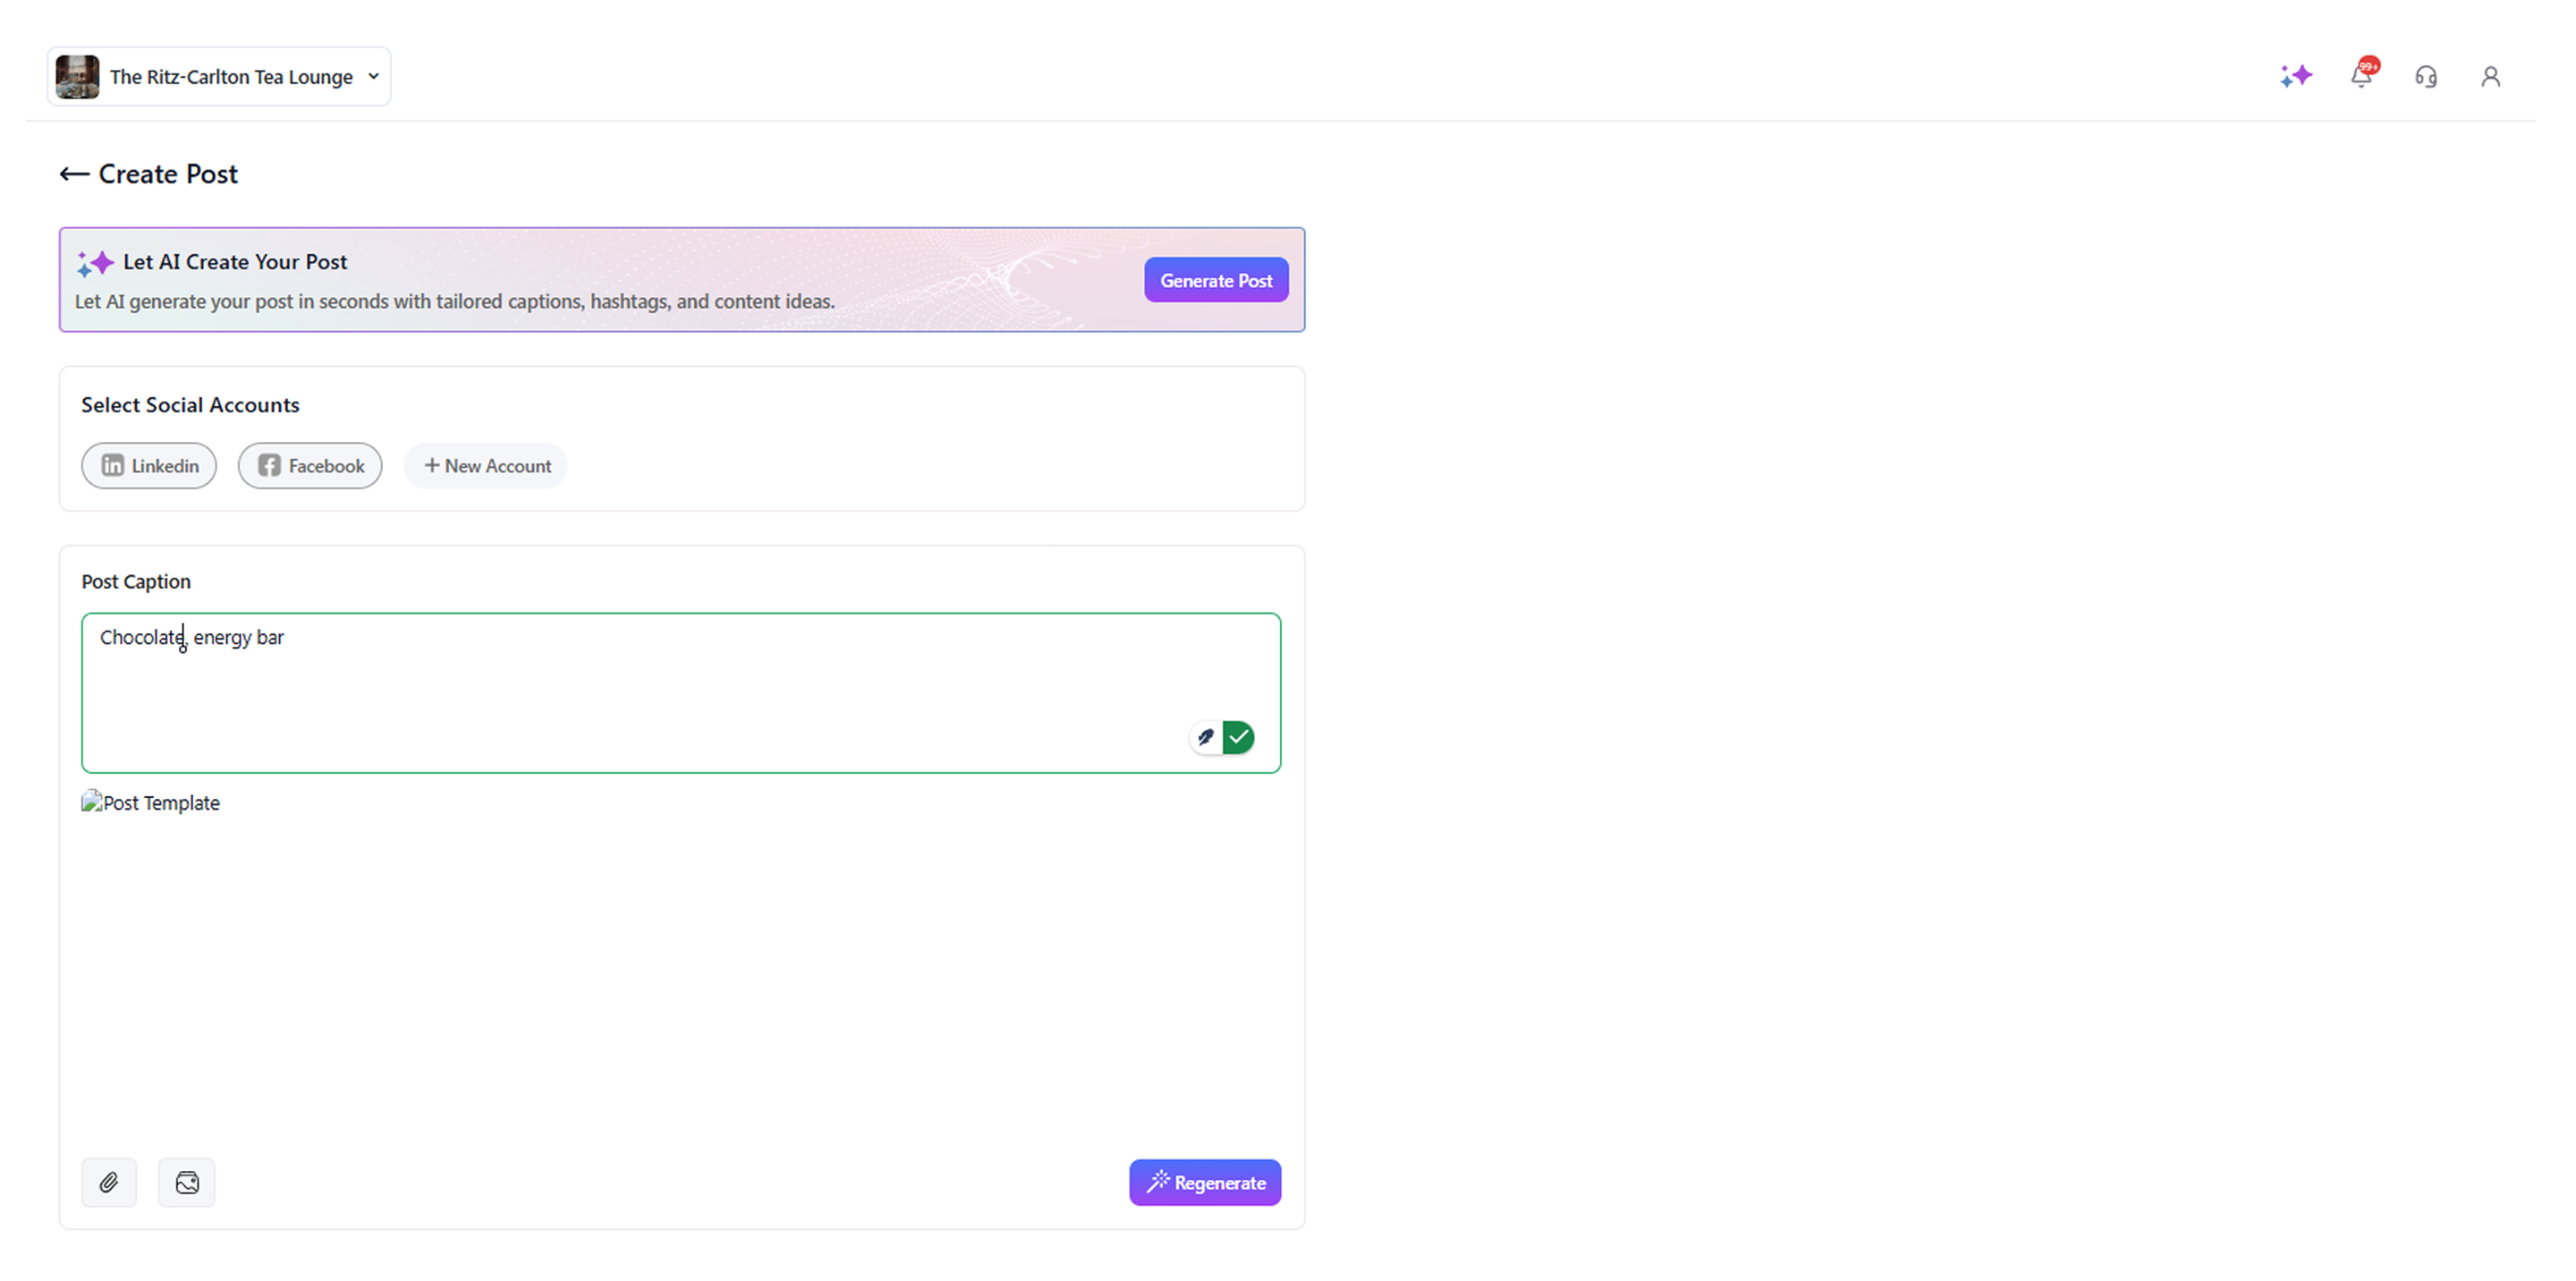
- To auto-generate a post caption, write a few keywords for the post and click Regenerate.
-
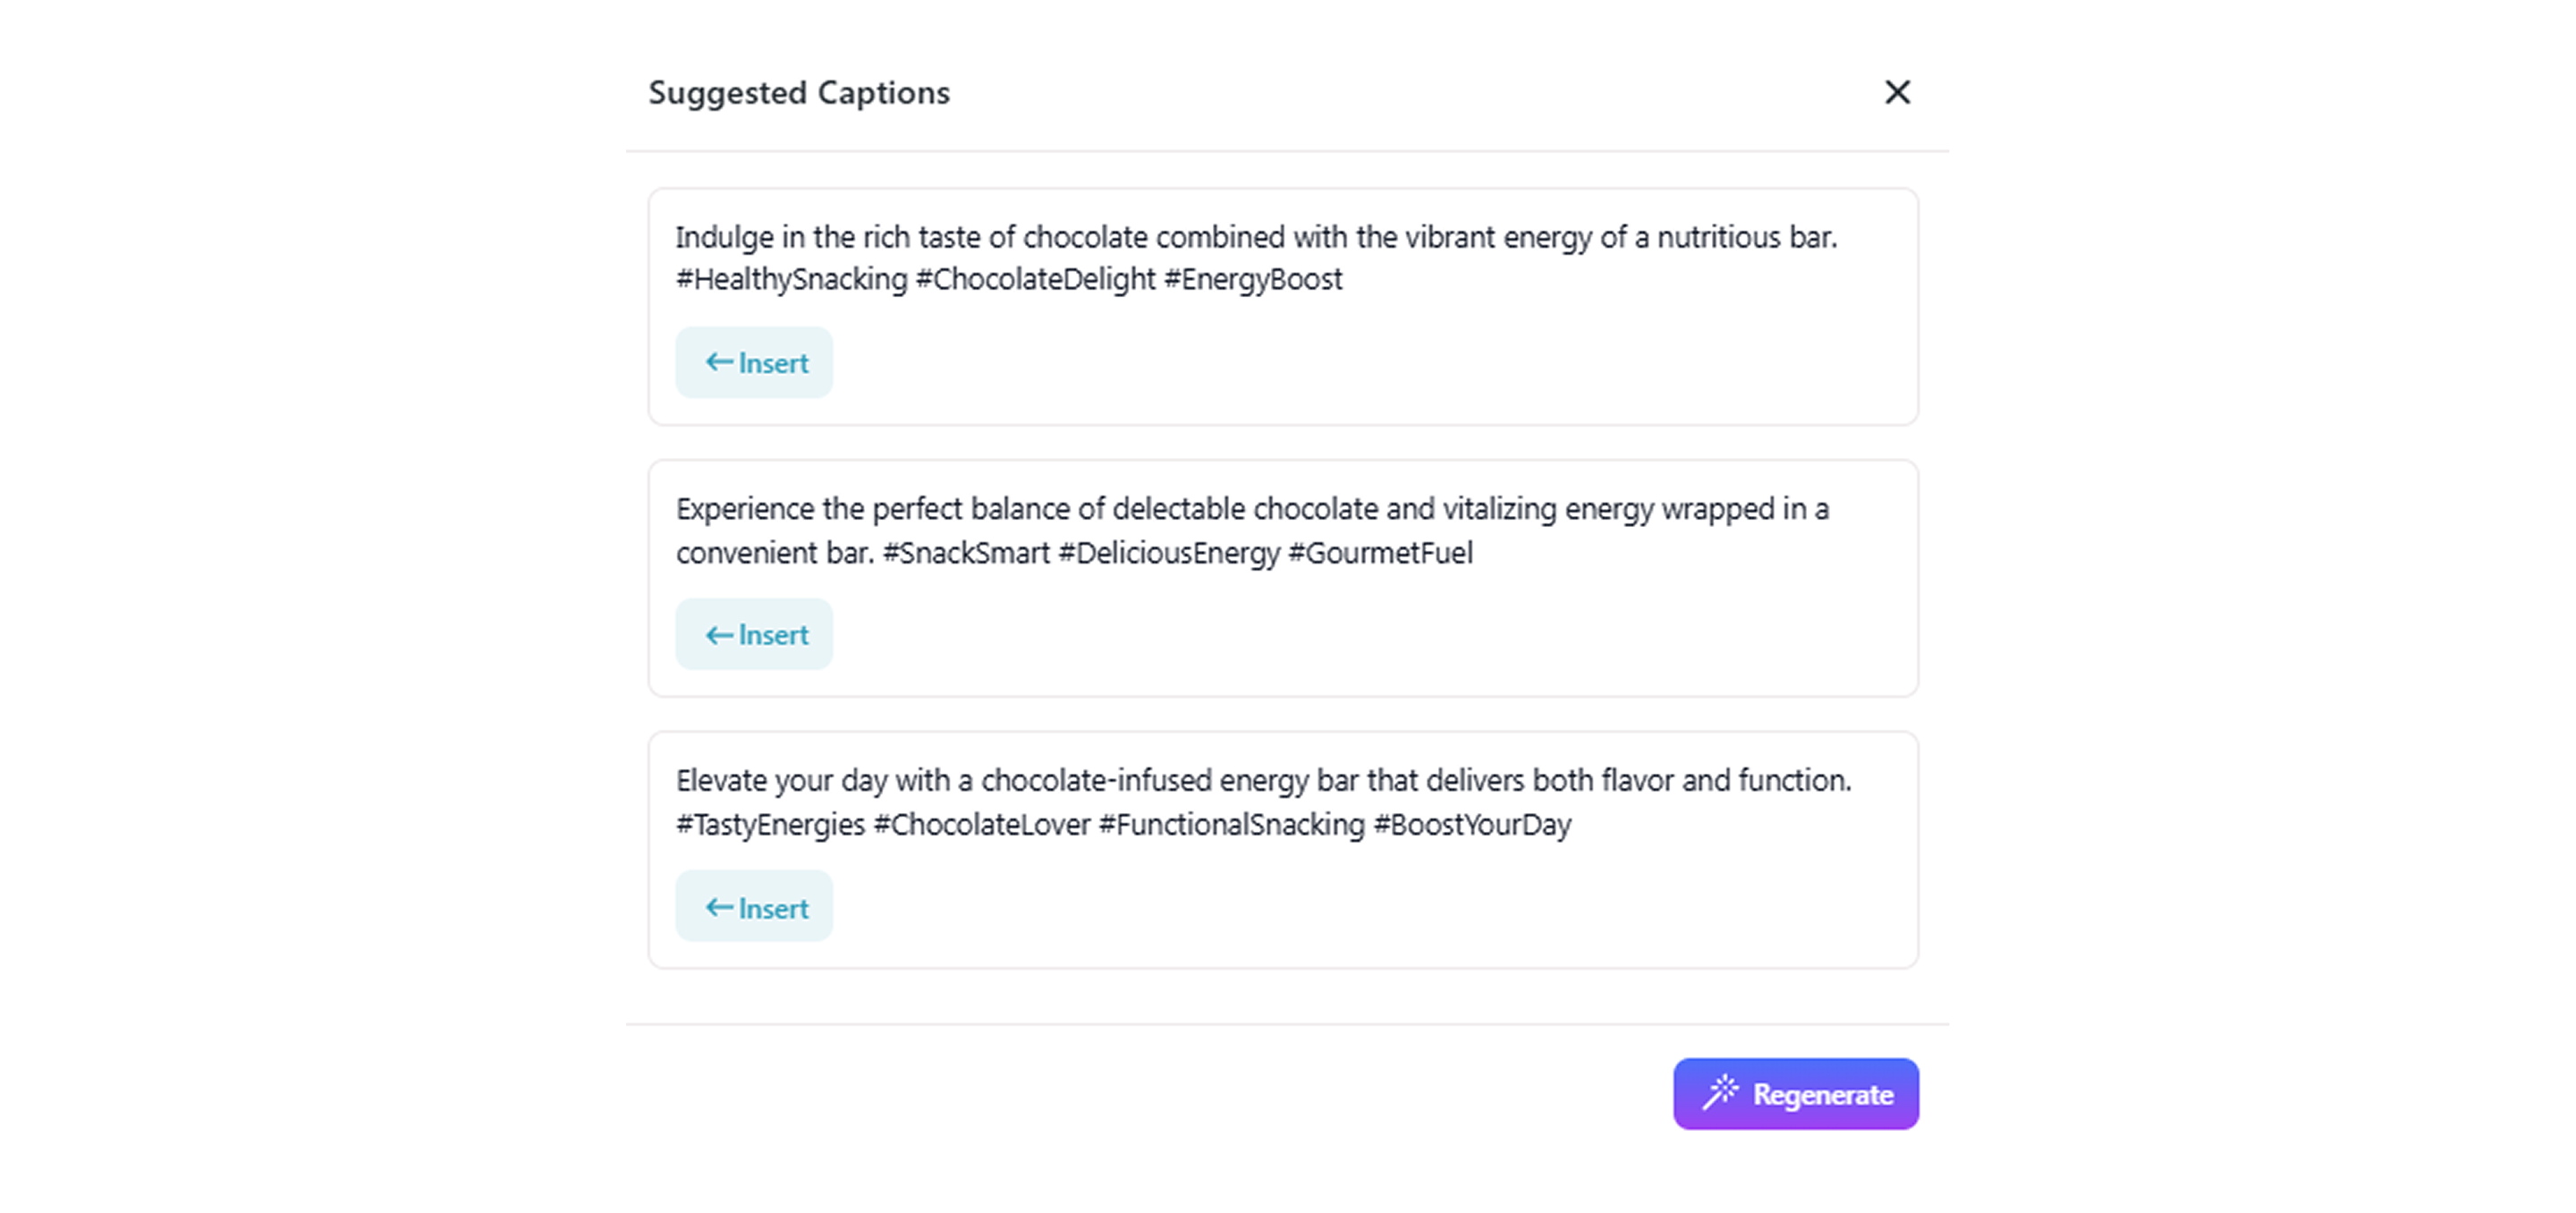
Click 'Insert' to add the post caption.
-
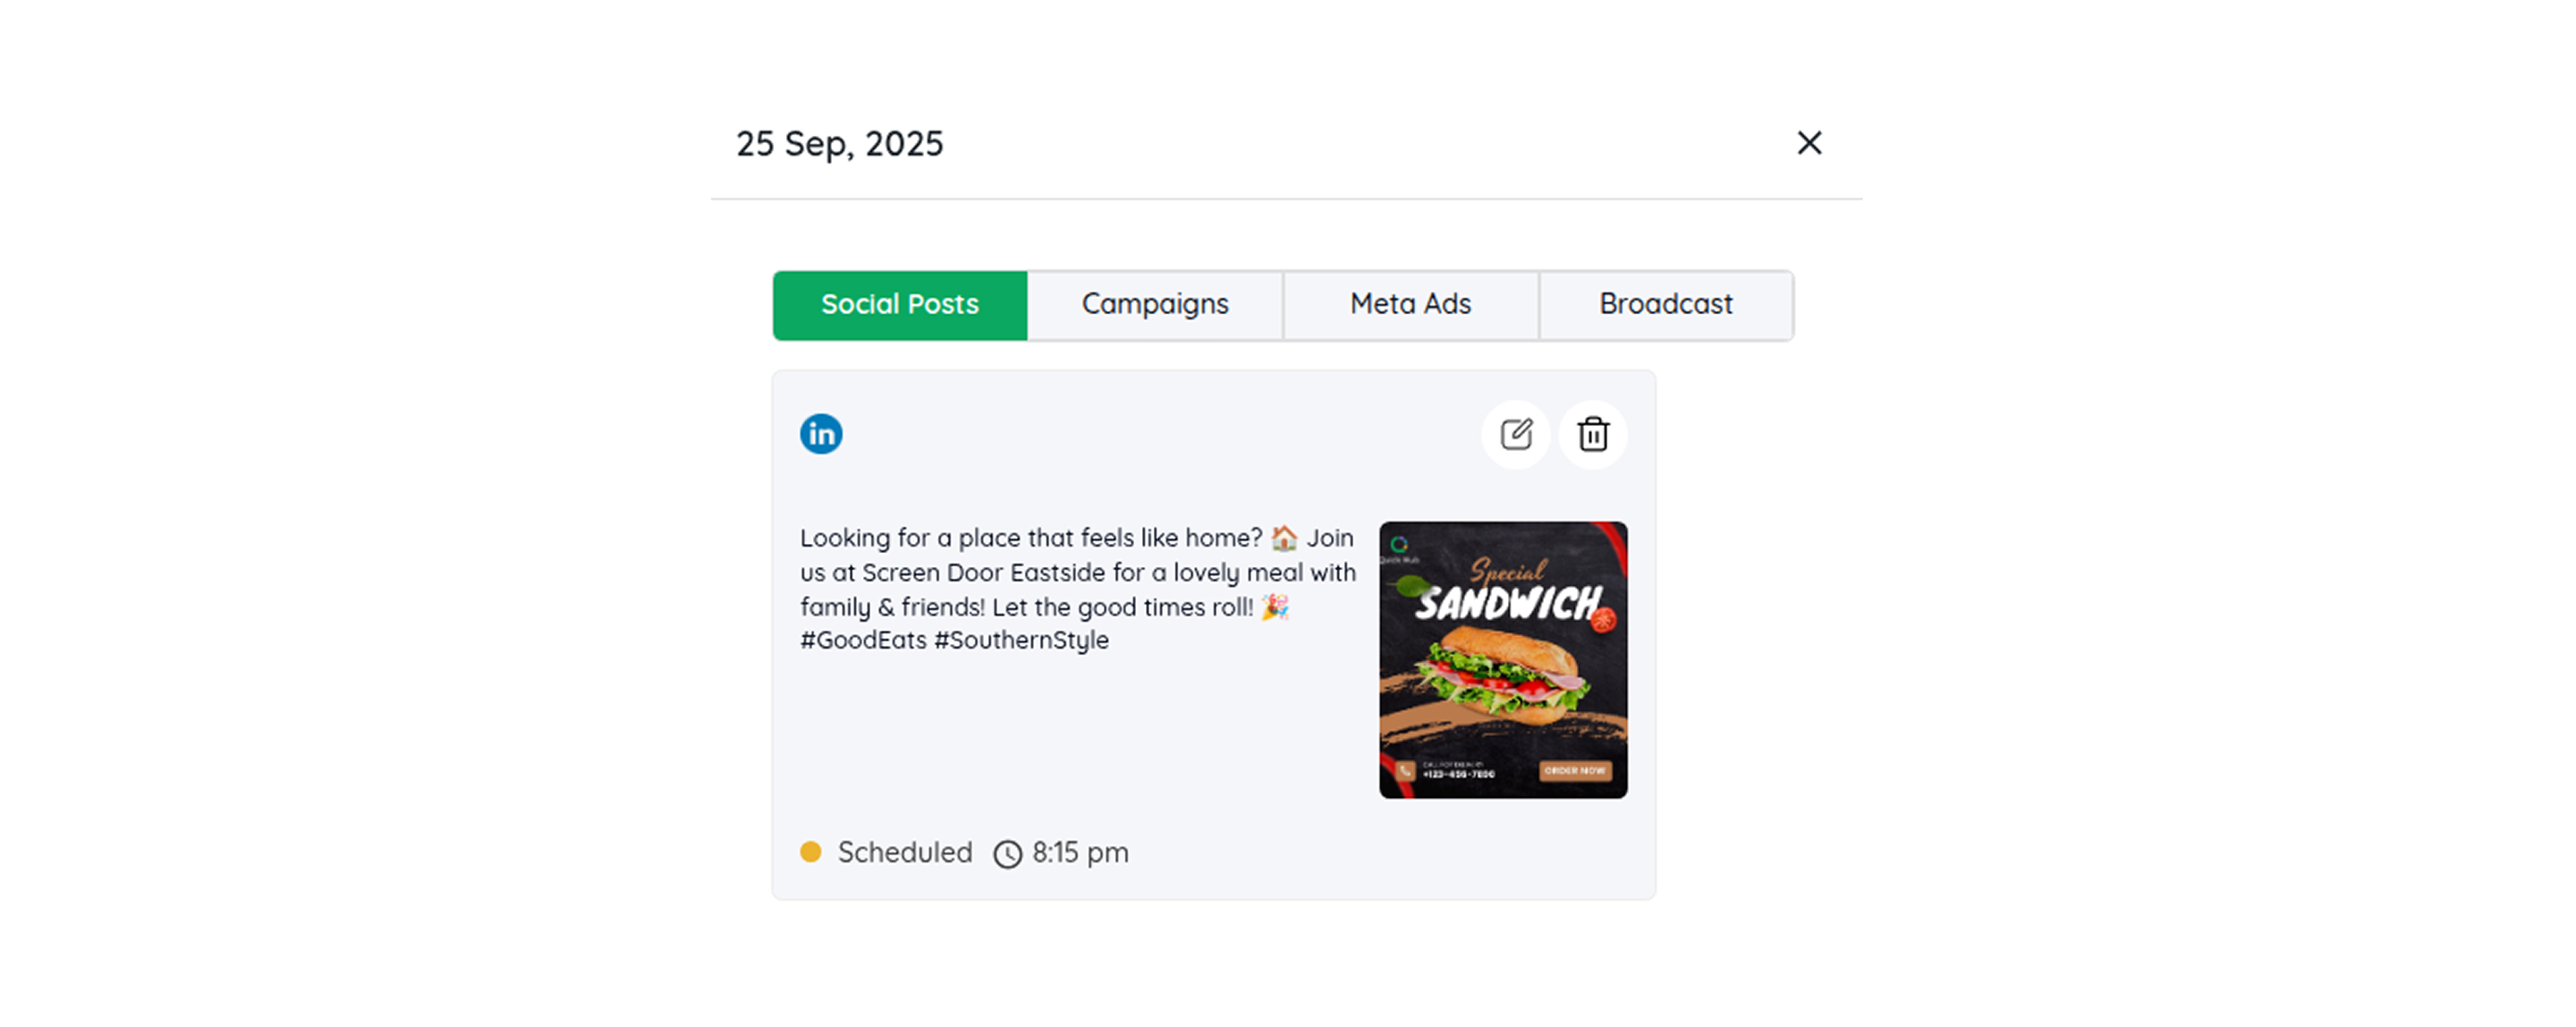
To schedule a post, click on the Schedule option and select a date and time.

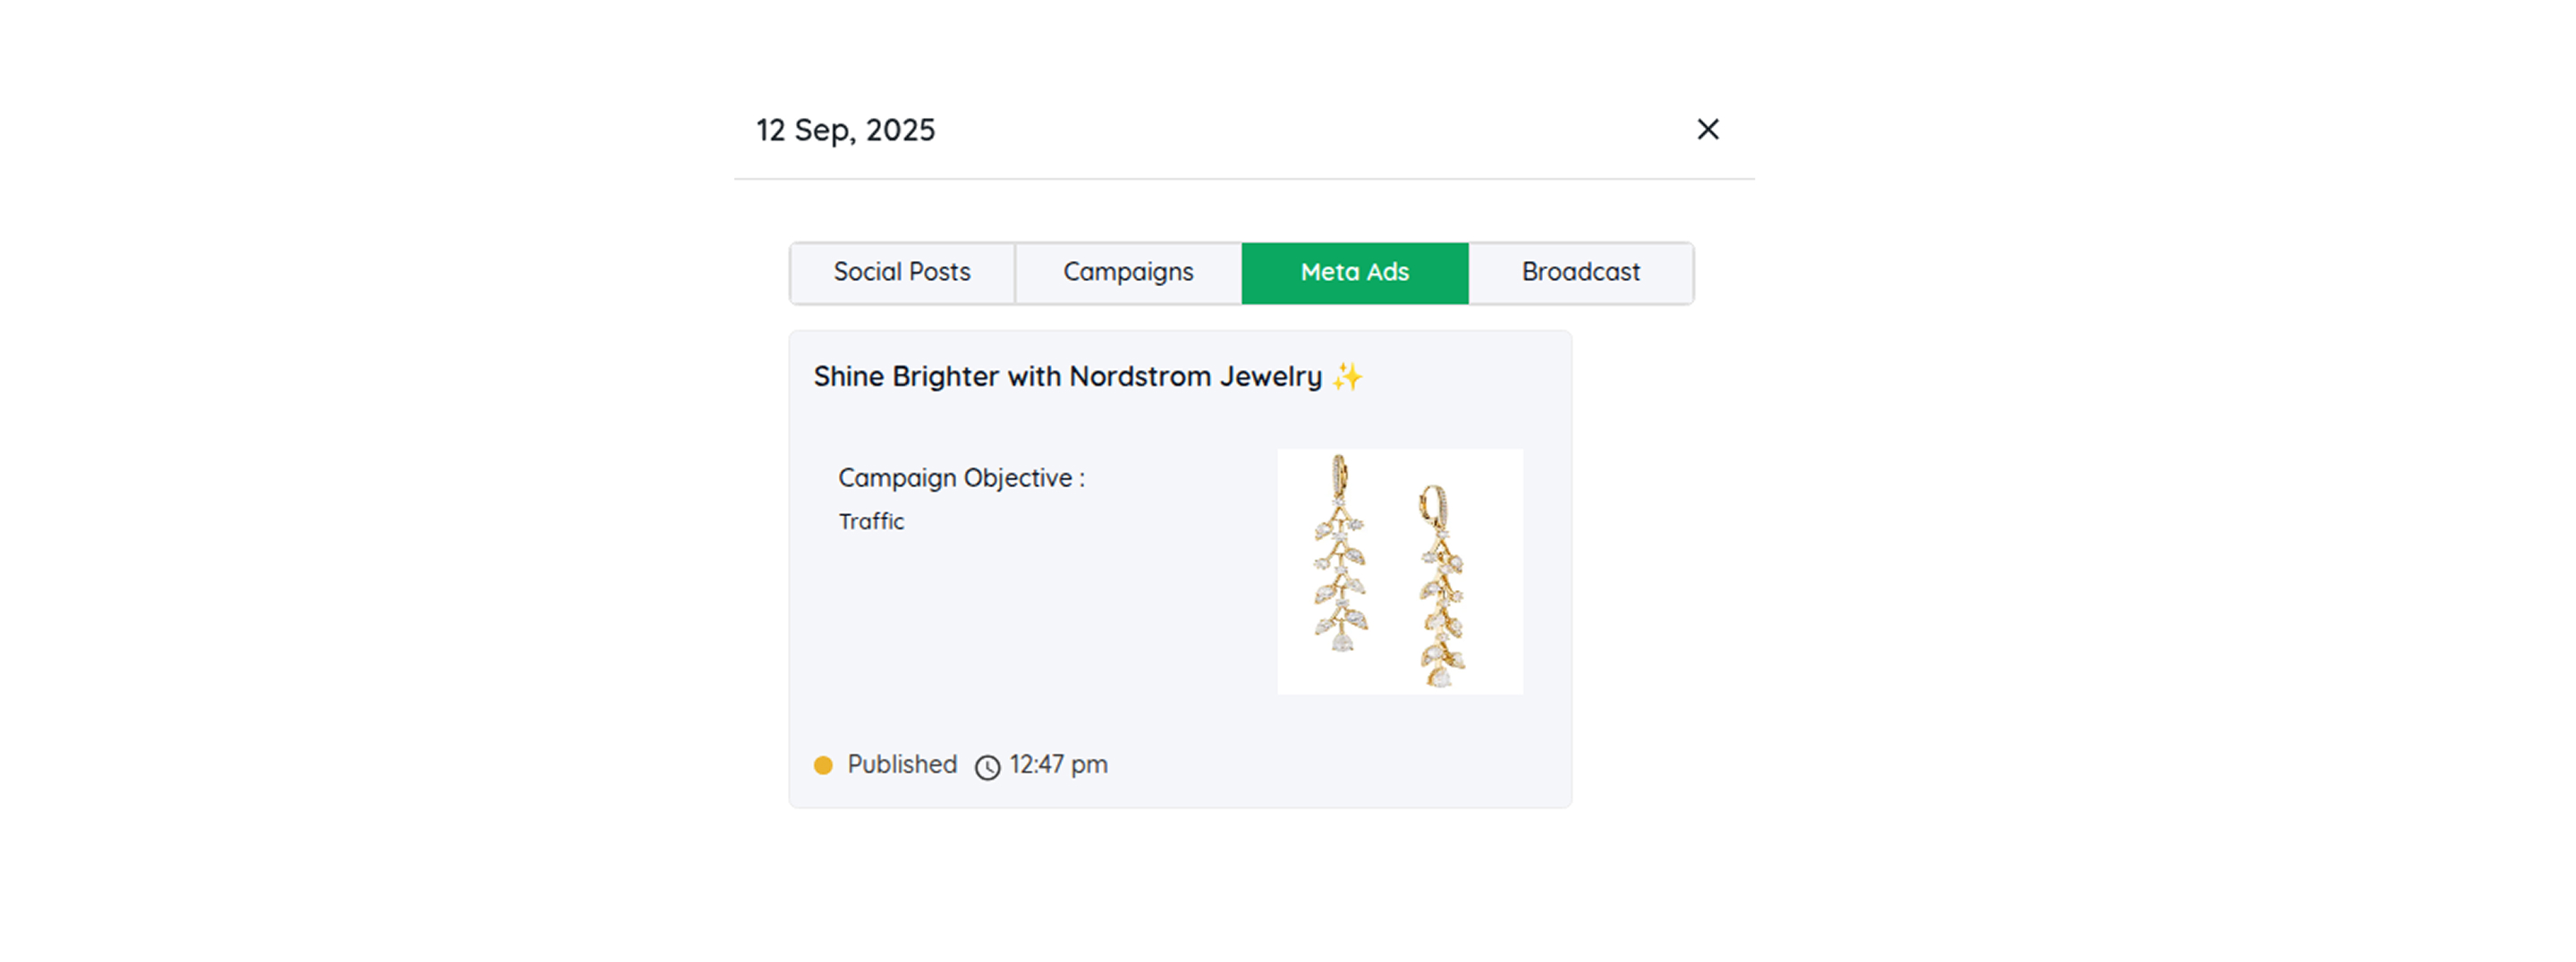
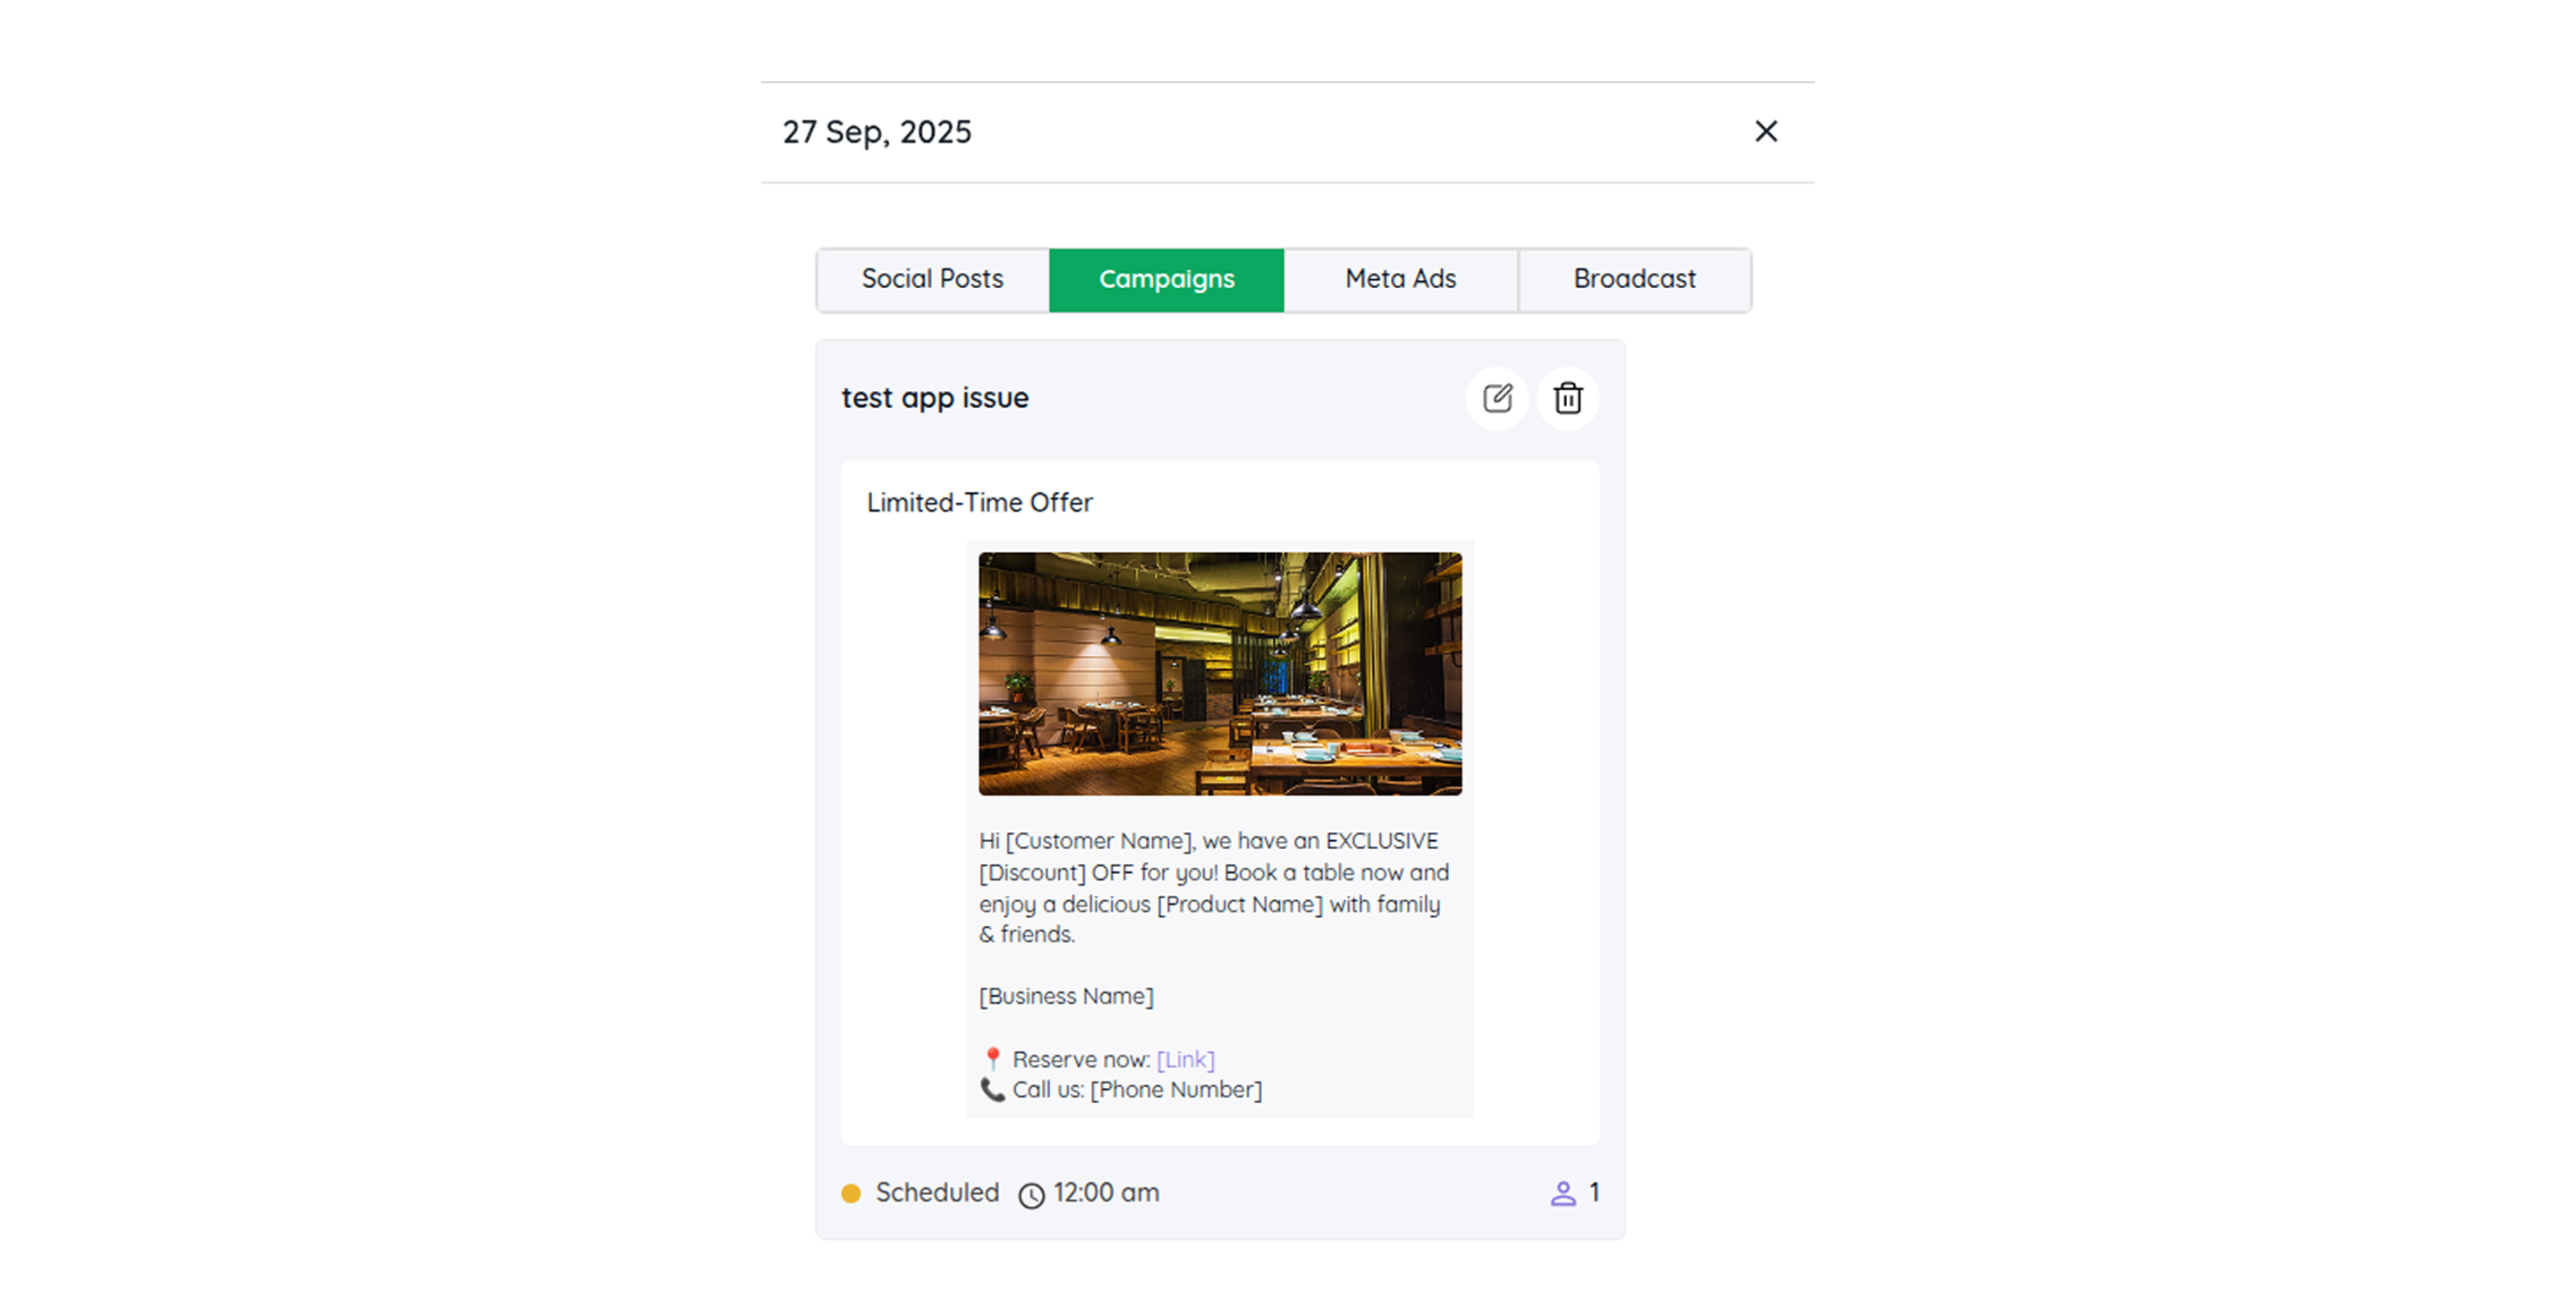
- Click on the date for which you want to see the scheduled content for various platforms. Click on the 'Edit' icon to edit the scheduled content, or click on the 'Delete' icon to delete it.