How to Add, Delete, and Import Contacts & Understand the CRM Feature of Quick Hub
You can now collect and store all your customer data and contact details in one place with Quick Hub’s CRM feature. Here’s how:
-
Go to Quick Hub.
-
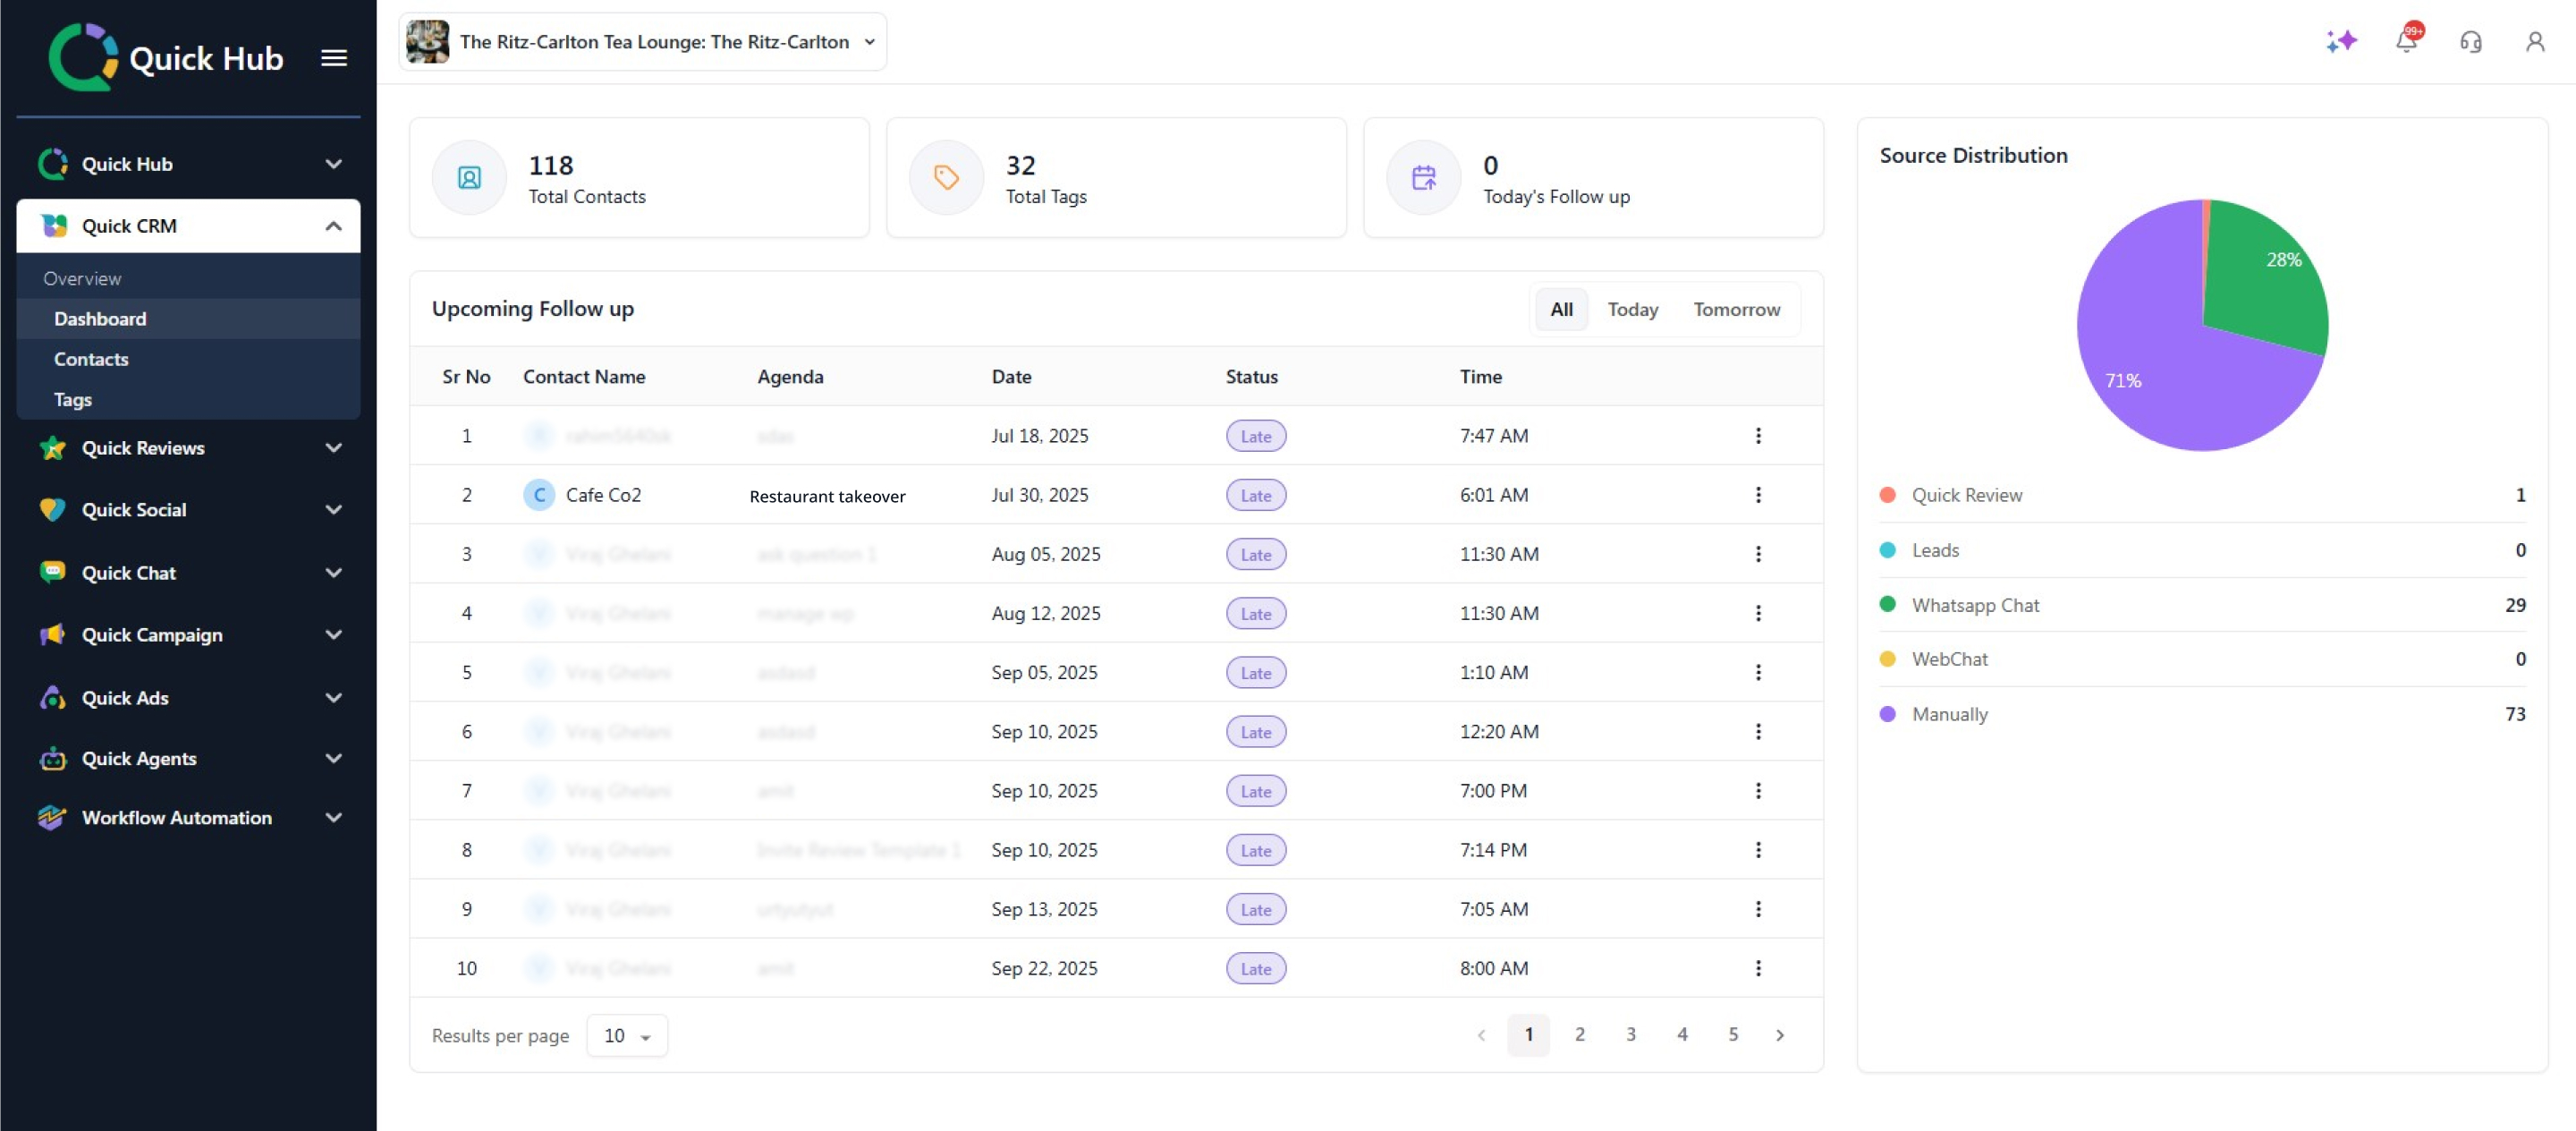
Click on CRM and then click Dashboard.
-
The dashboard provides an overview of the total number of contacts, tags, and follow-ups. It also displays data for the source distribution of the contacts saved in your Quick Hub database.
- Click Contacts to add, delete, edit, or view all your contacts.
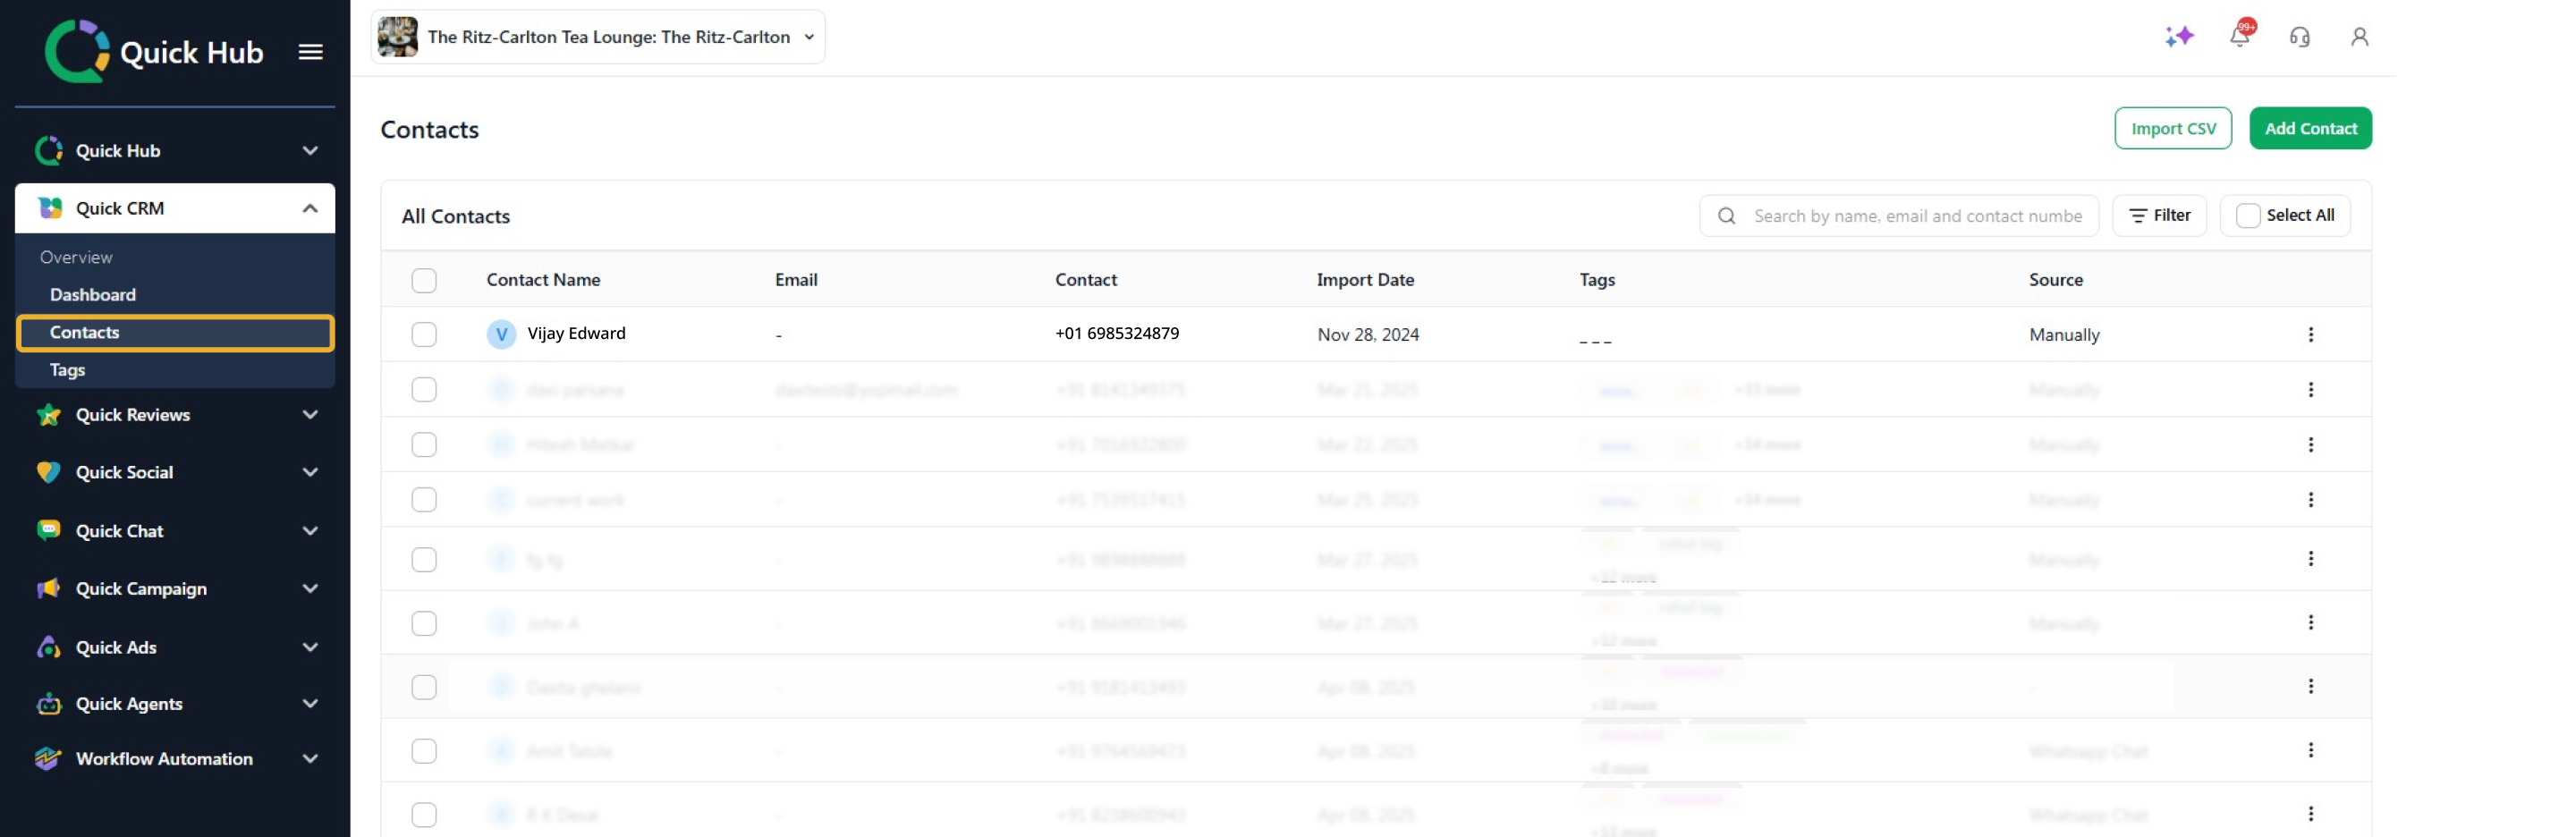
- To add a contact, click Add Contact in the top right corner. Enter the first & last name, contact number, email, and tag, then click Save.

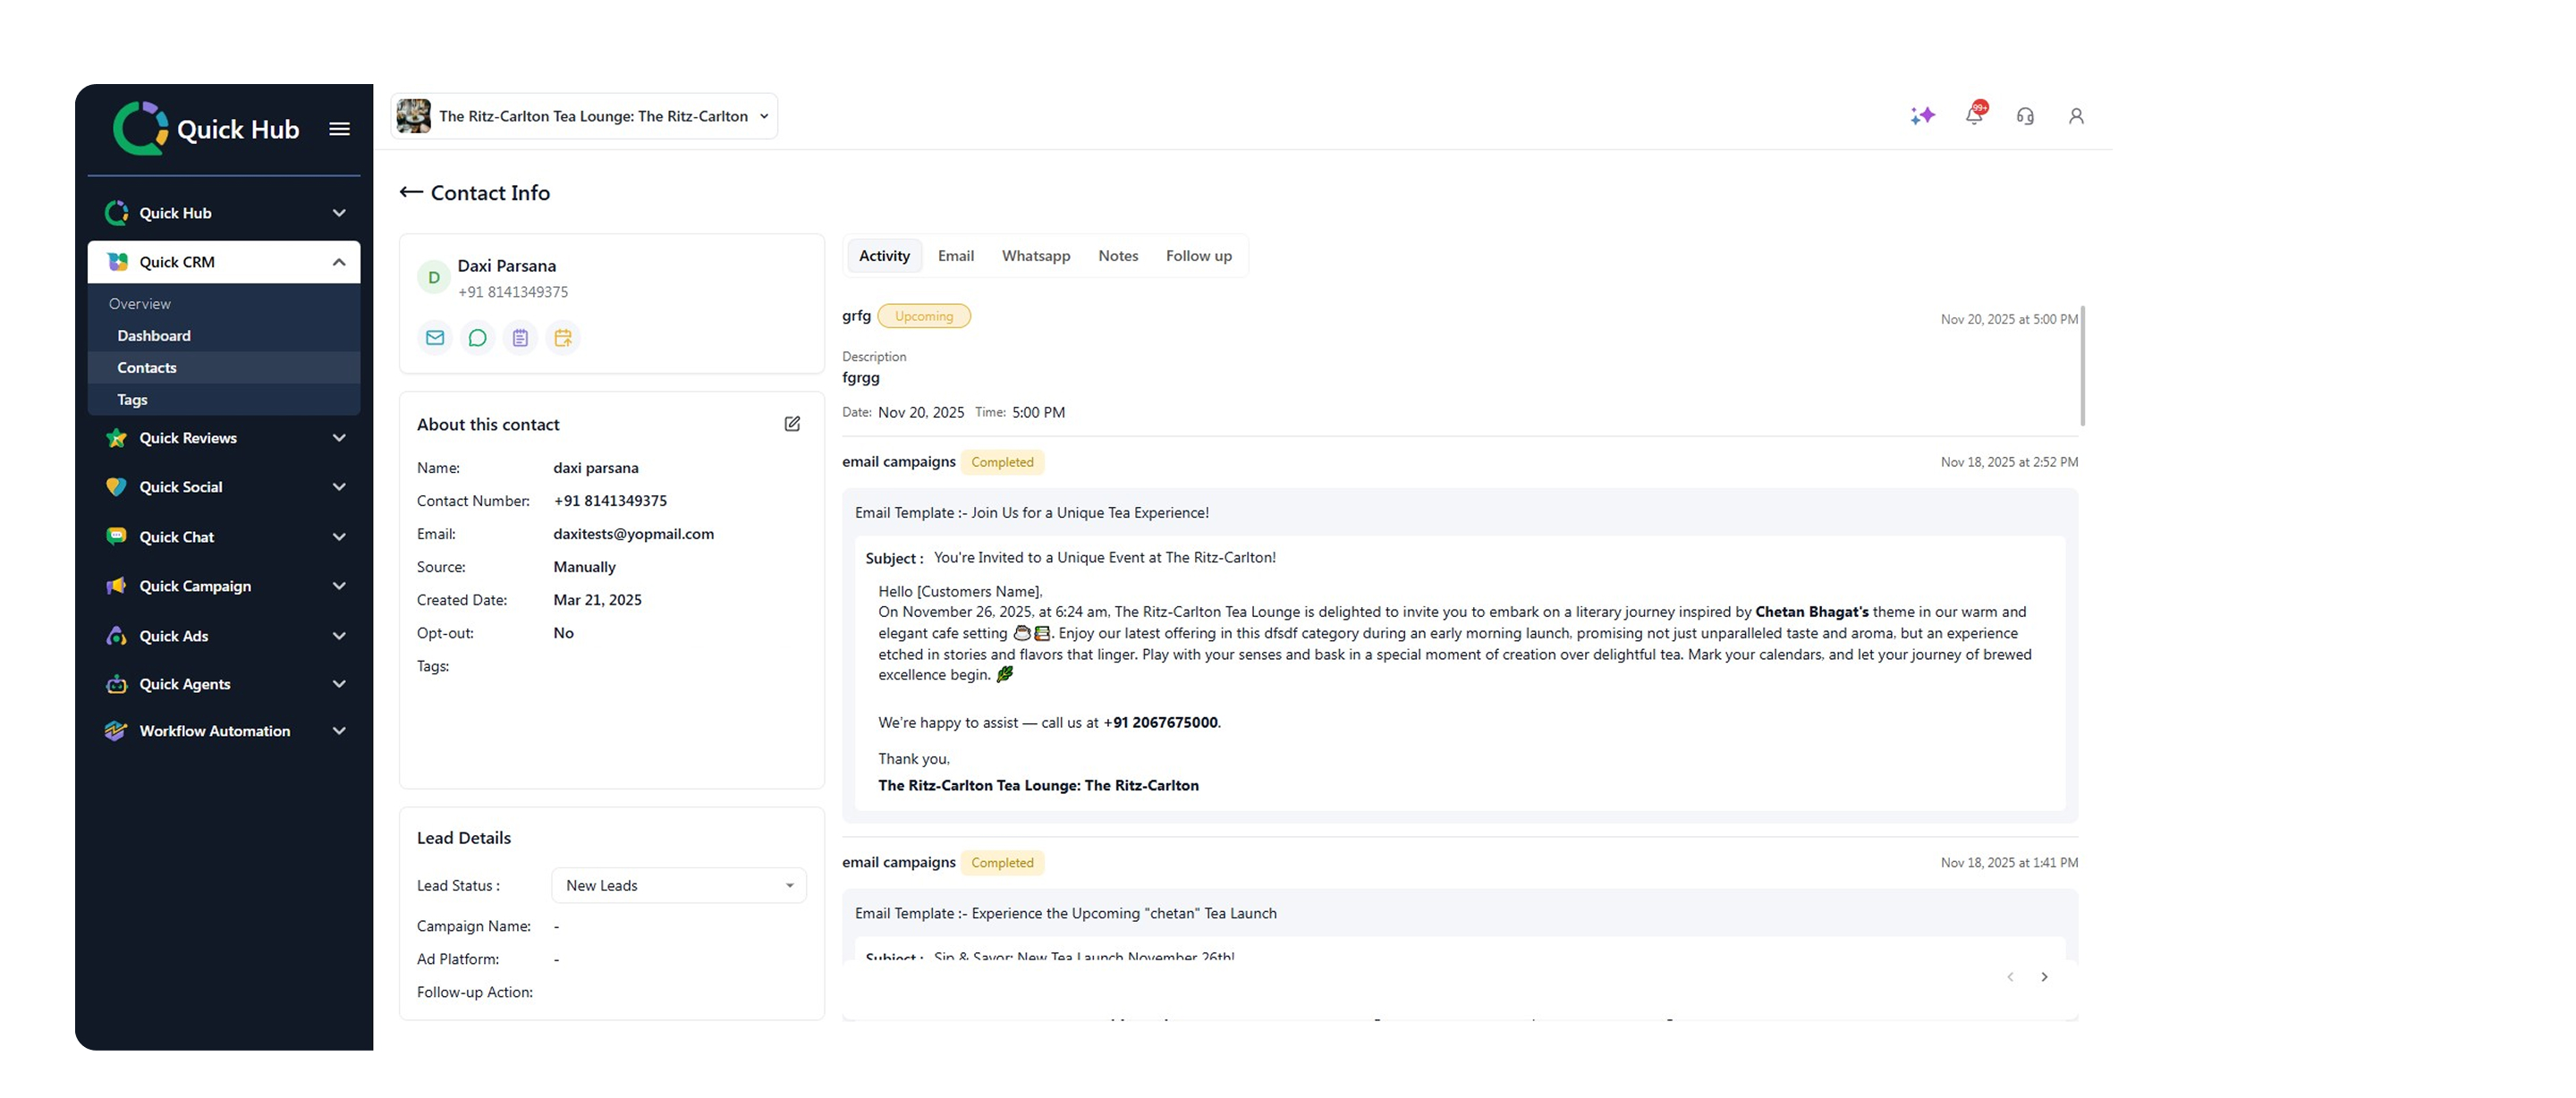
- To view a contact, click the eye icon to open a detailed view.
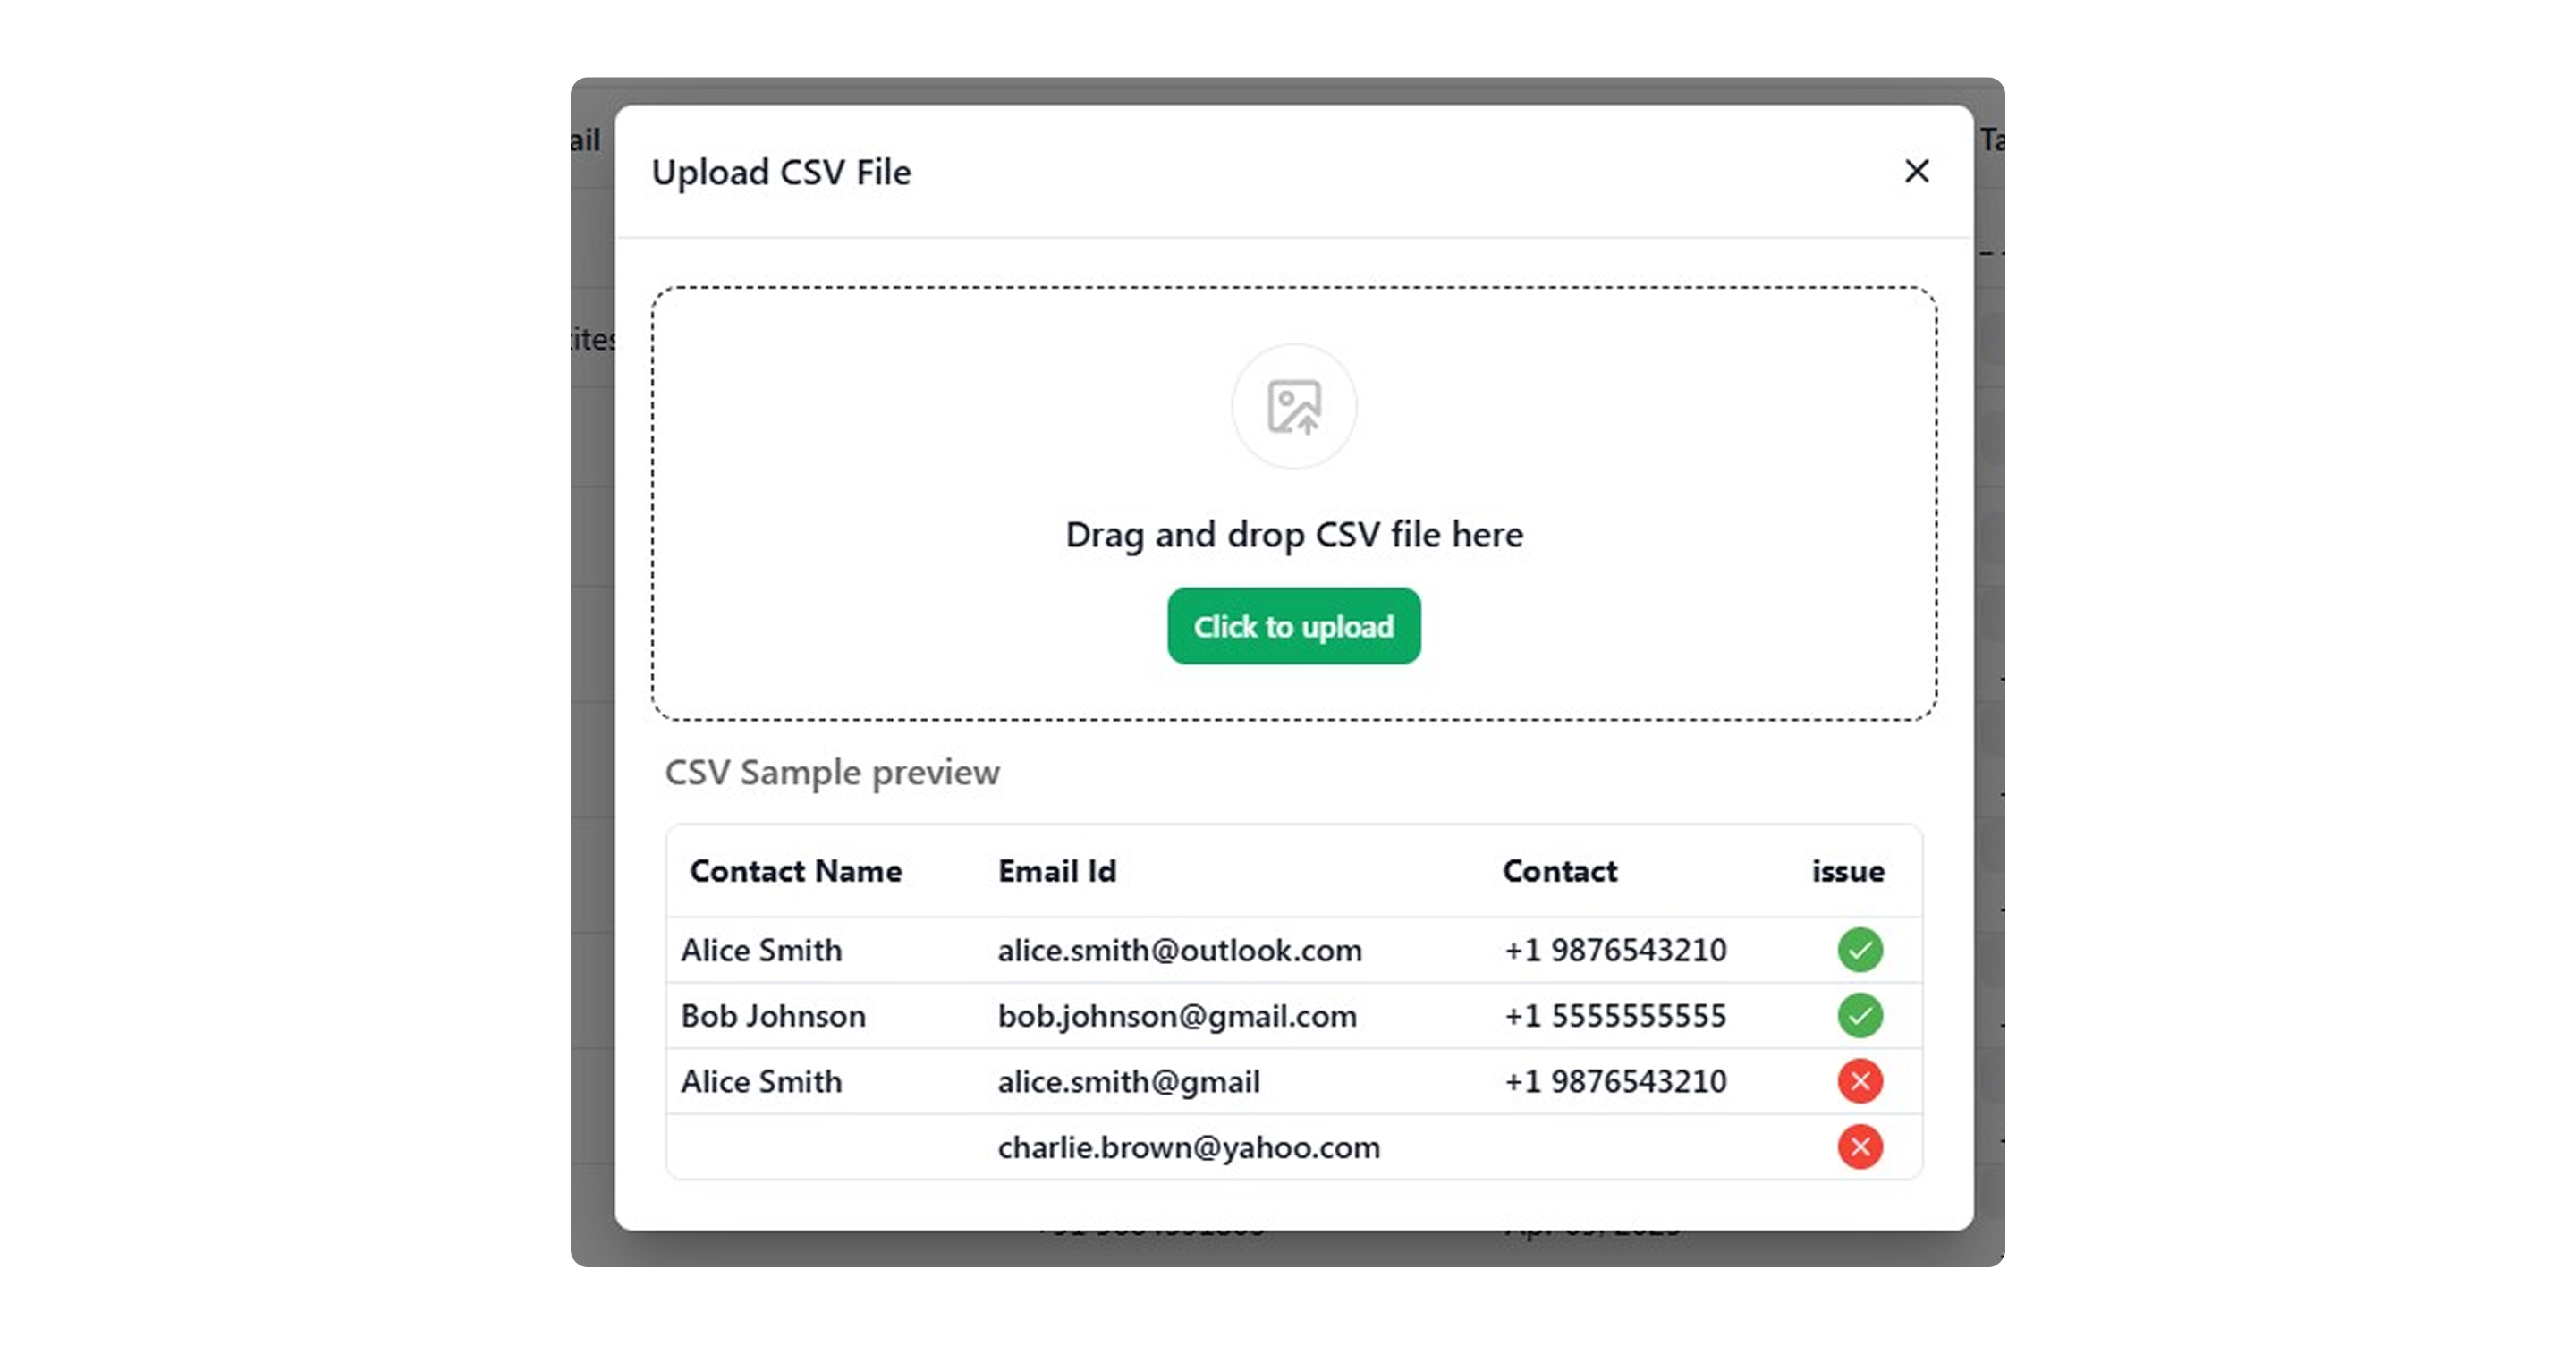
- You can also import a batch of contacts to Quick Hub by clicking the Import CSV option and selecting Upload to import the contacts.
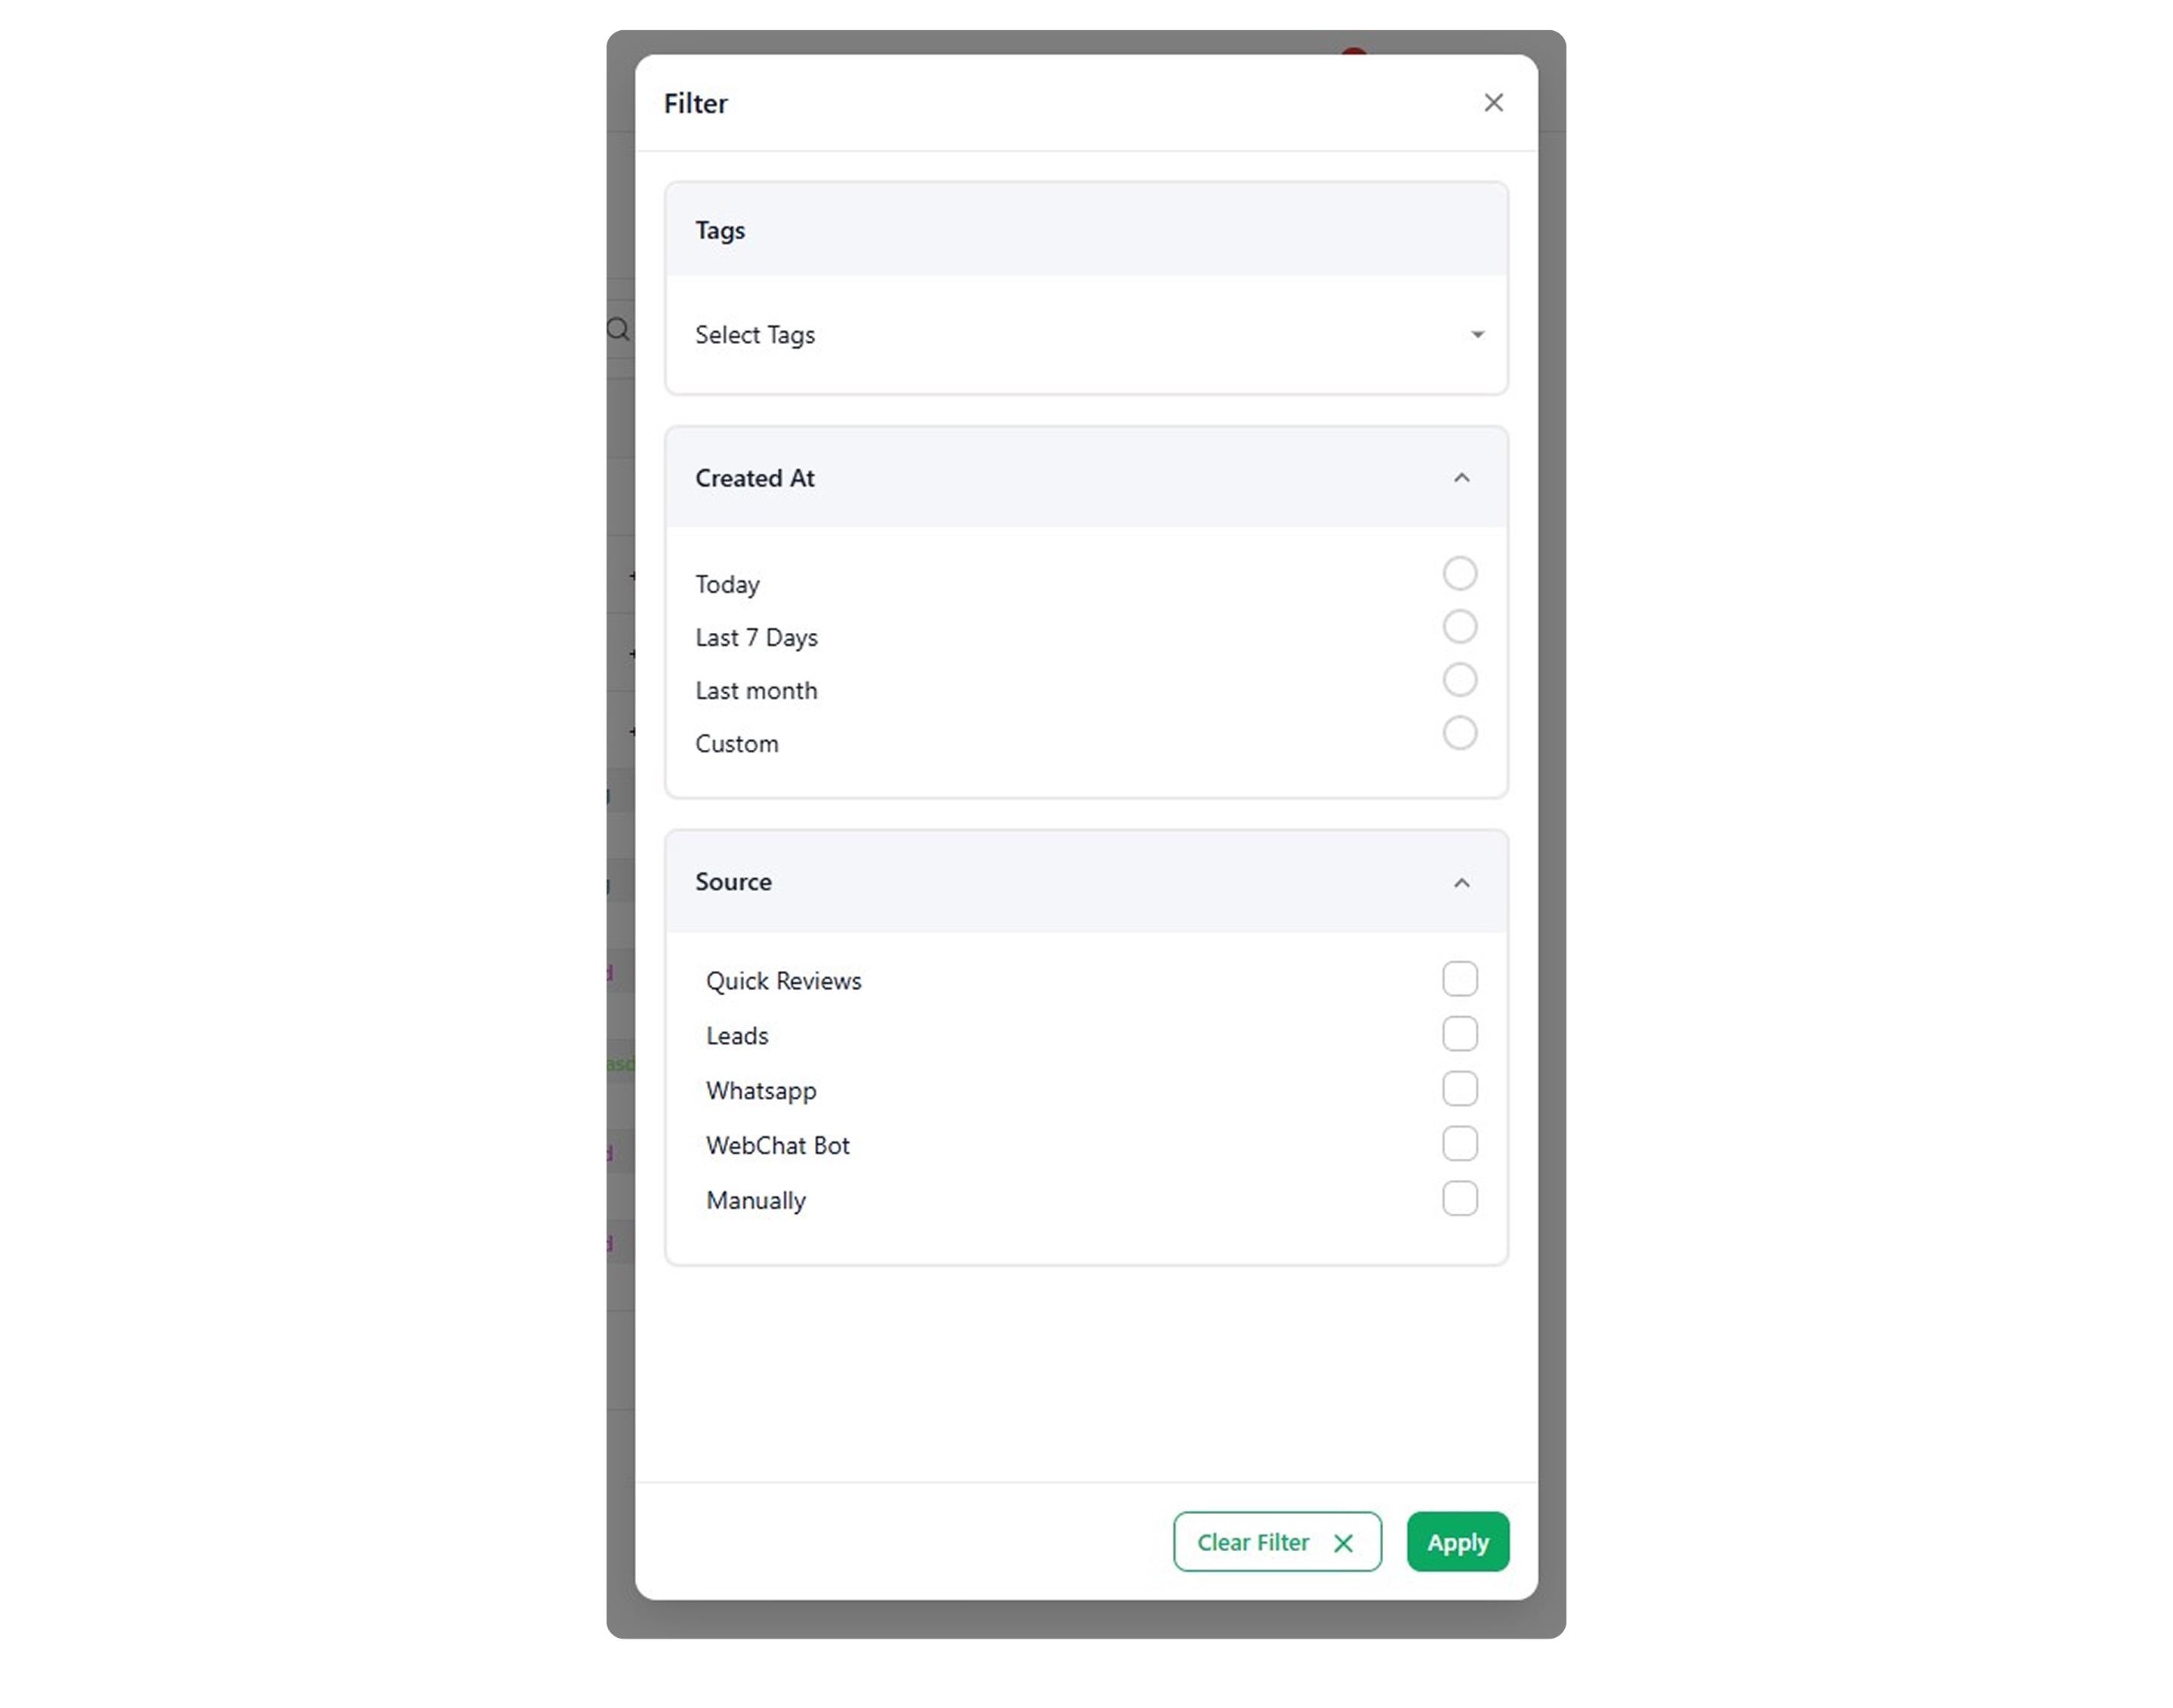
- To filter these contacts, click the filter option in the top right corner, select the filters you want to apply, then click Apply.
- To add tags for these contacts, click the Tags option.
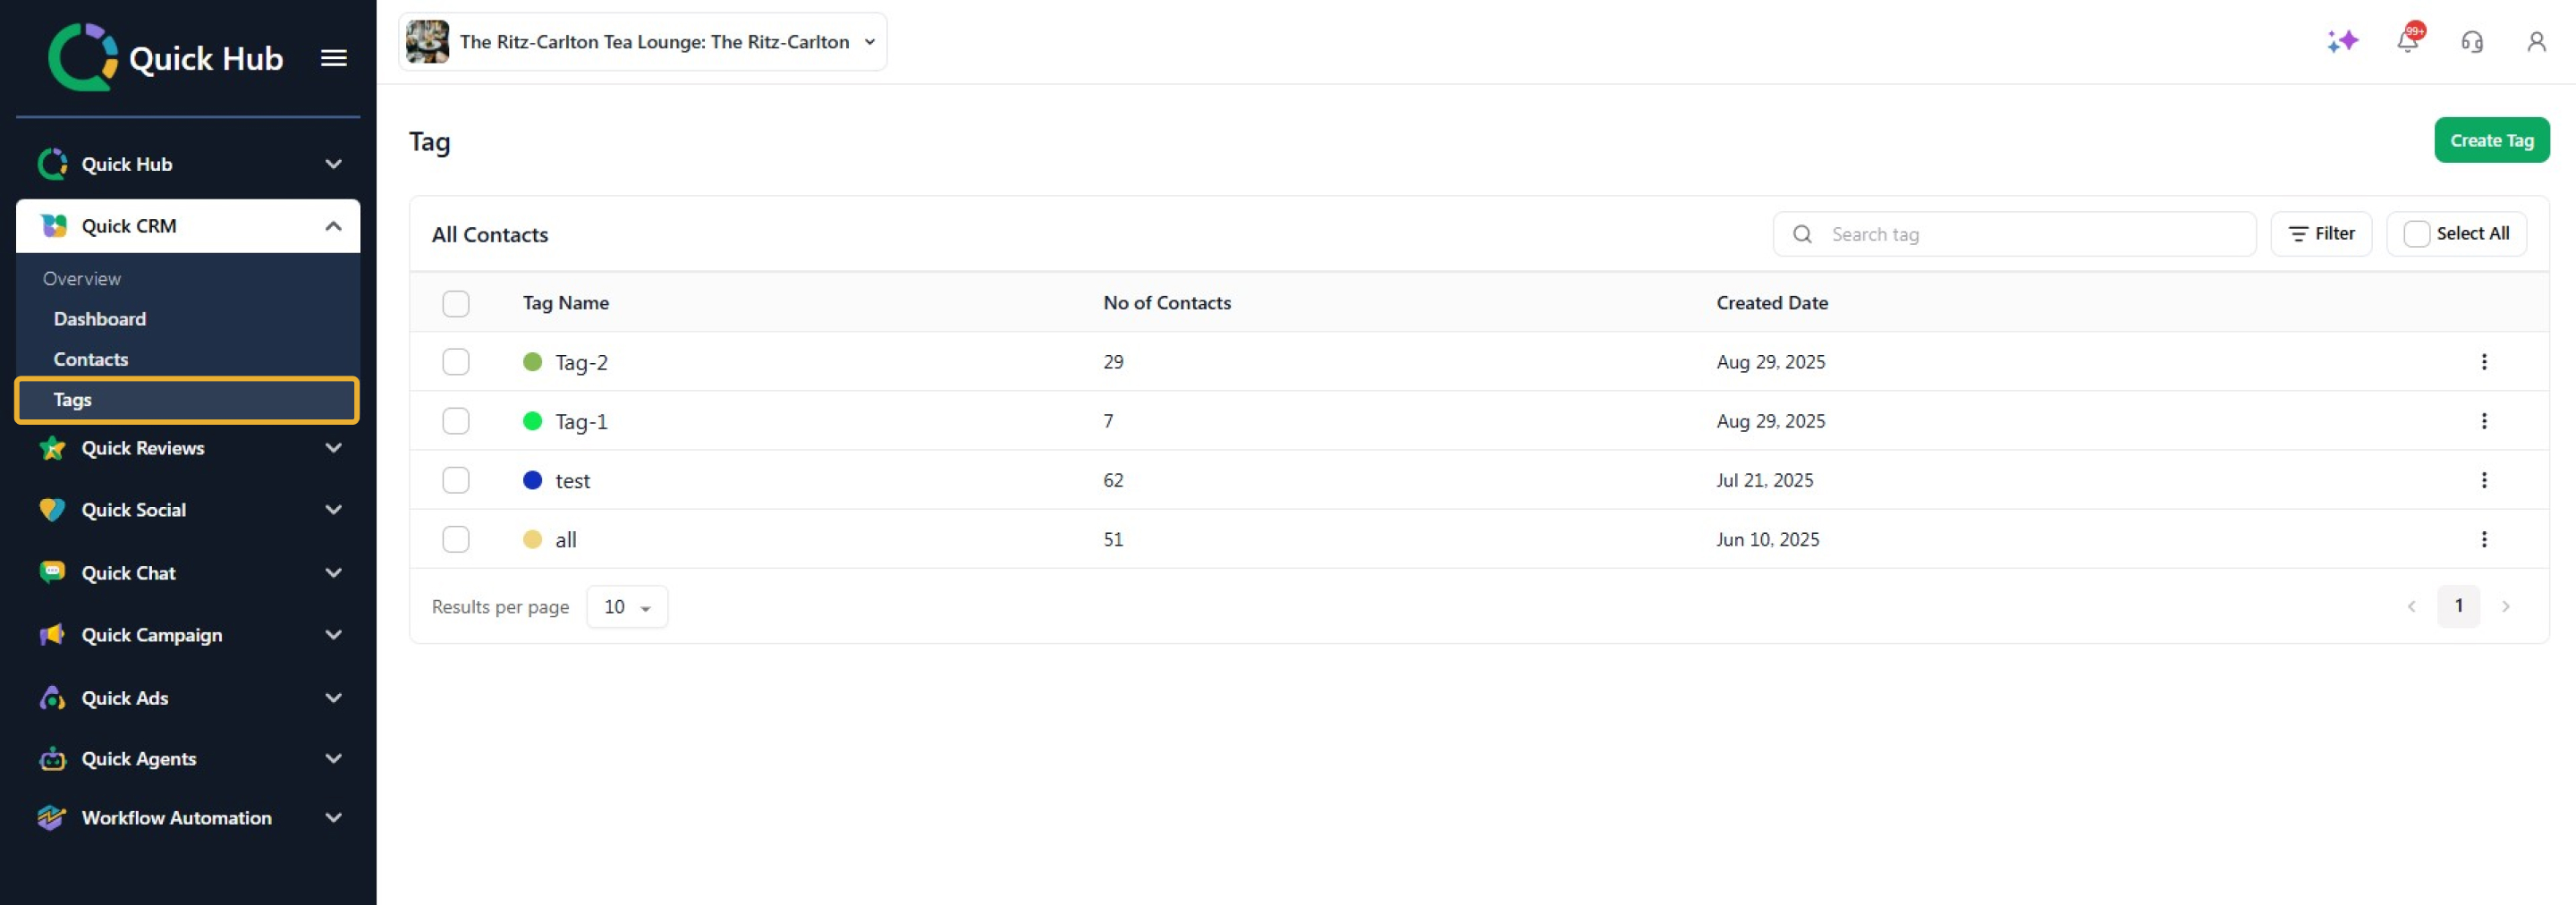
-
Click Create Tag.
-
Enter a tag name, select the contact you want to add the tag to, and click Create Tag.
Congratulations! You have successfully added a contact to Quick Hub’s CRM and assigned them a tag.