How to Edit Bot Details on Quick Hub
To edit or change the bot details, follow the steps below.
-
Go to Quick Hub.
-
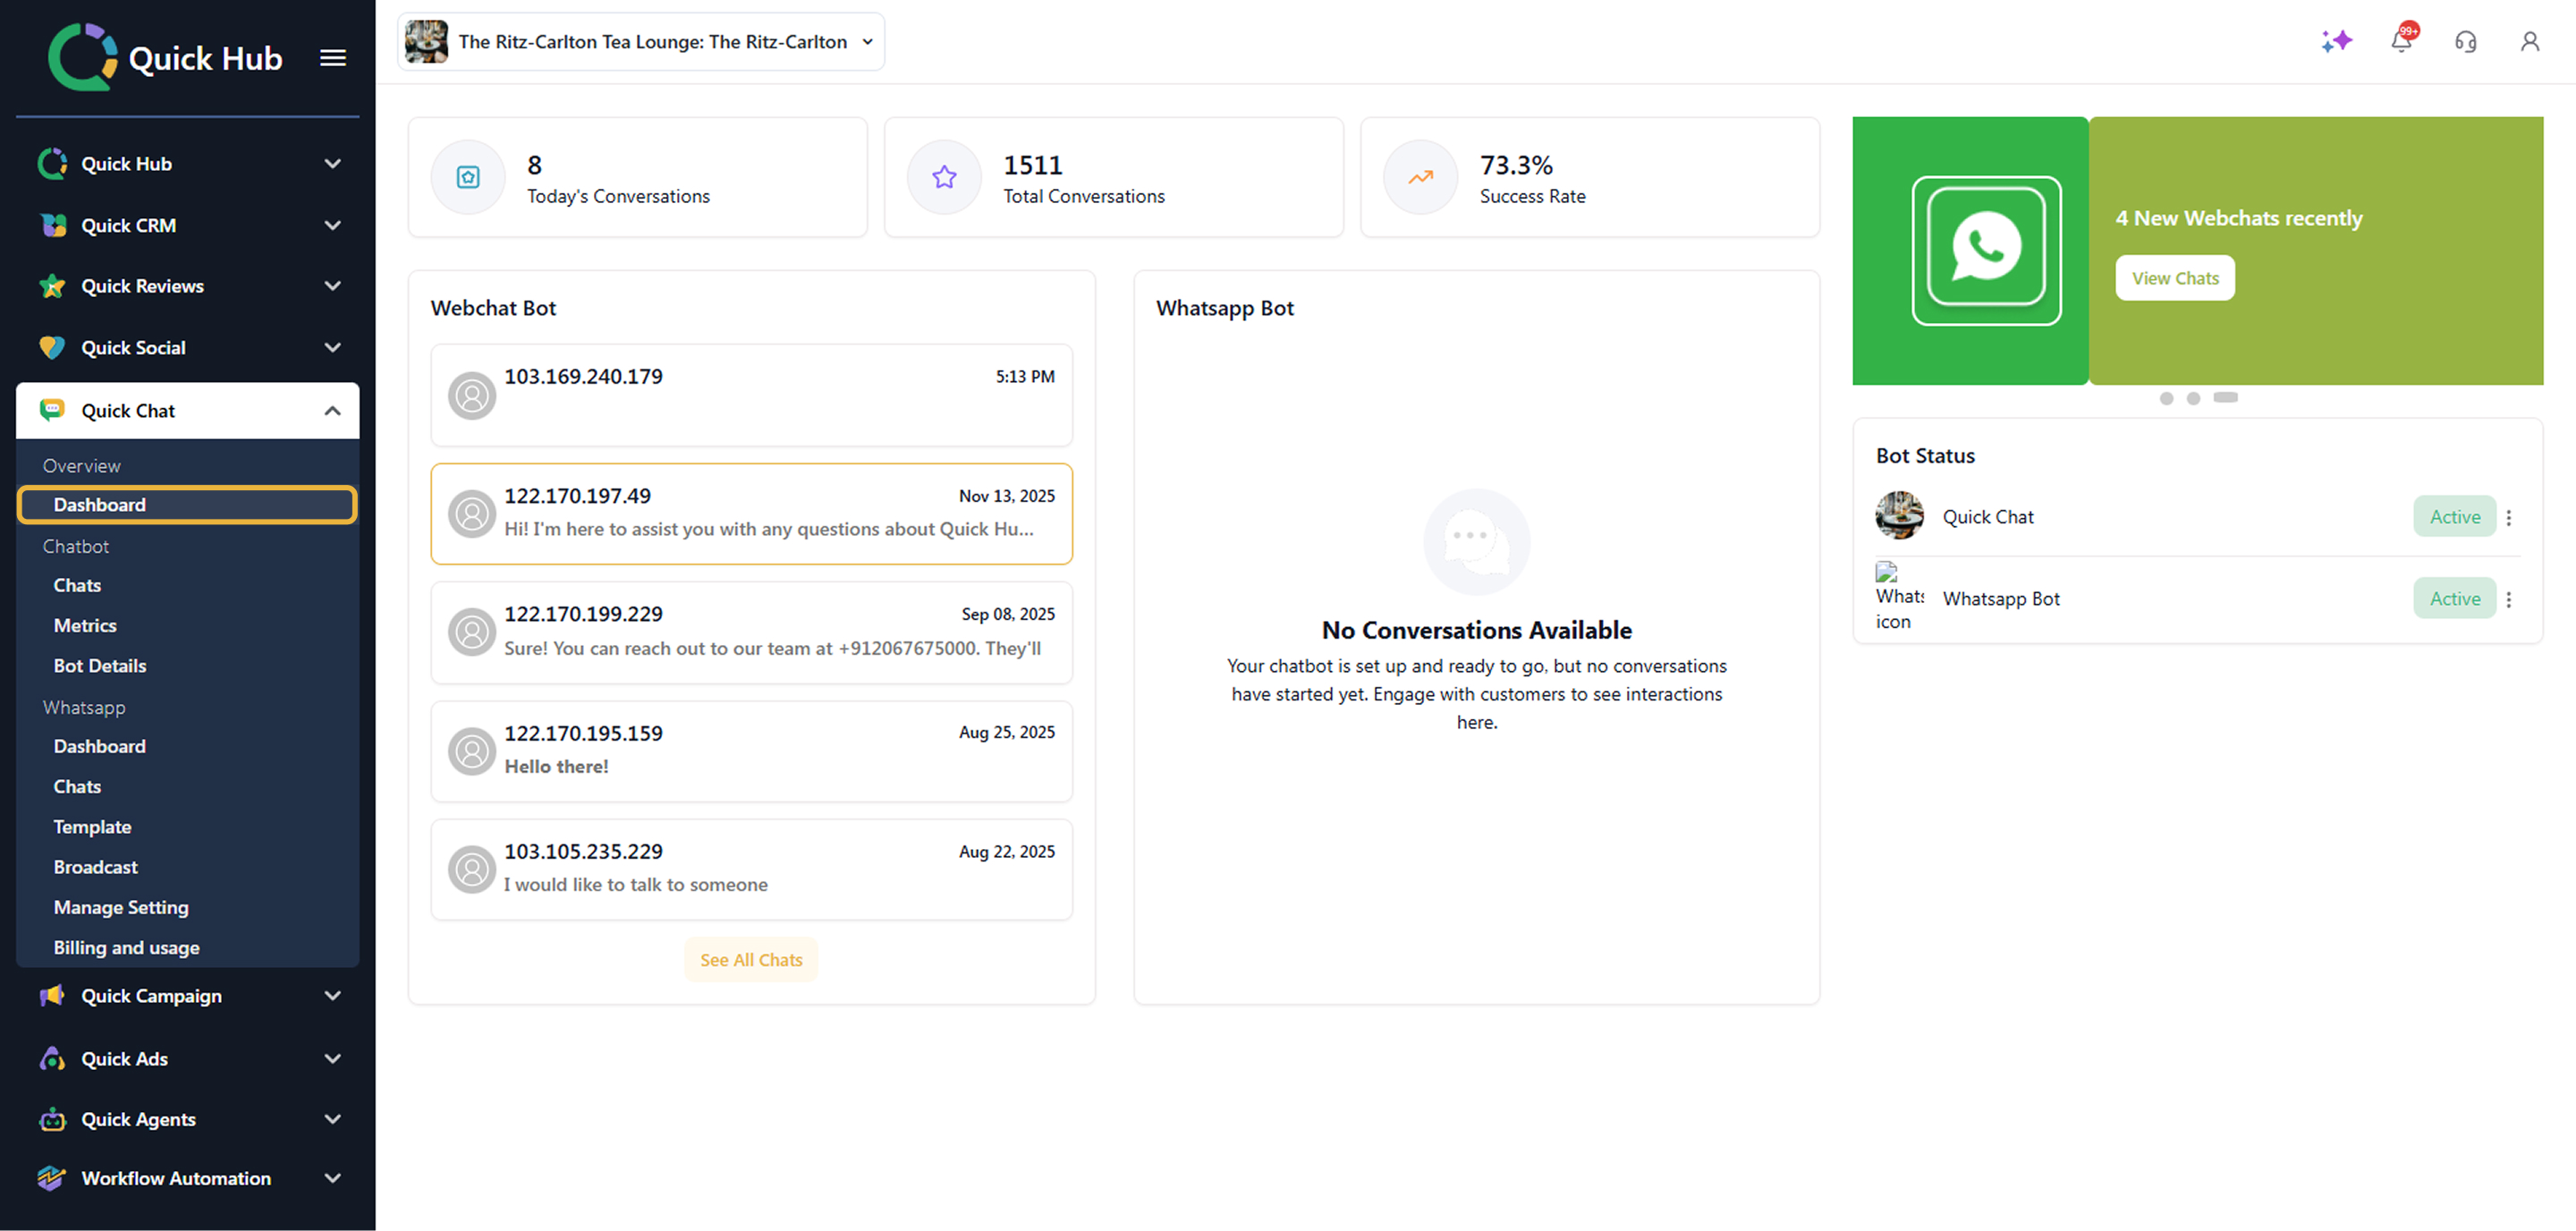
Click on Quick Chat from the left menu bar.
-
Click on Dashboard.
-
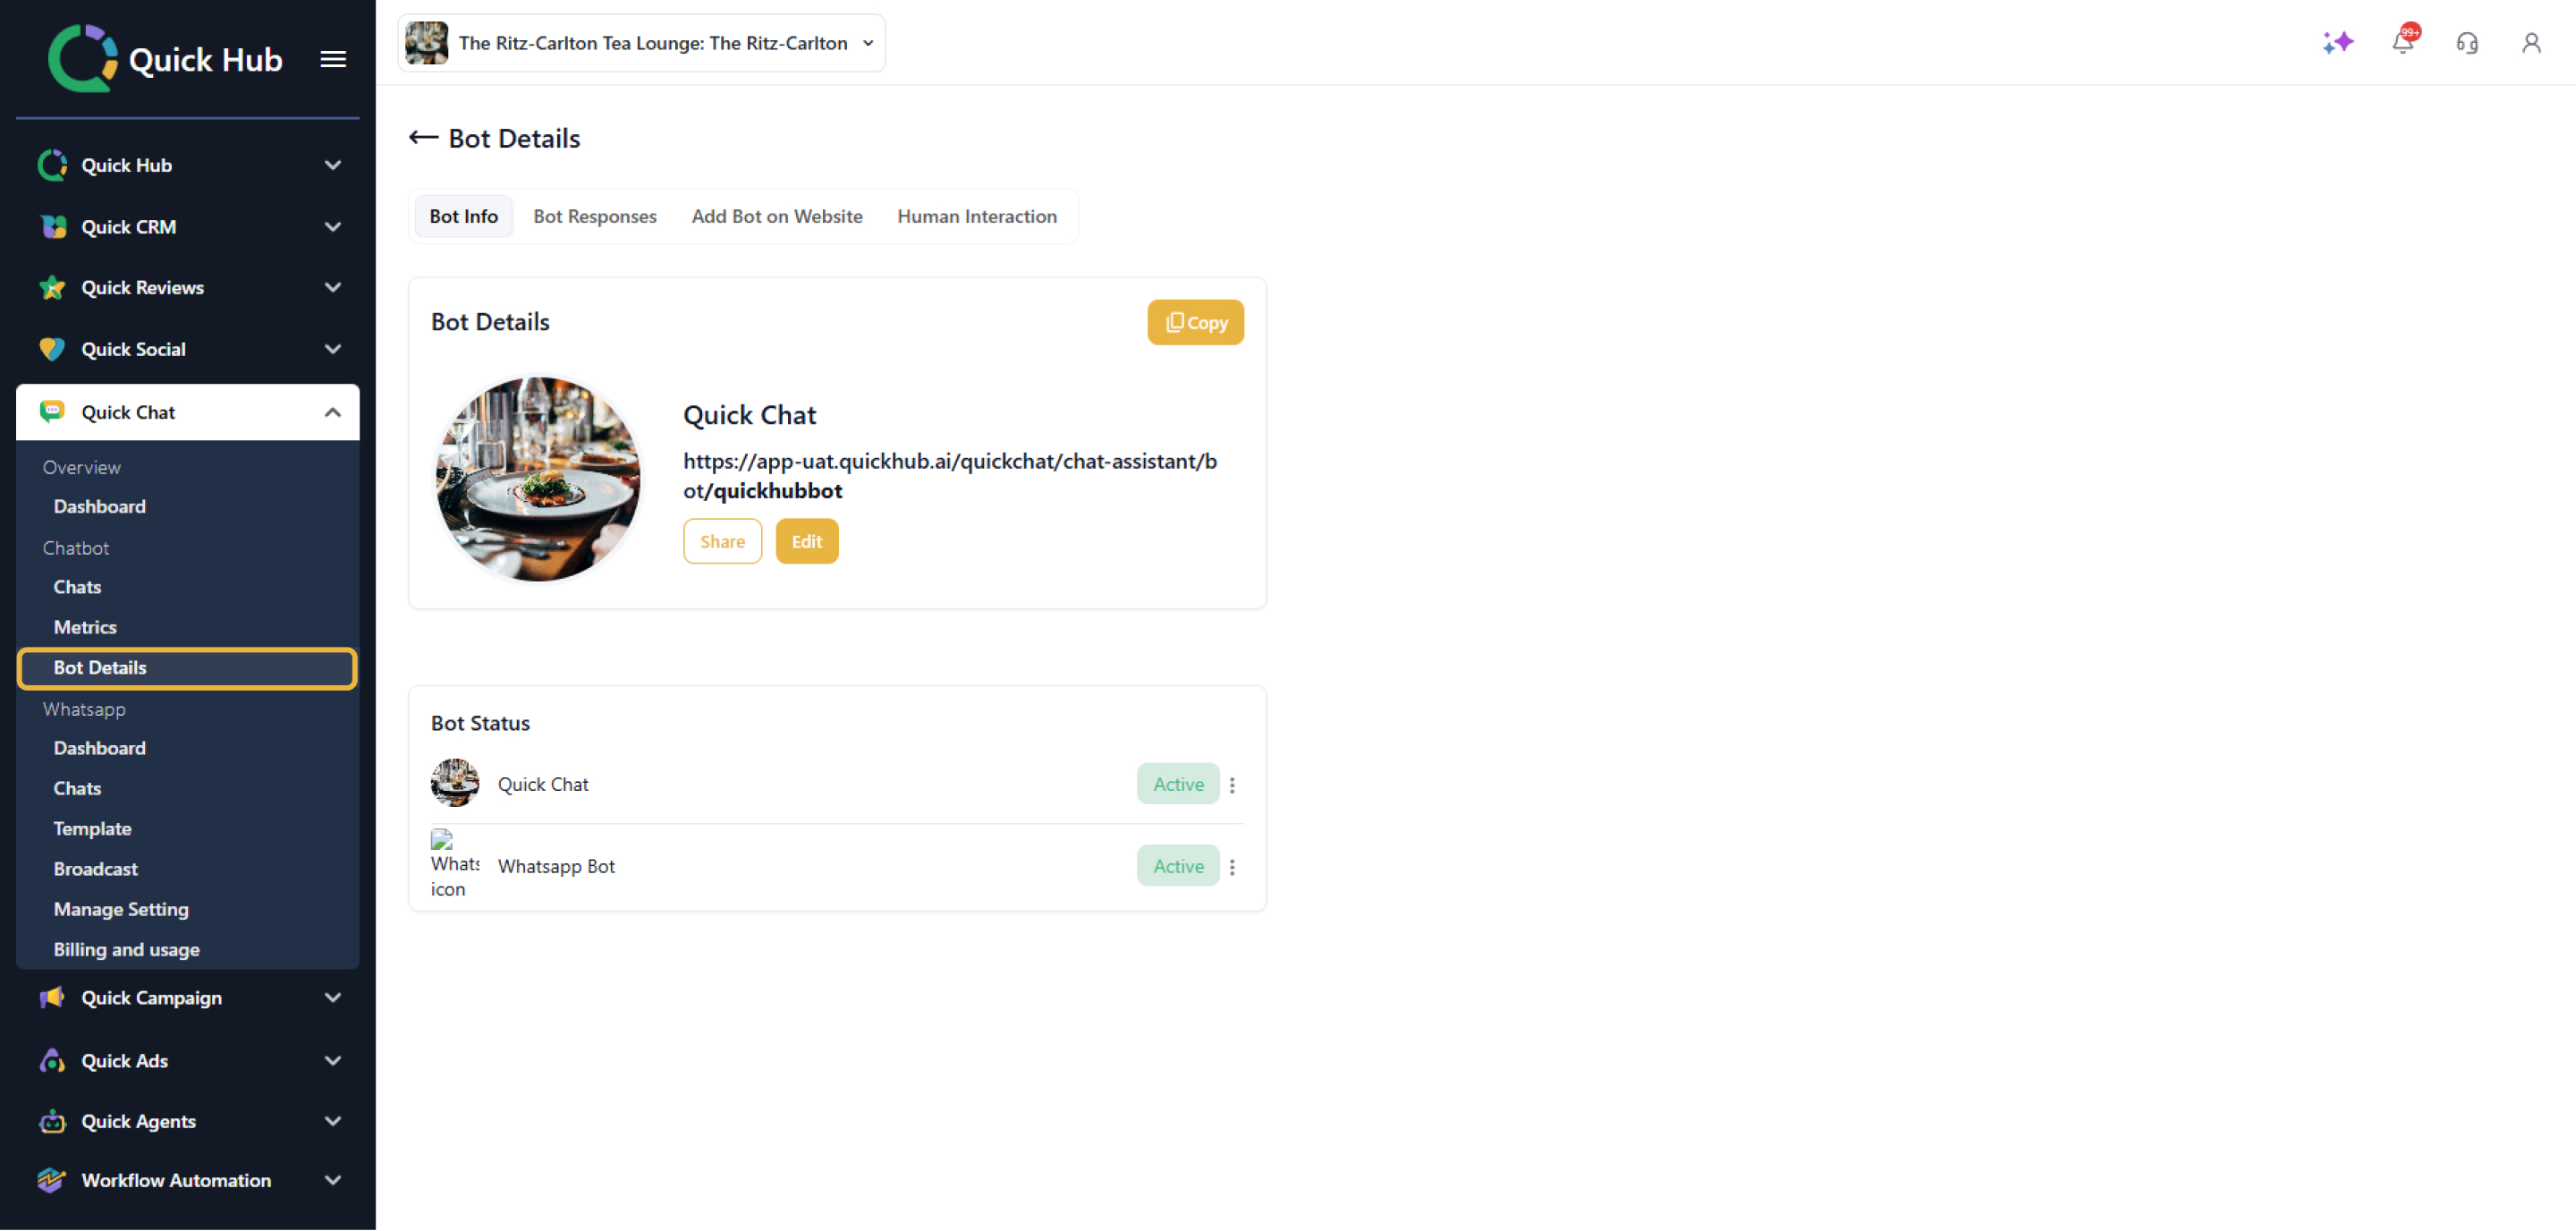
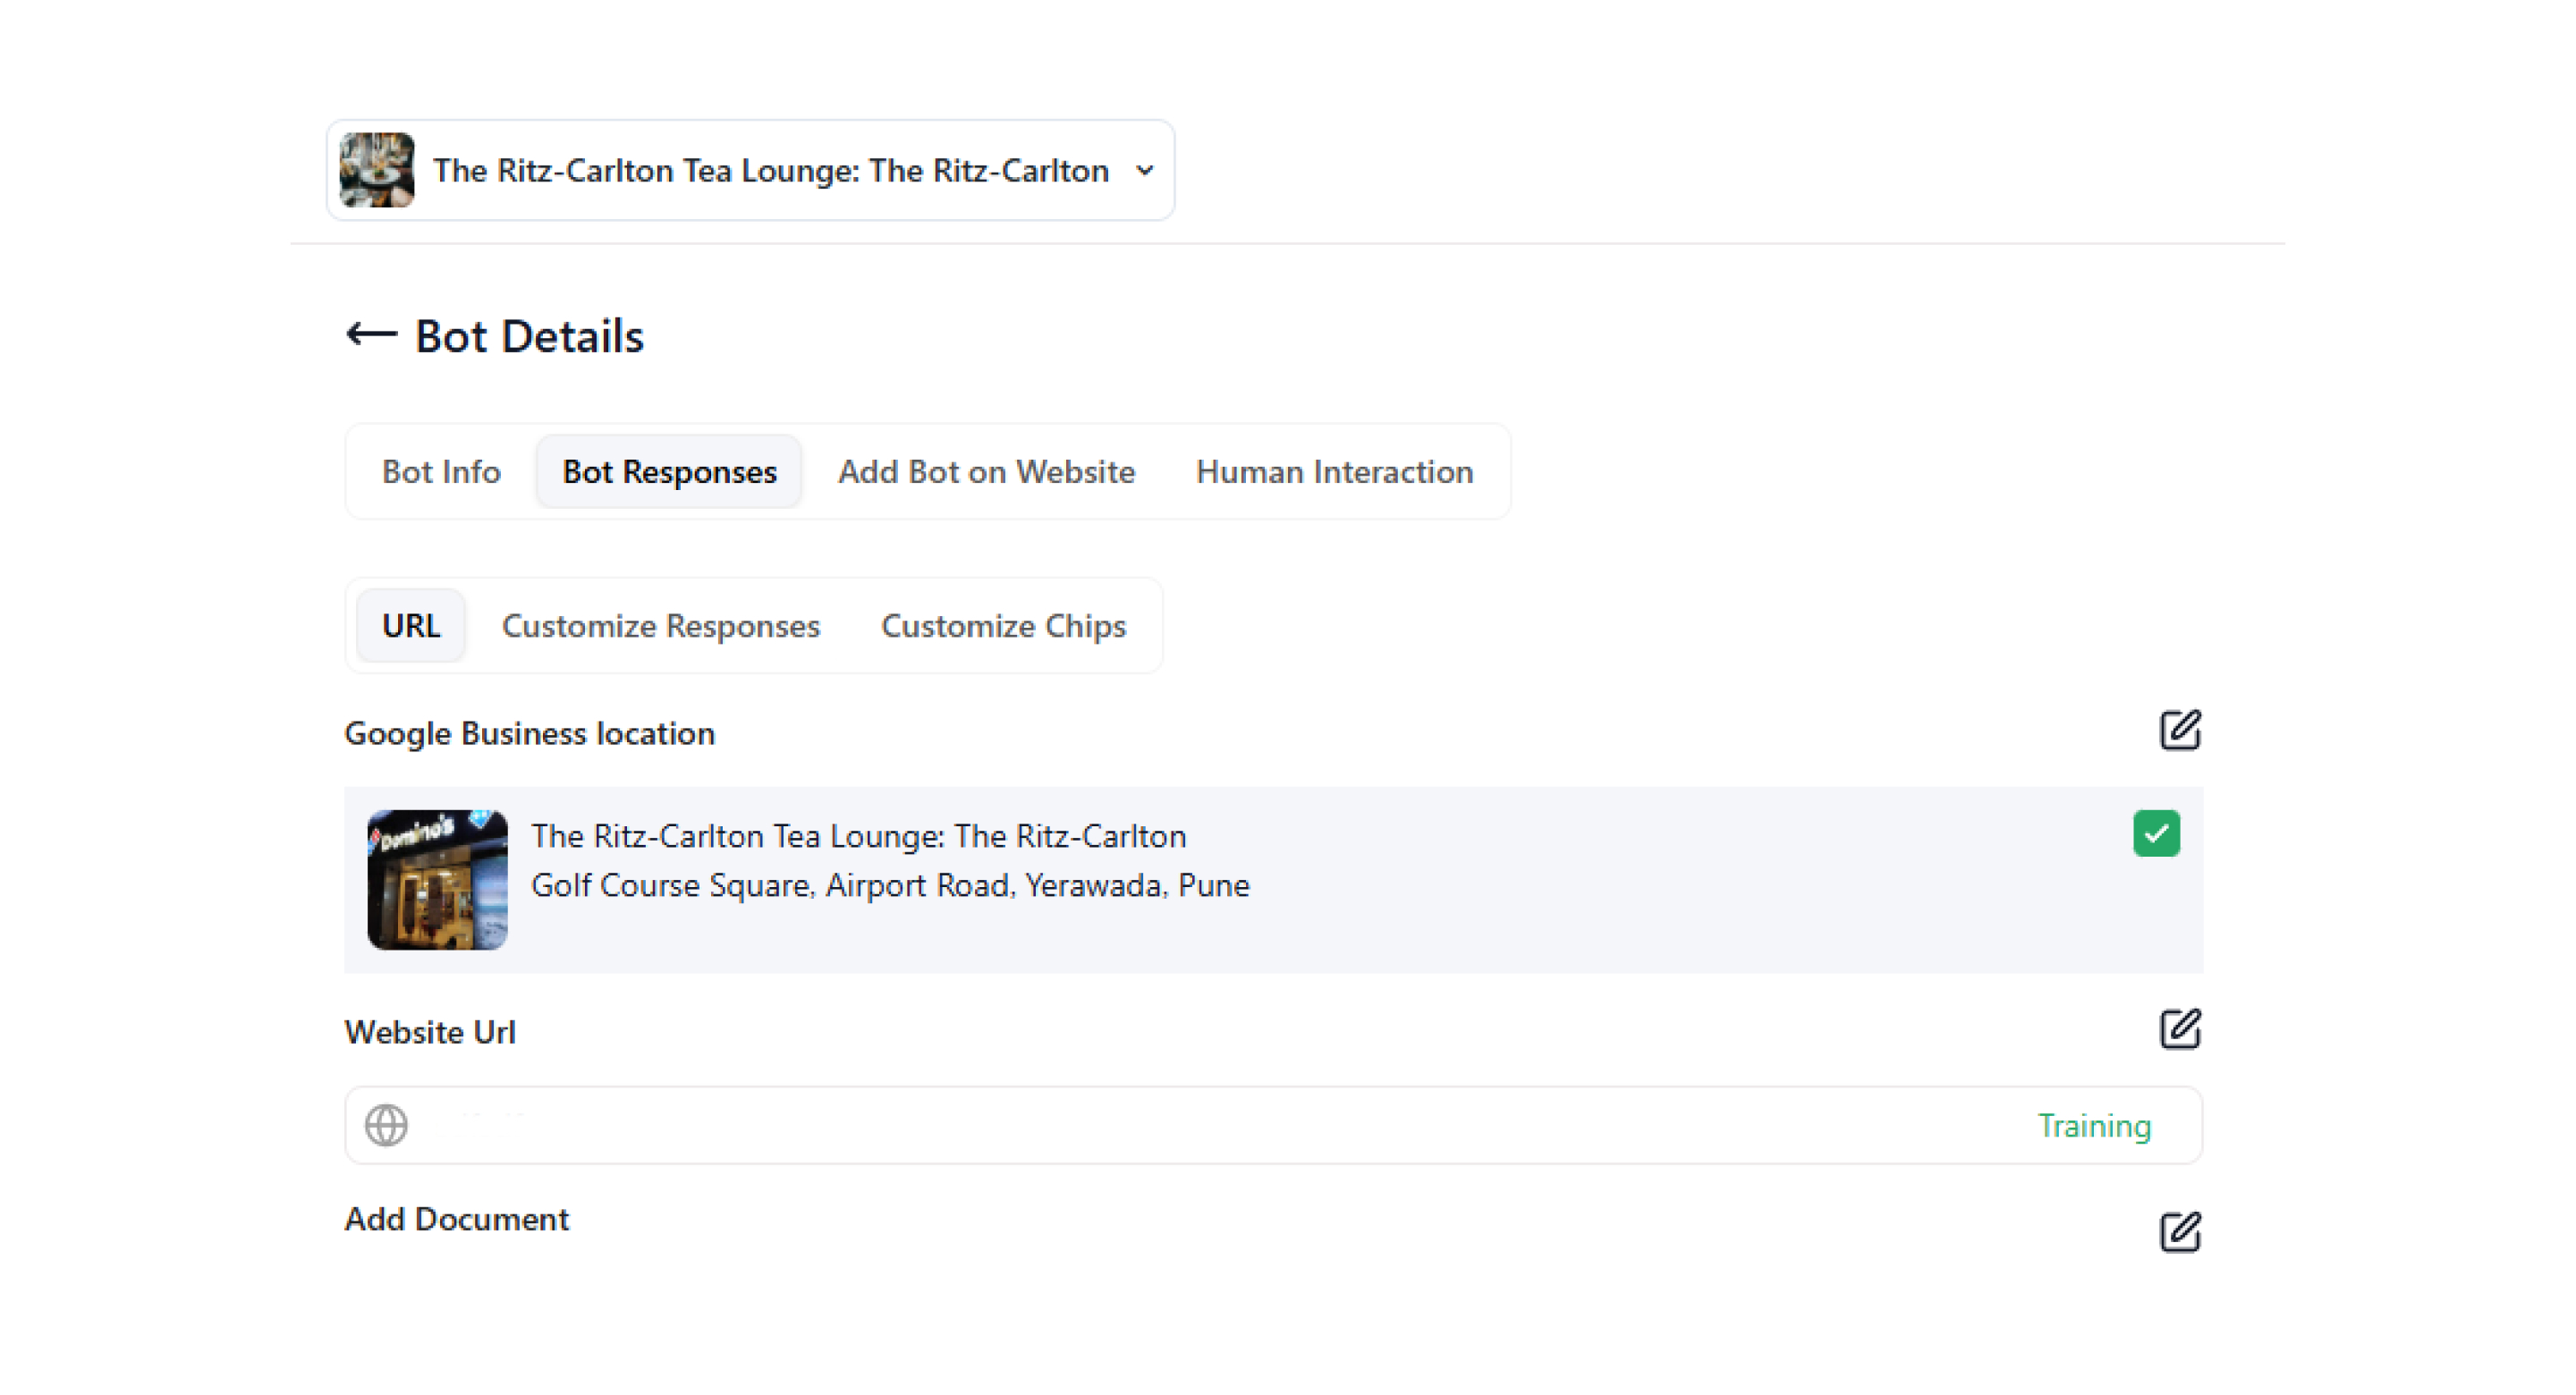
Click on Bot Details. Under the Bot info section, you can change the bot’s status and details.
-
Click Edit.
- Enter the Chatbot Name,’ ‘Chatbot Domain Name, and select the color.
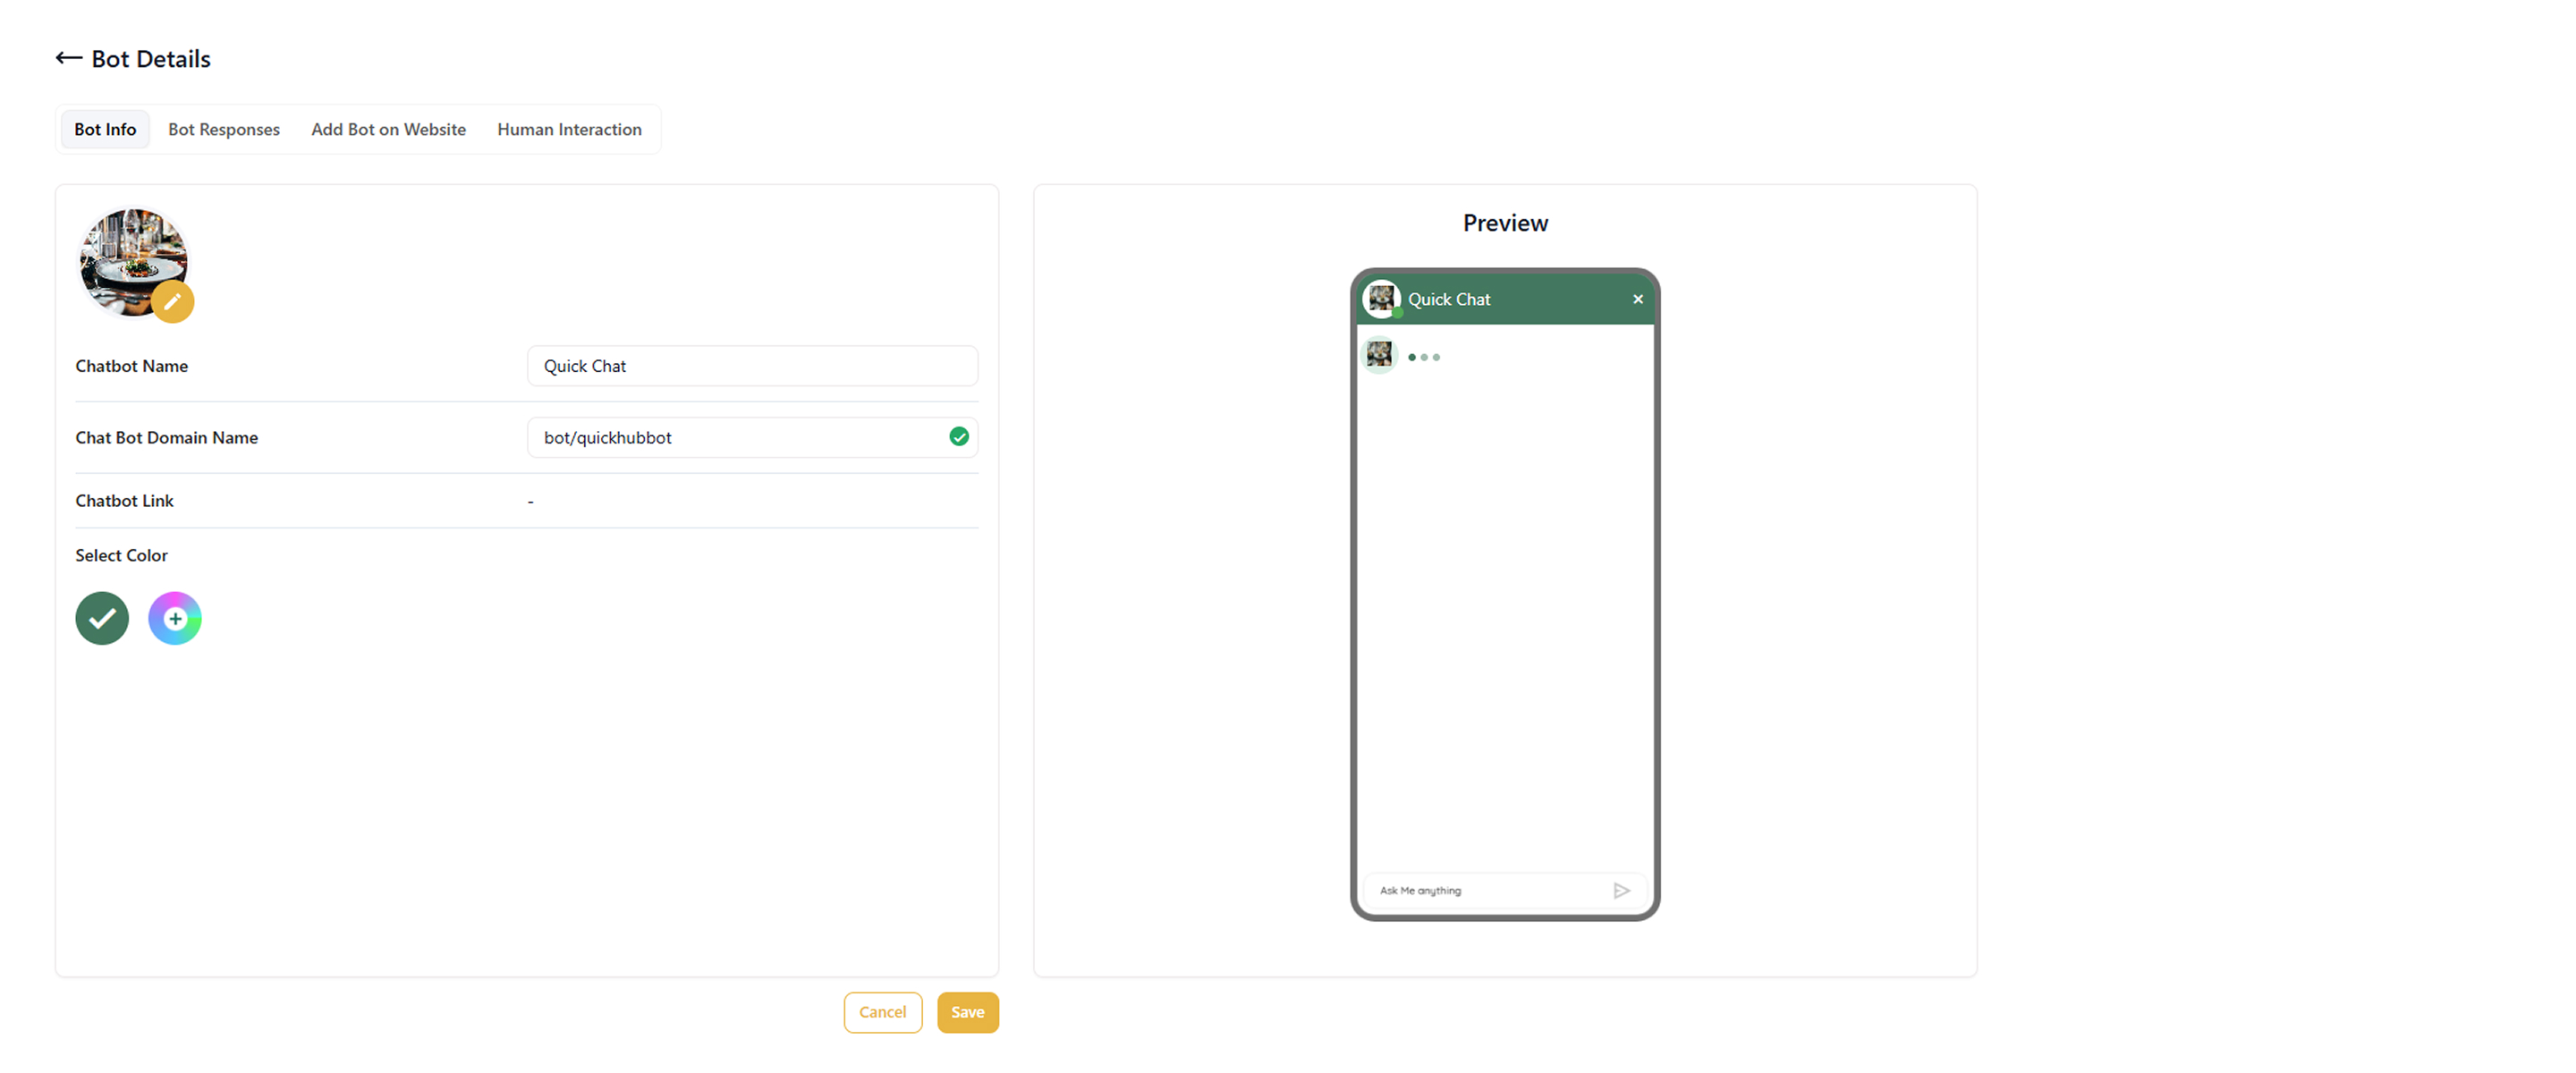
- To add a bot image, click the pencil option next to the circle and select an avatar you like.

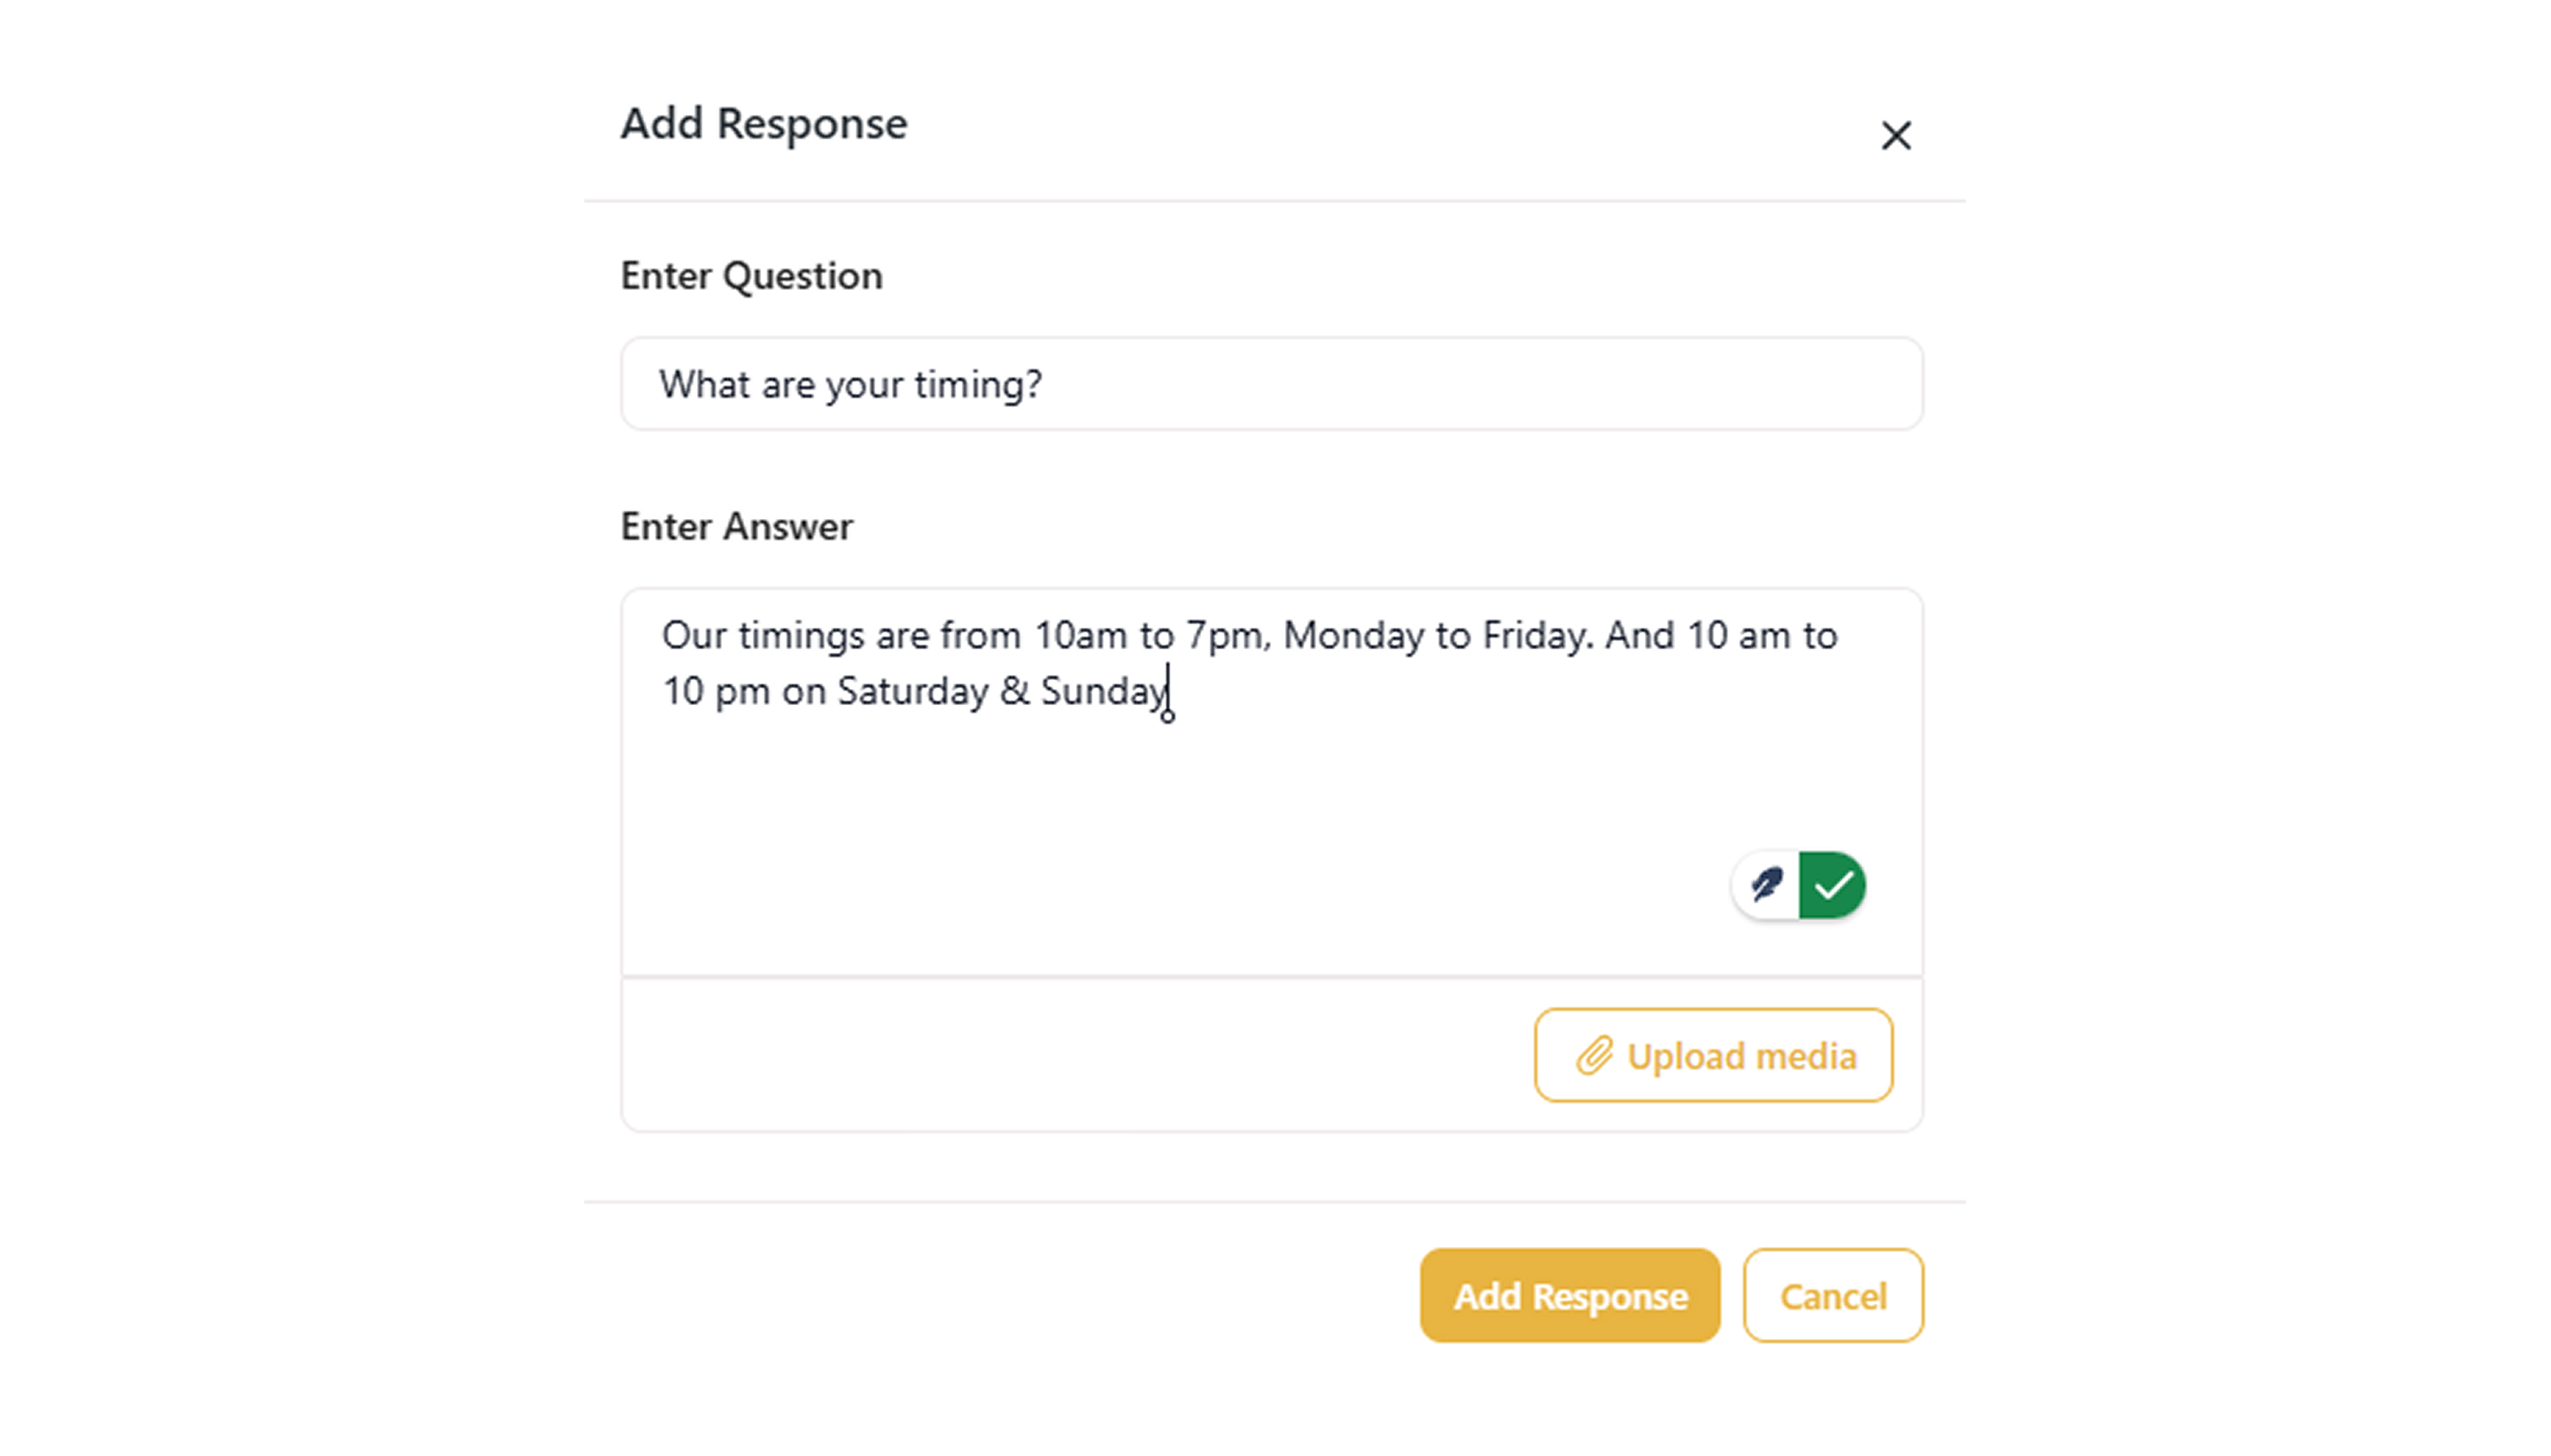
- To edit bot responses, click on Bot Responses.
- Click Add Bot Response. Add the question and answer you’d like the bot to handle, then click Add Response.
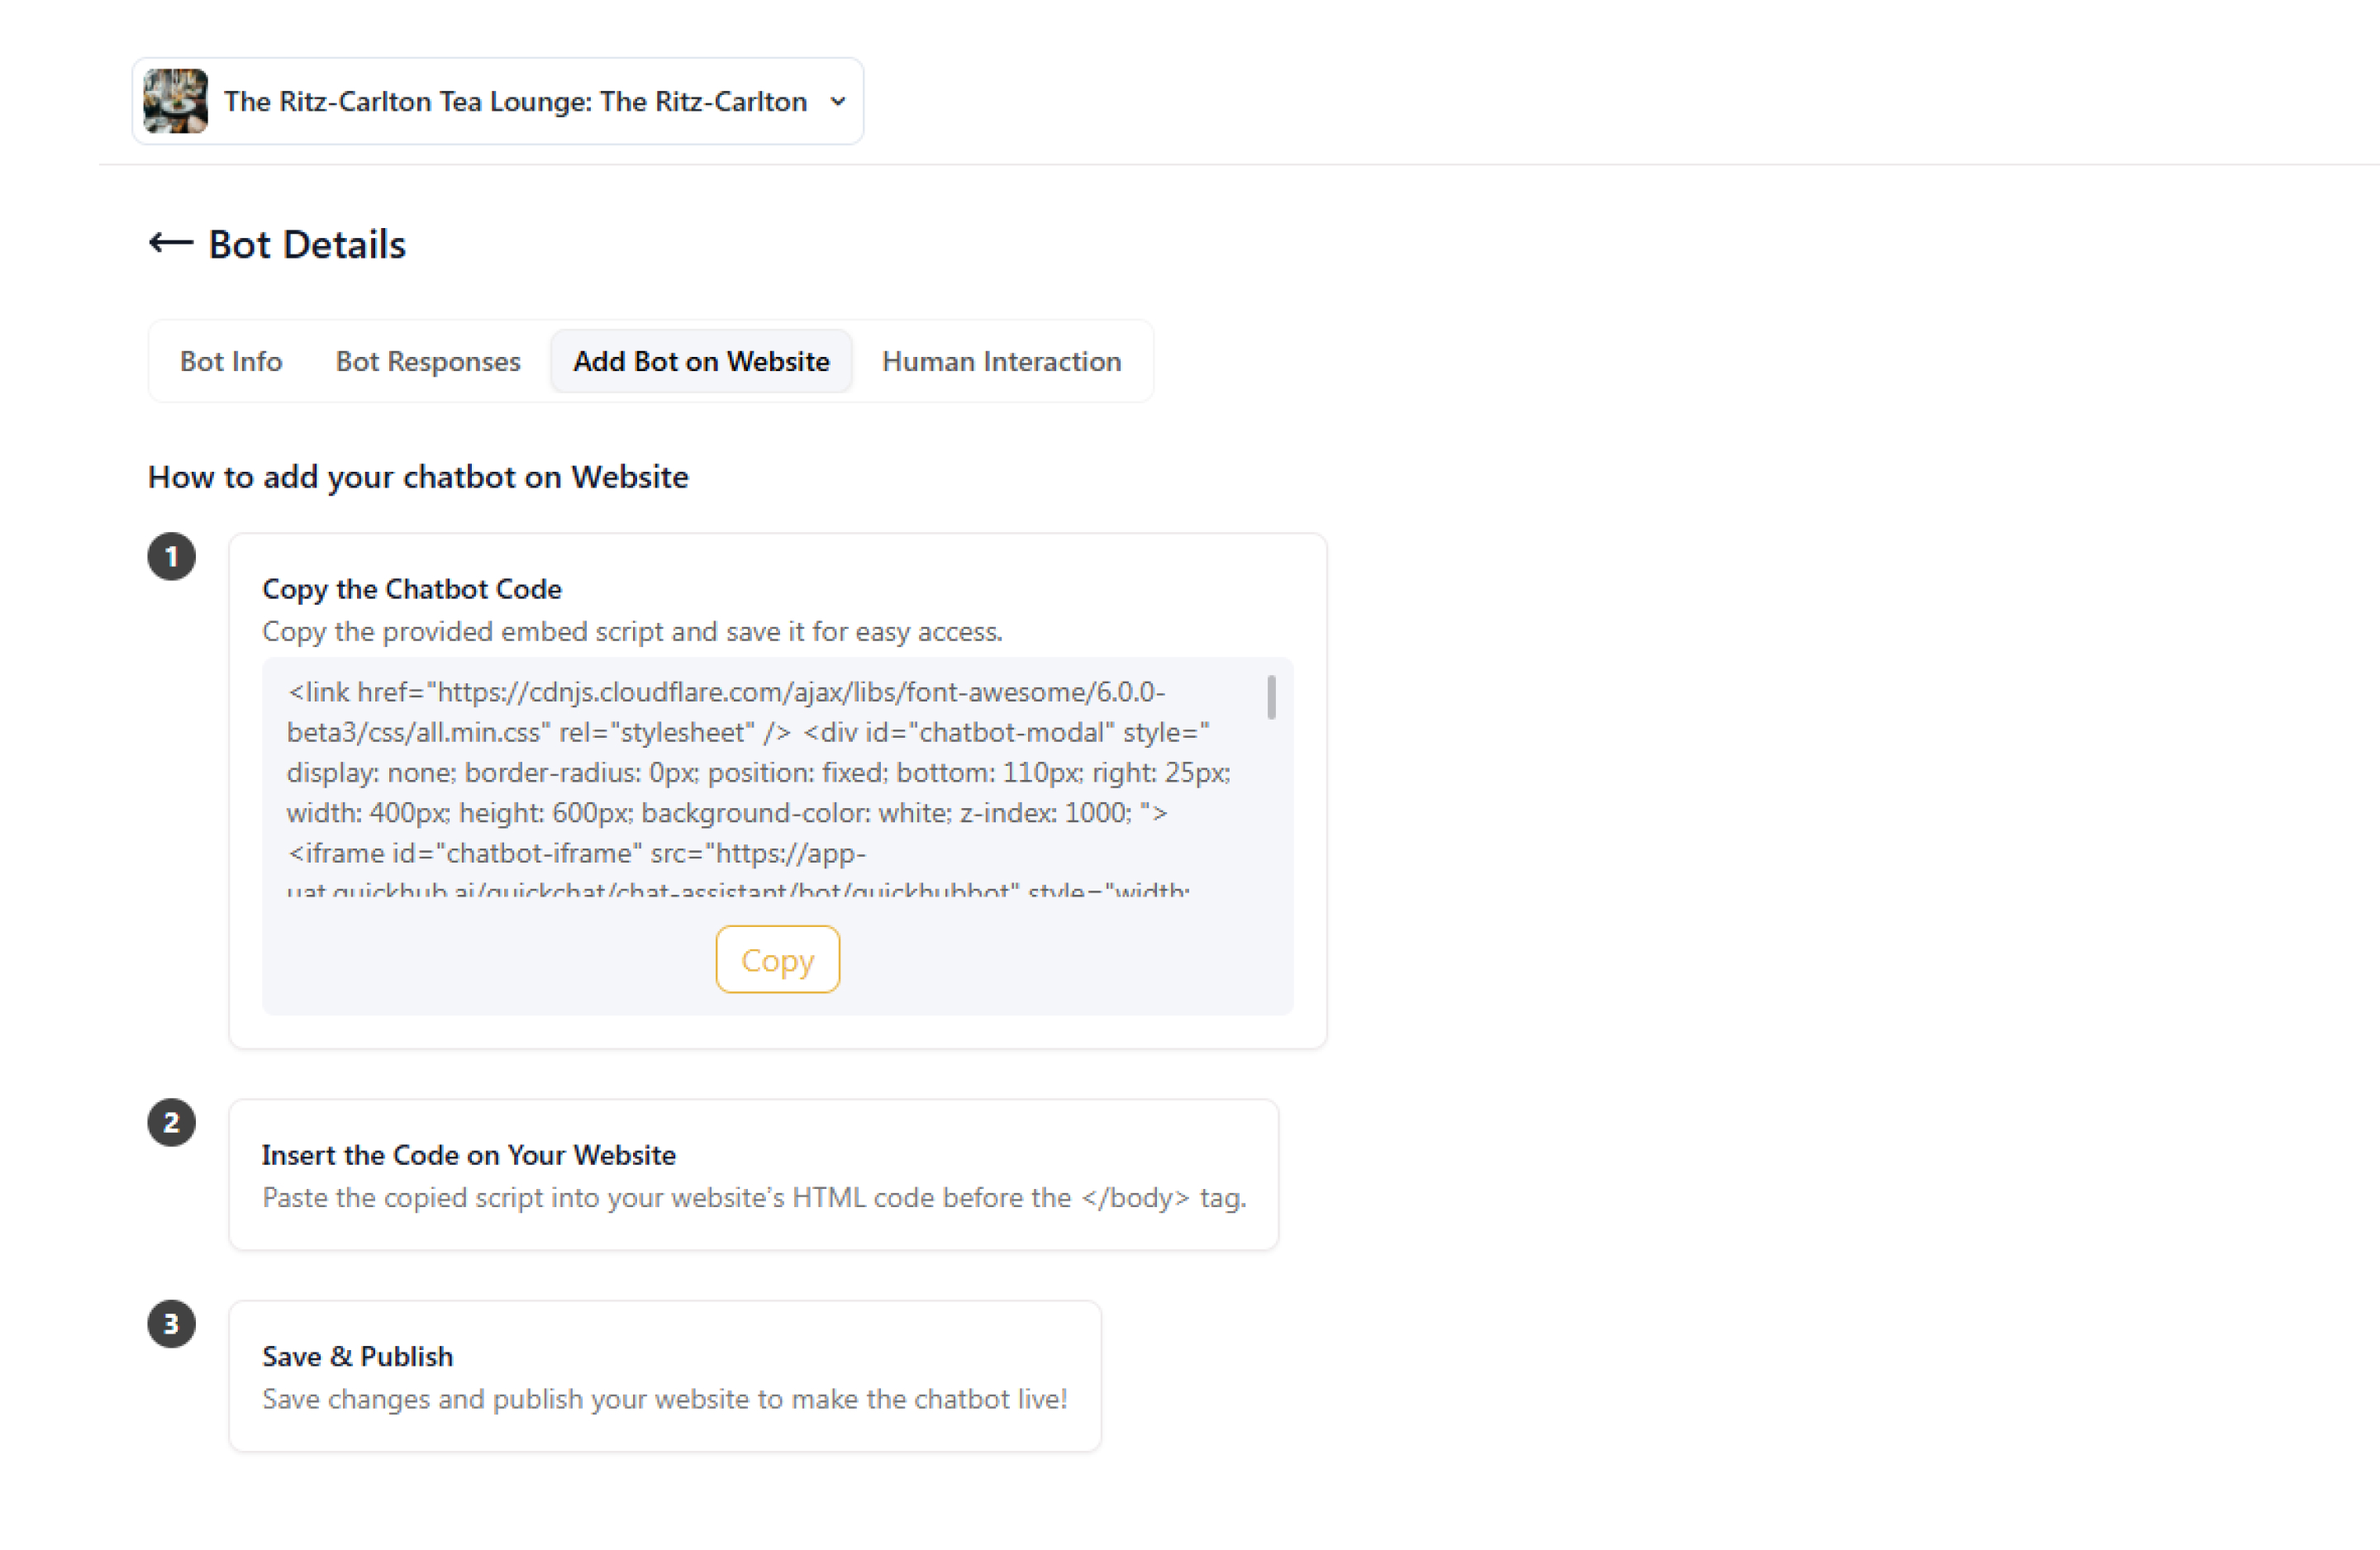
- To add the chatbot to your website, go to Add Bot on Website.
-
Click Copy.
-
You can add this link to your website.
-
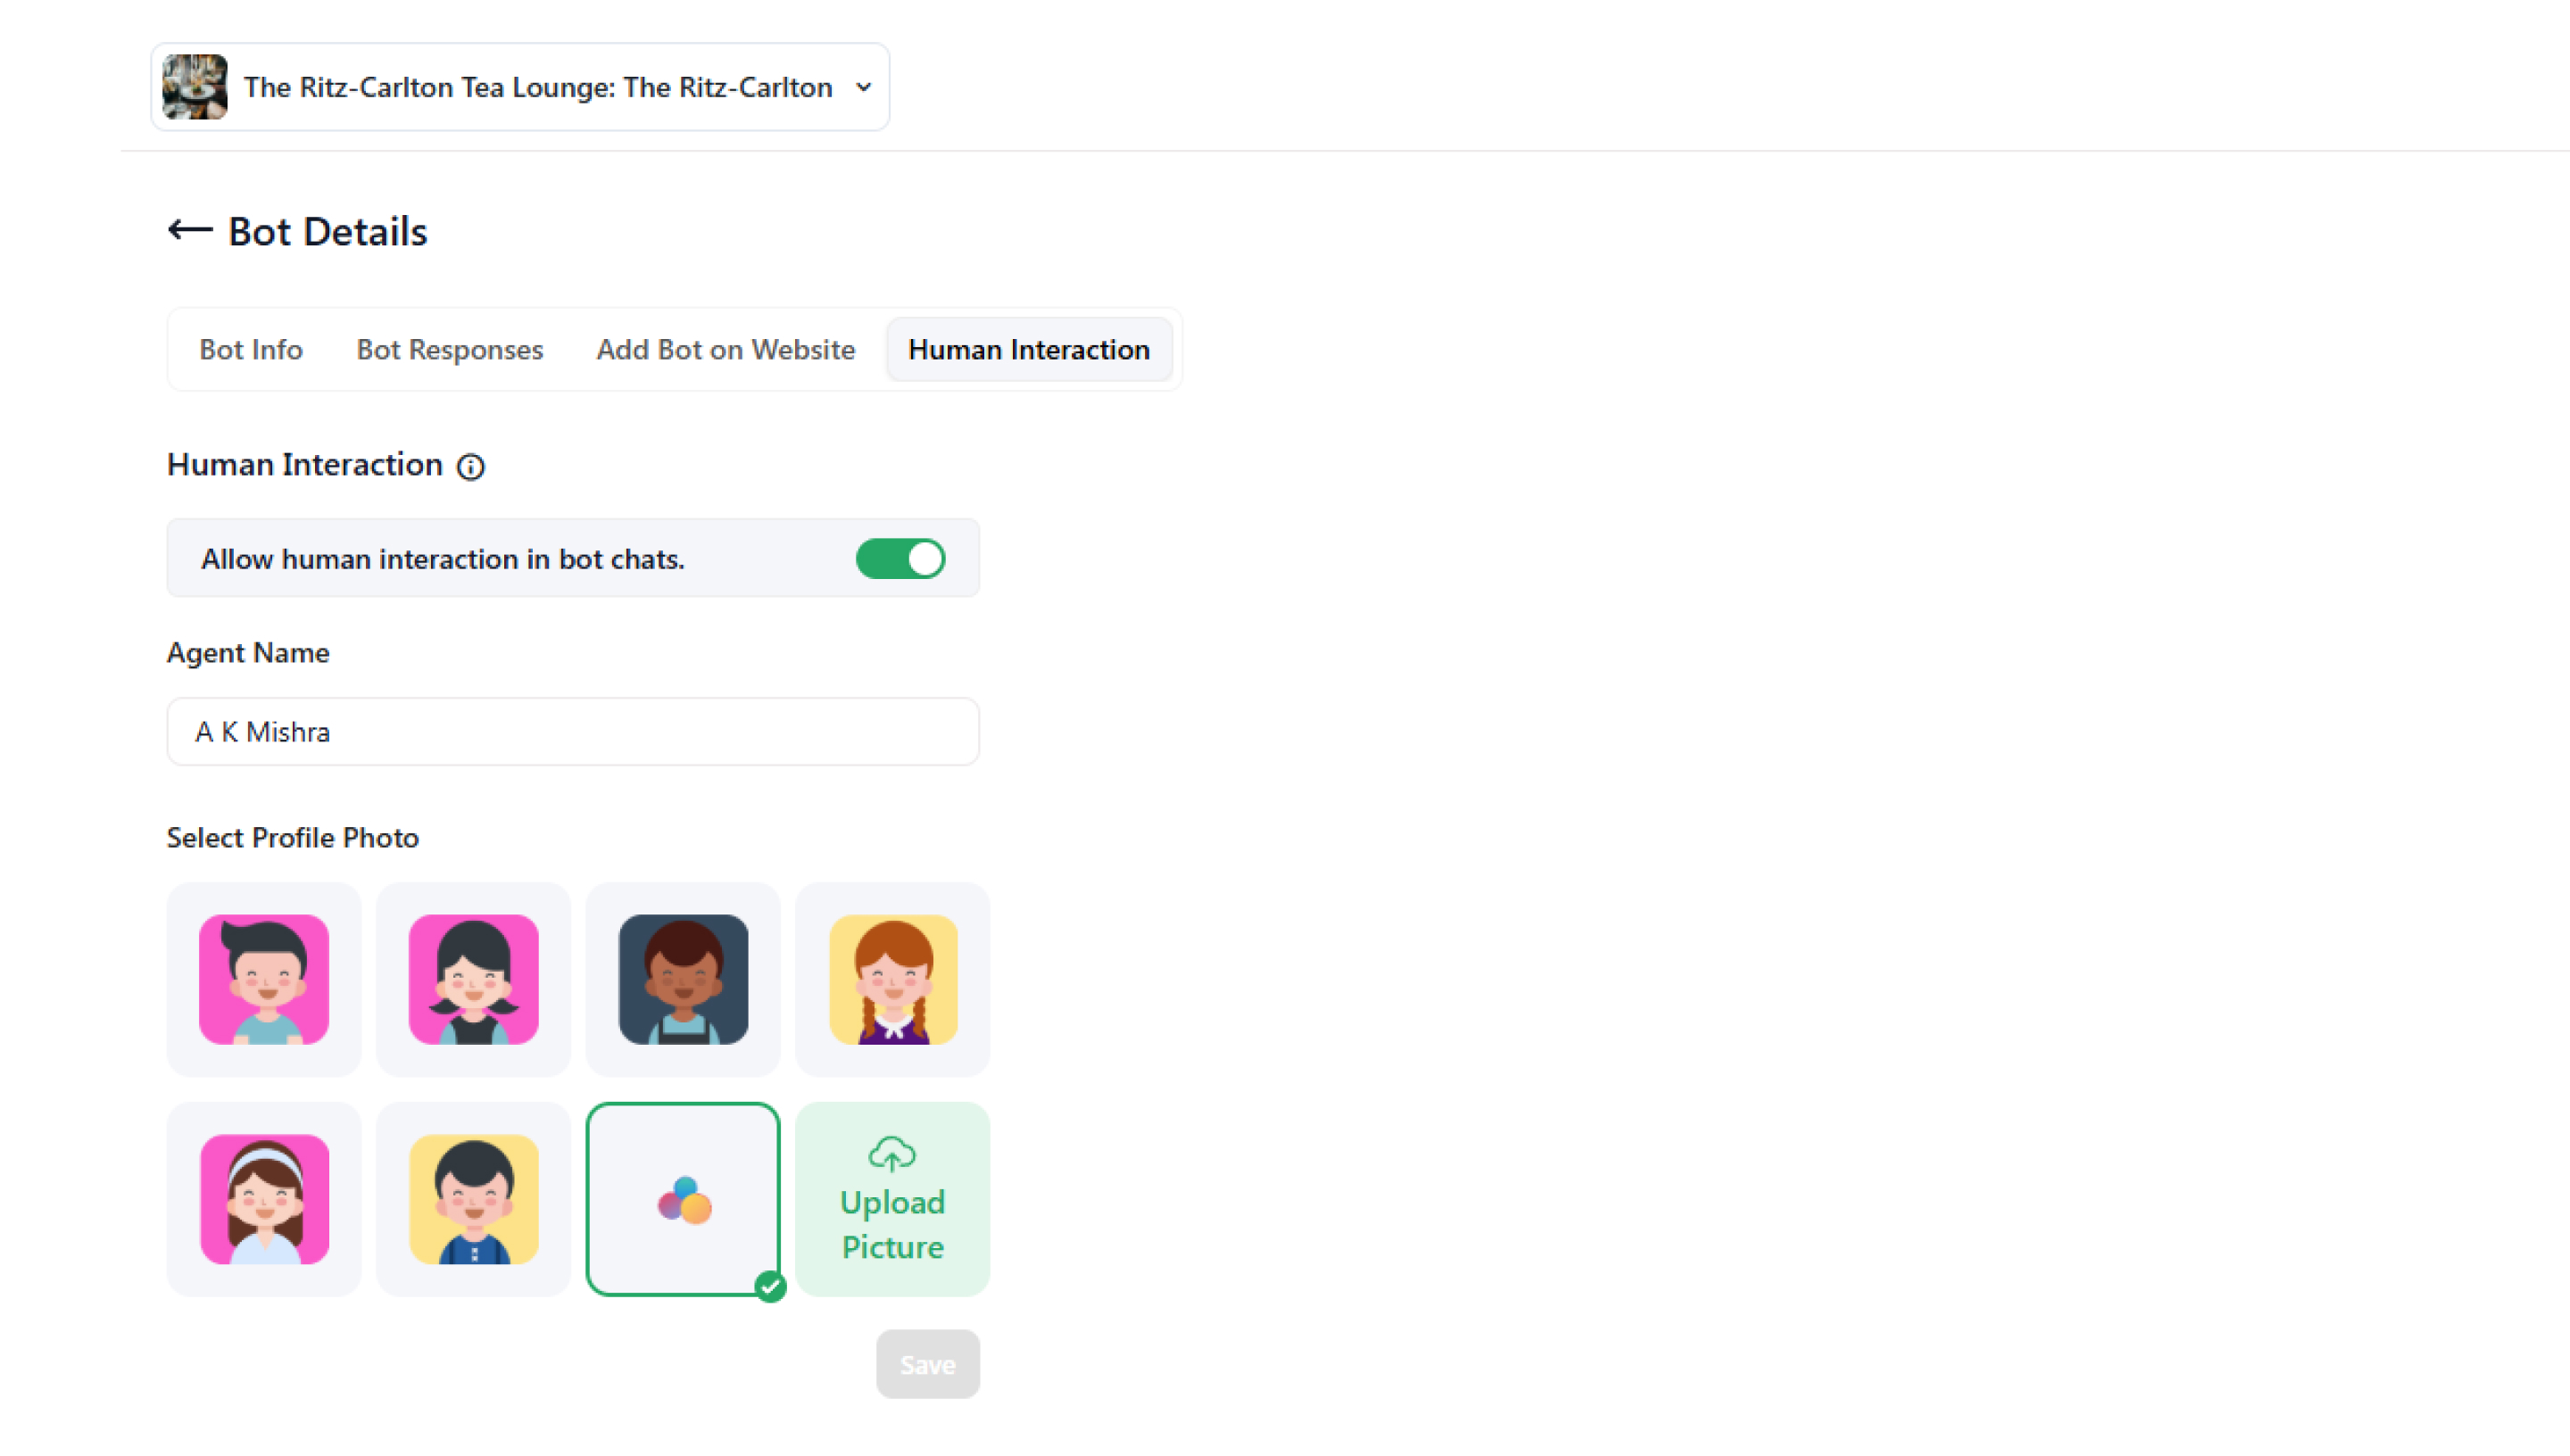
To enable human interaction, click the Human Interaction tab and toggle to turn it on.
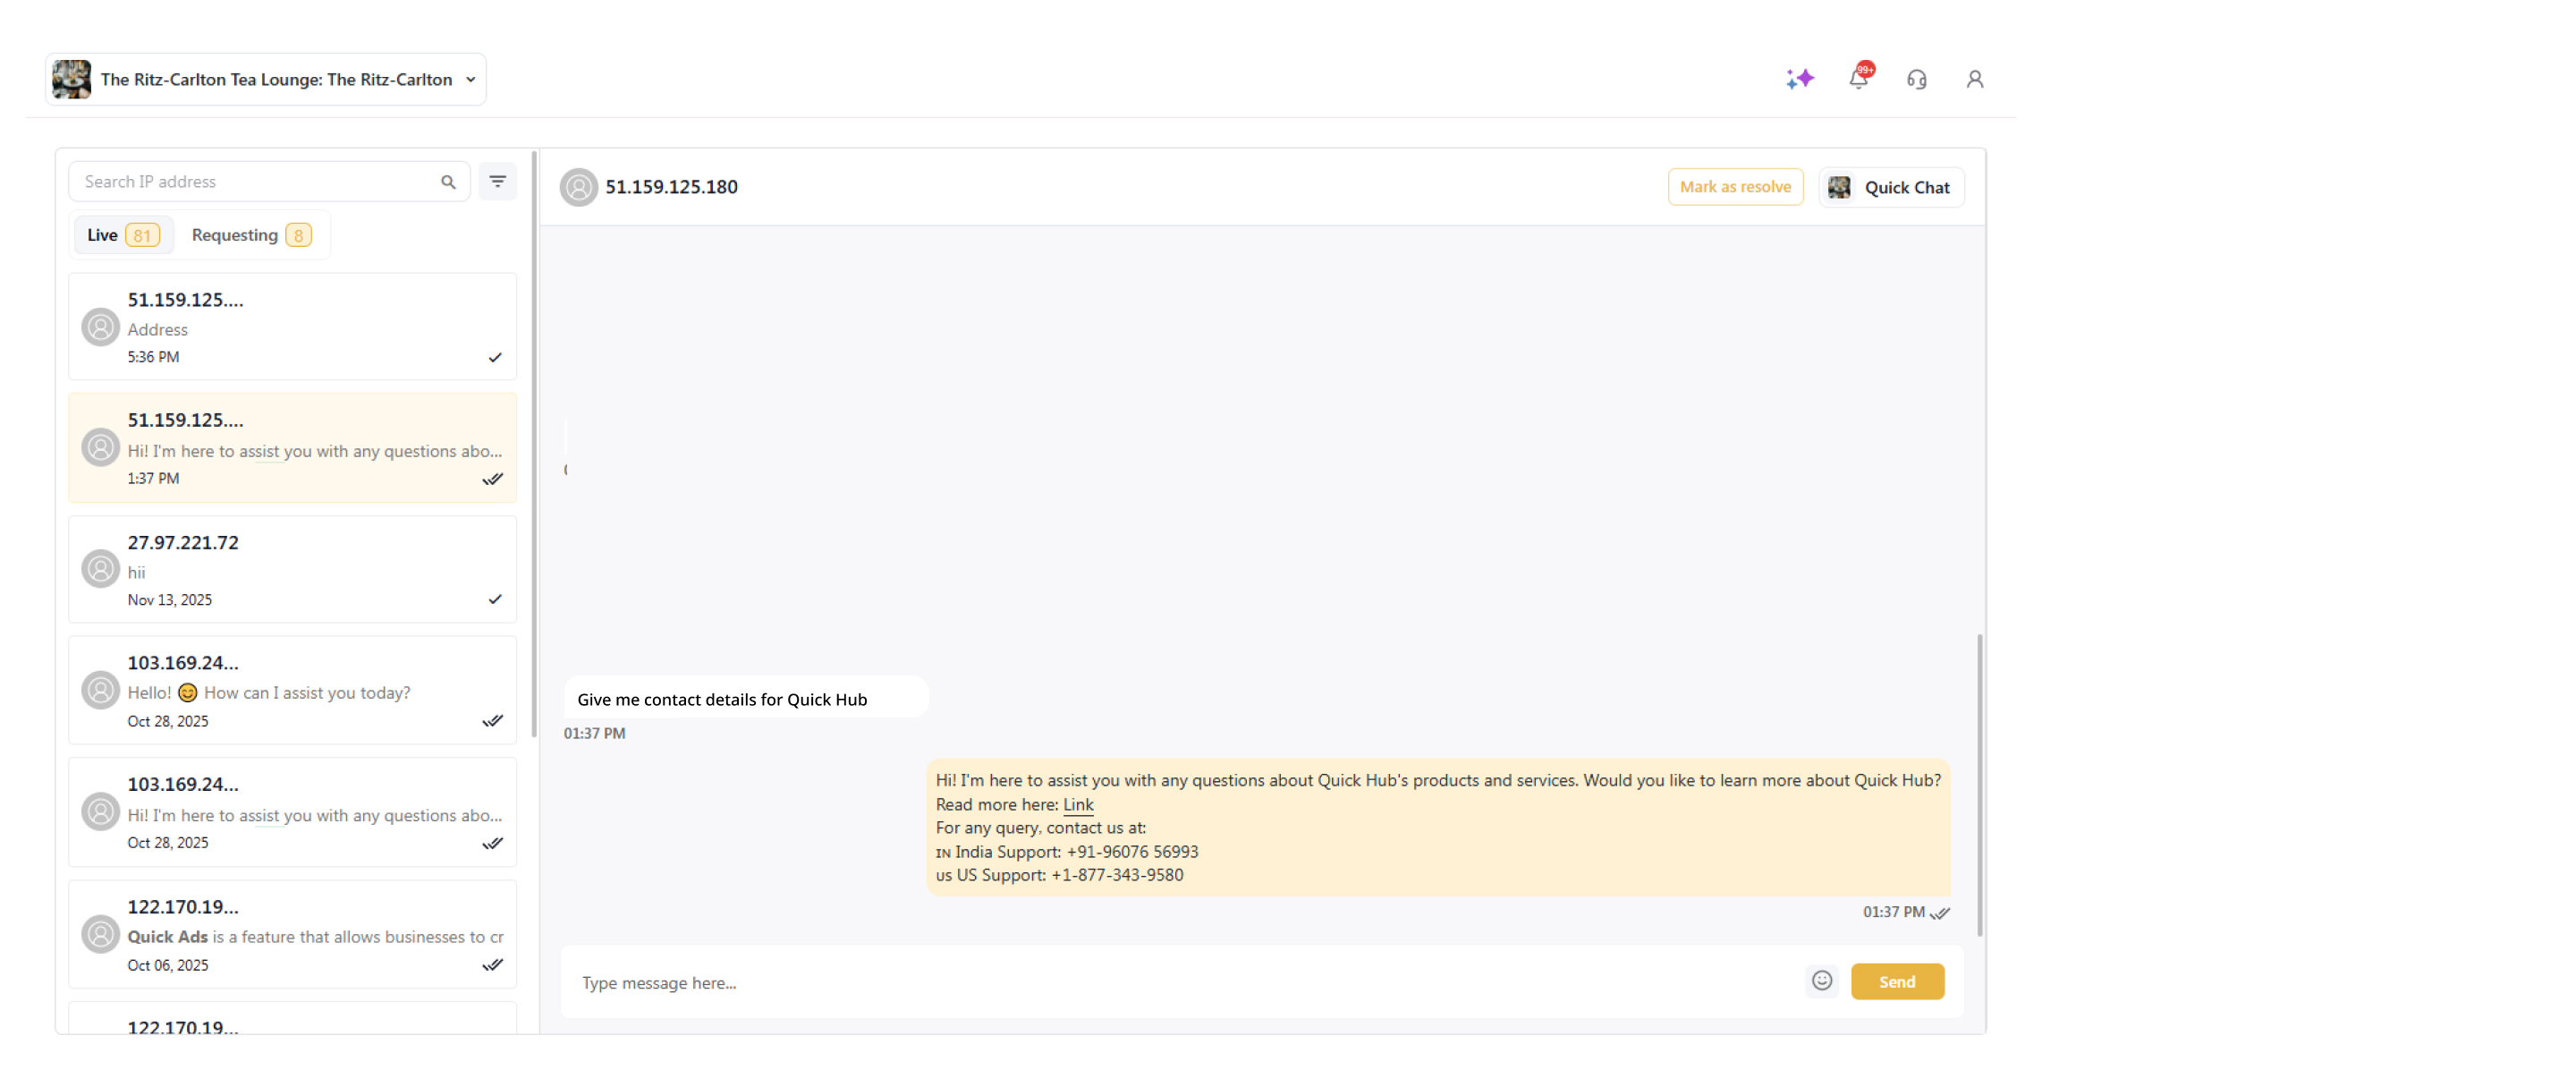
- To check the number of live chats, click on Chats under the Quick Chat option.
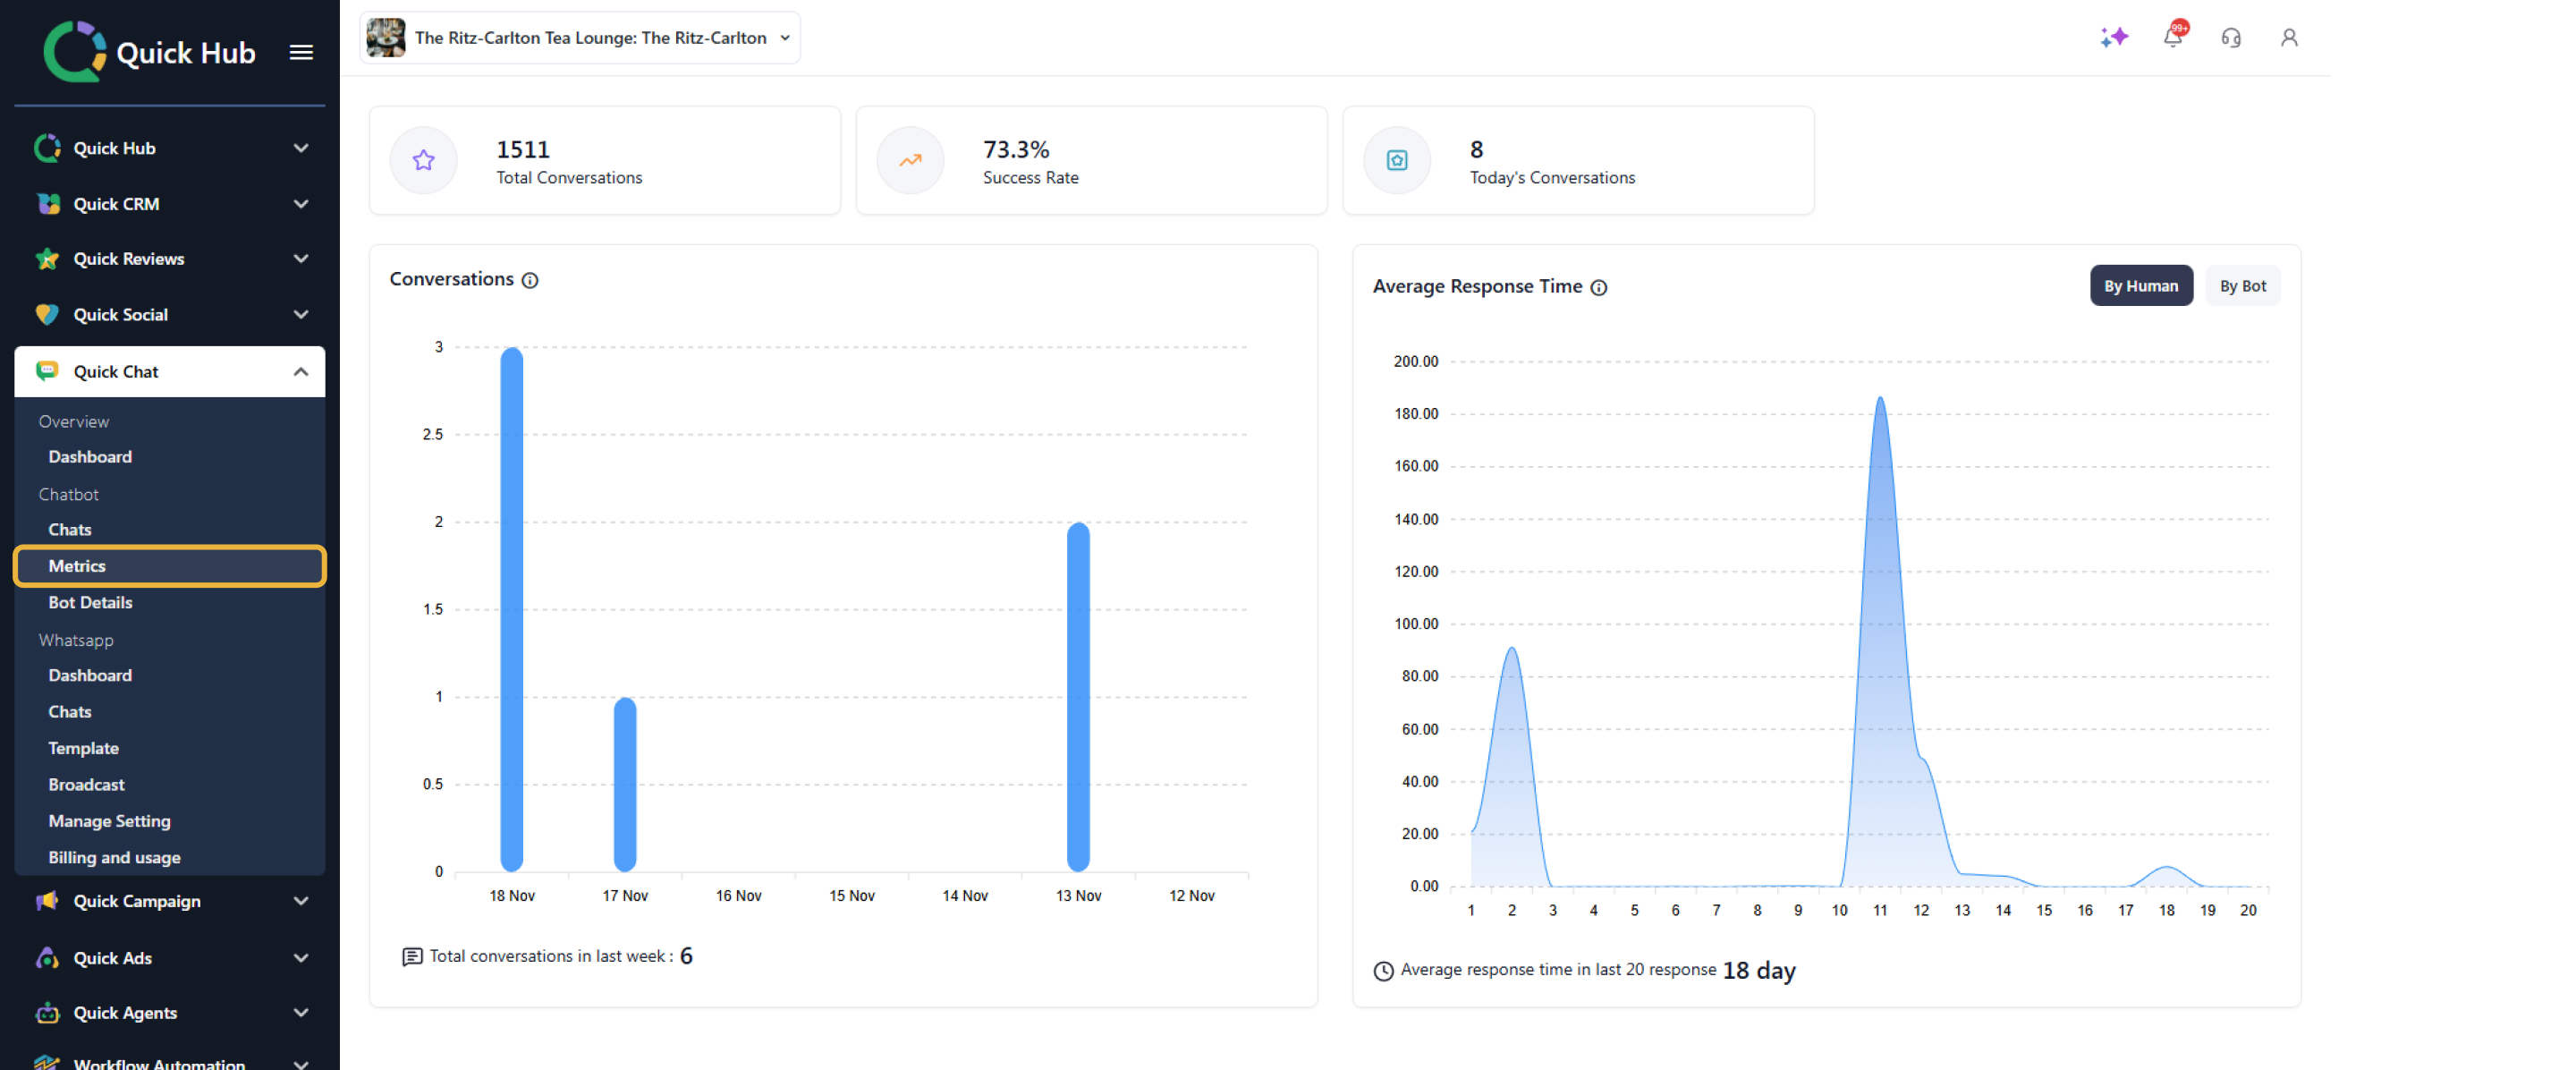
- To check the metrics, average response time, total conversations, and success rate, click on Metrics.
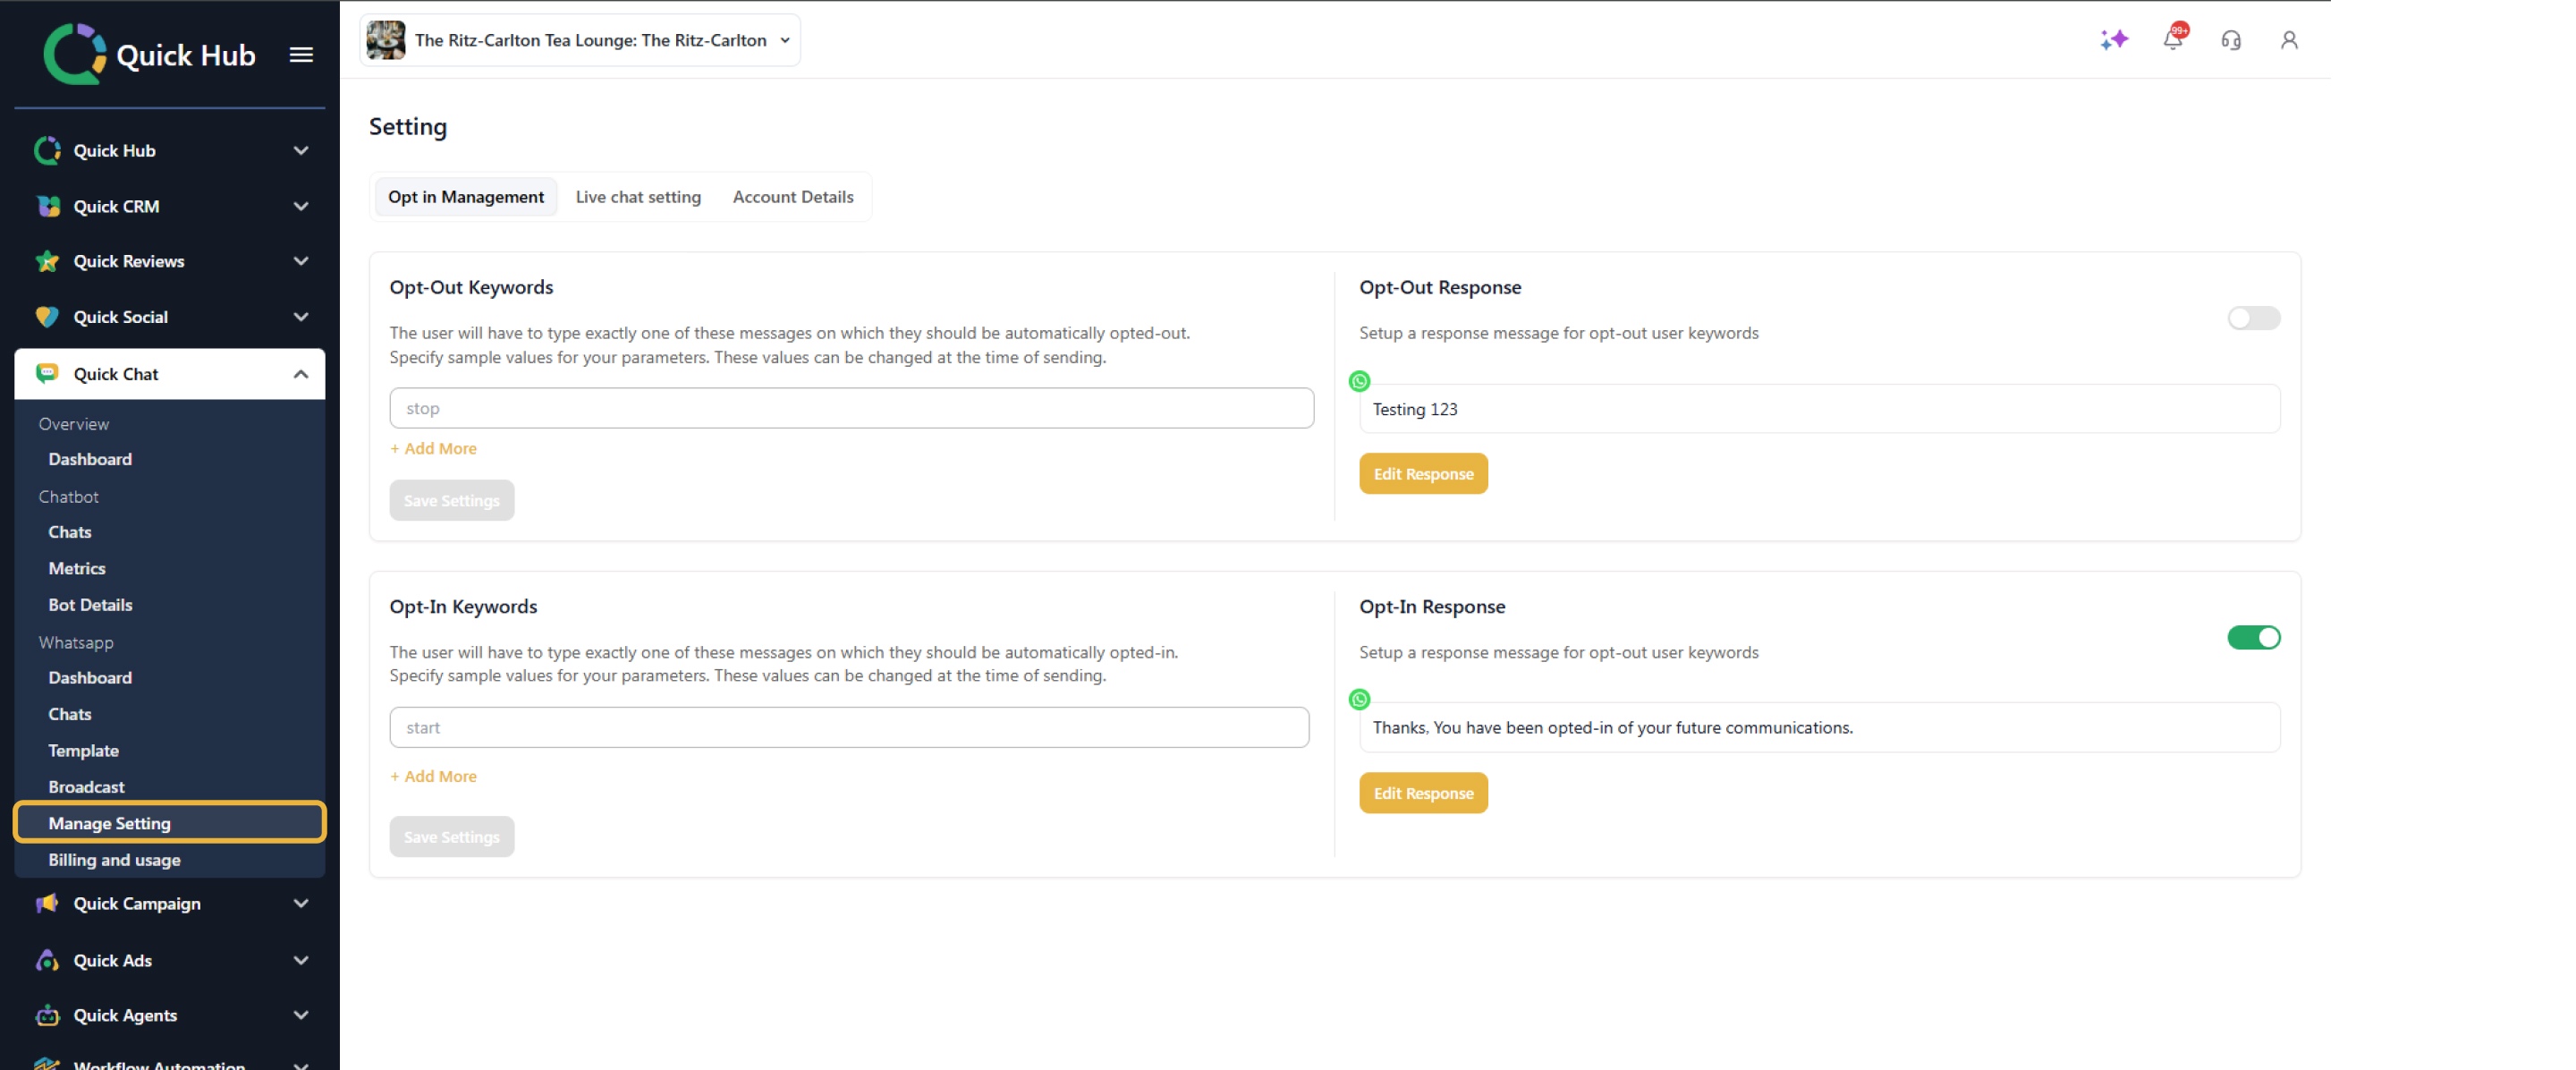
- To manage settings for the WhatsApp chatbot, click on Manage Settings.
-
In Opt-in Management, set opt-in/opt-out keywords for automated replies. Toggle the feature on or off and use Edit Response to customize.
-
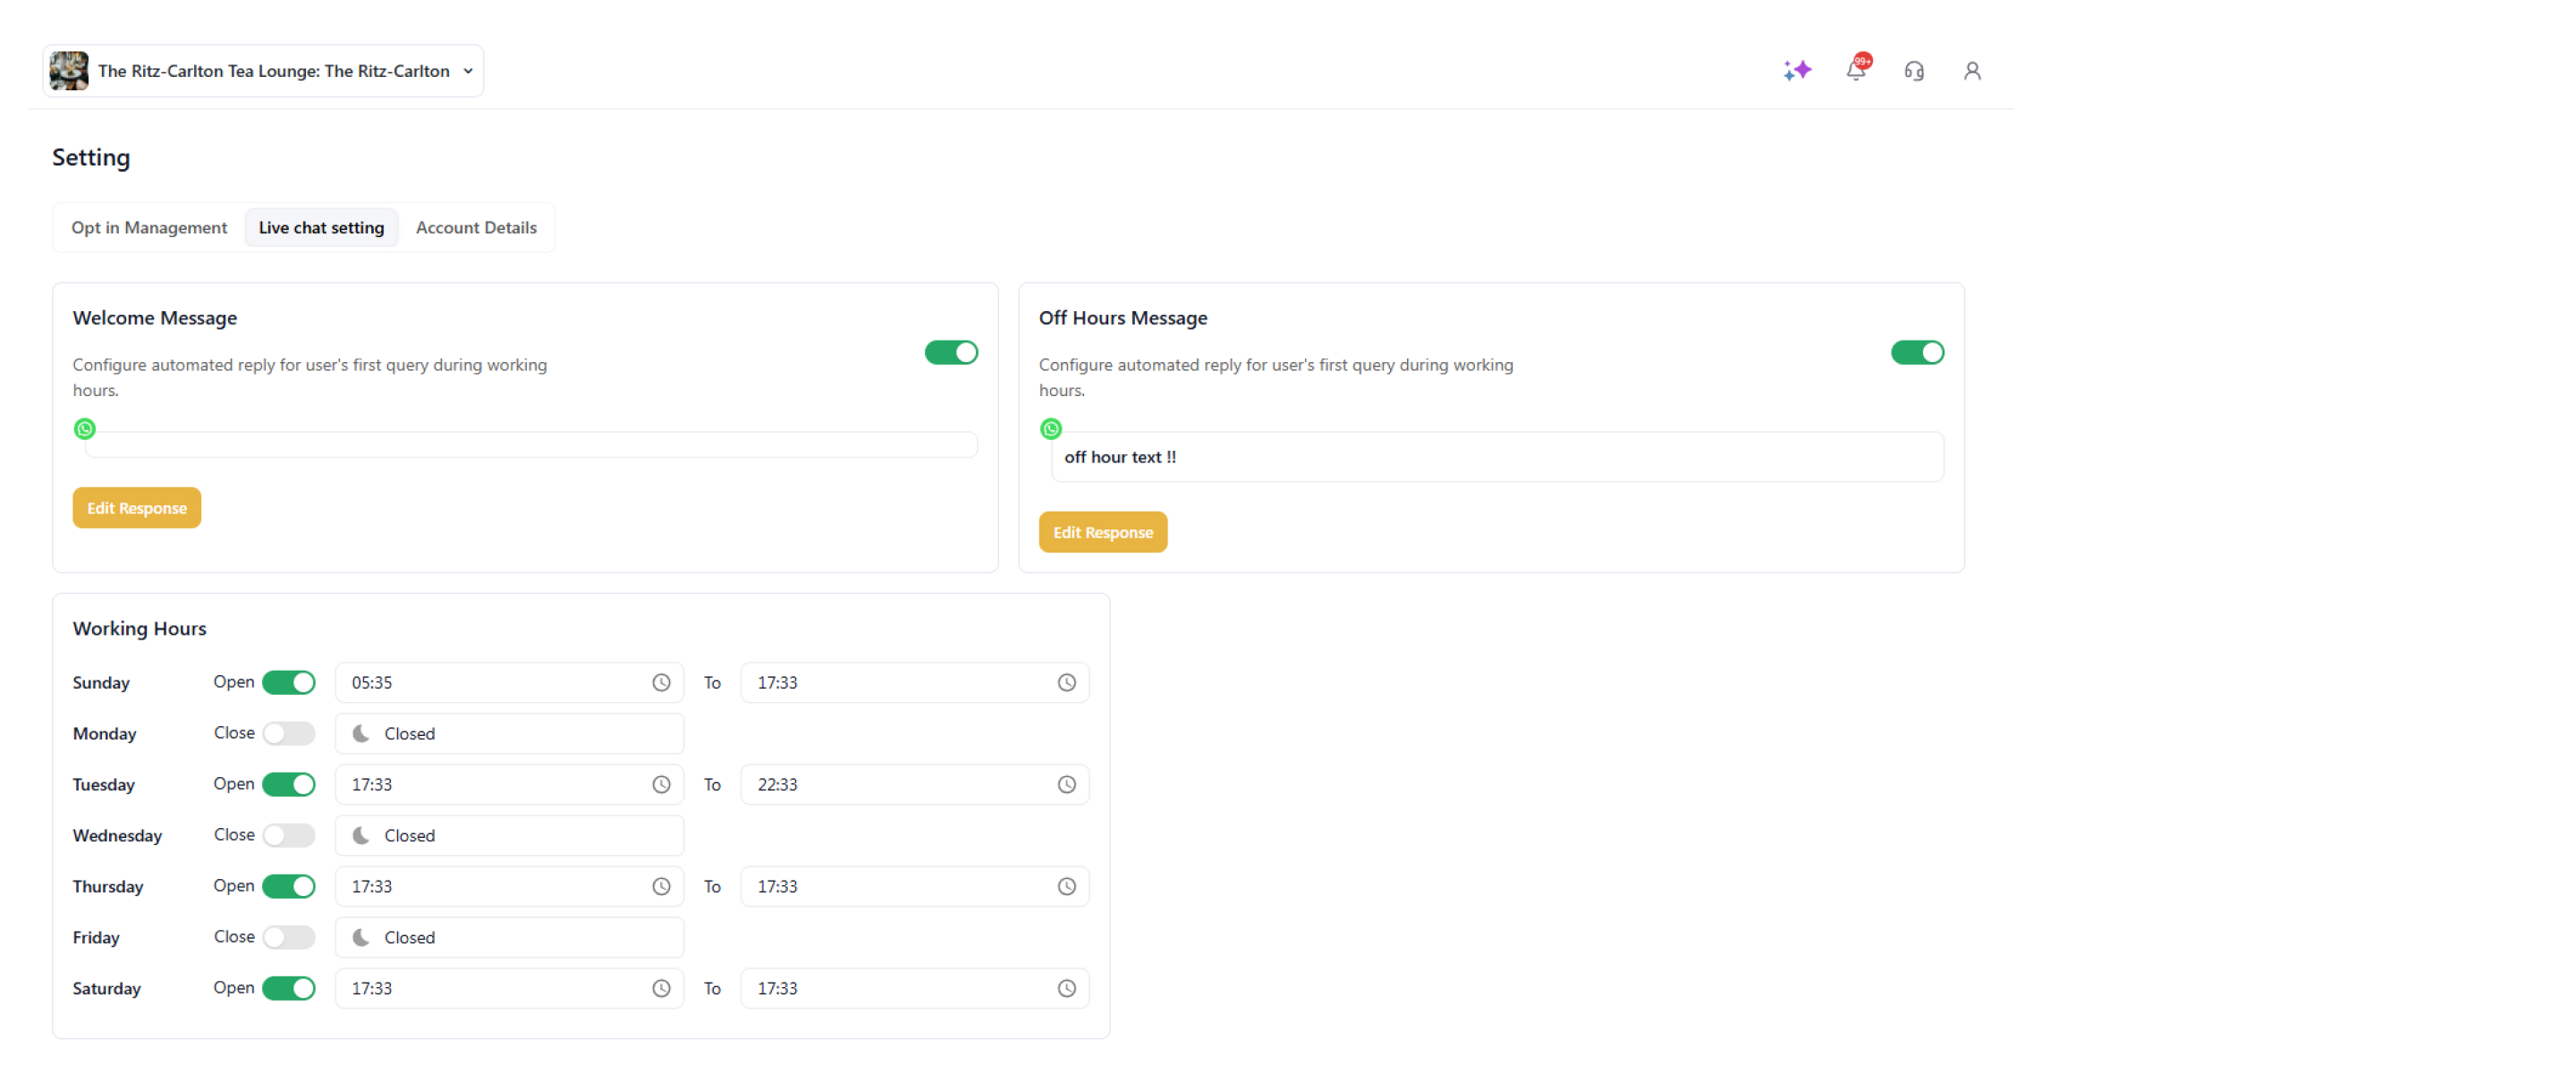
Click on Live Chat Settings to configure an automated reply for the user’s first query during working hours. Click Edit Response to write a custom response.
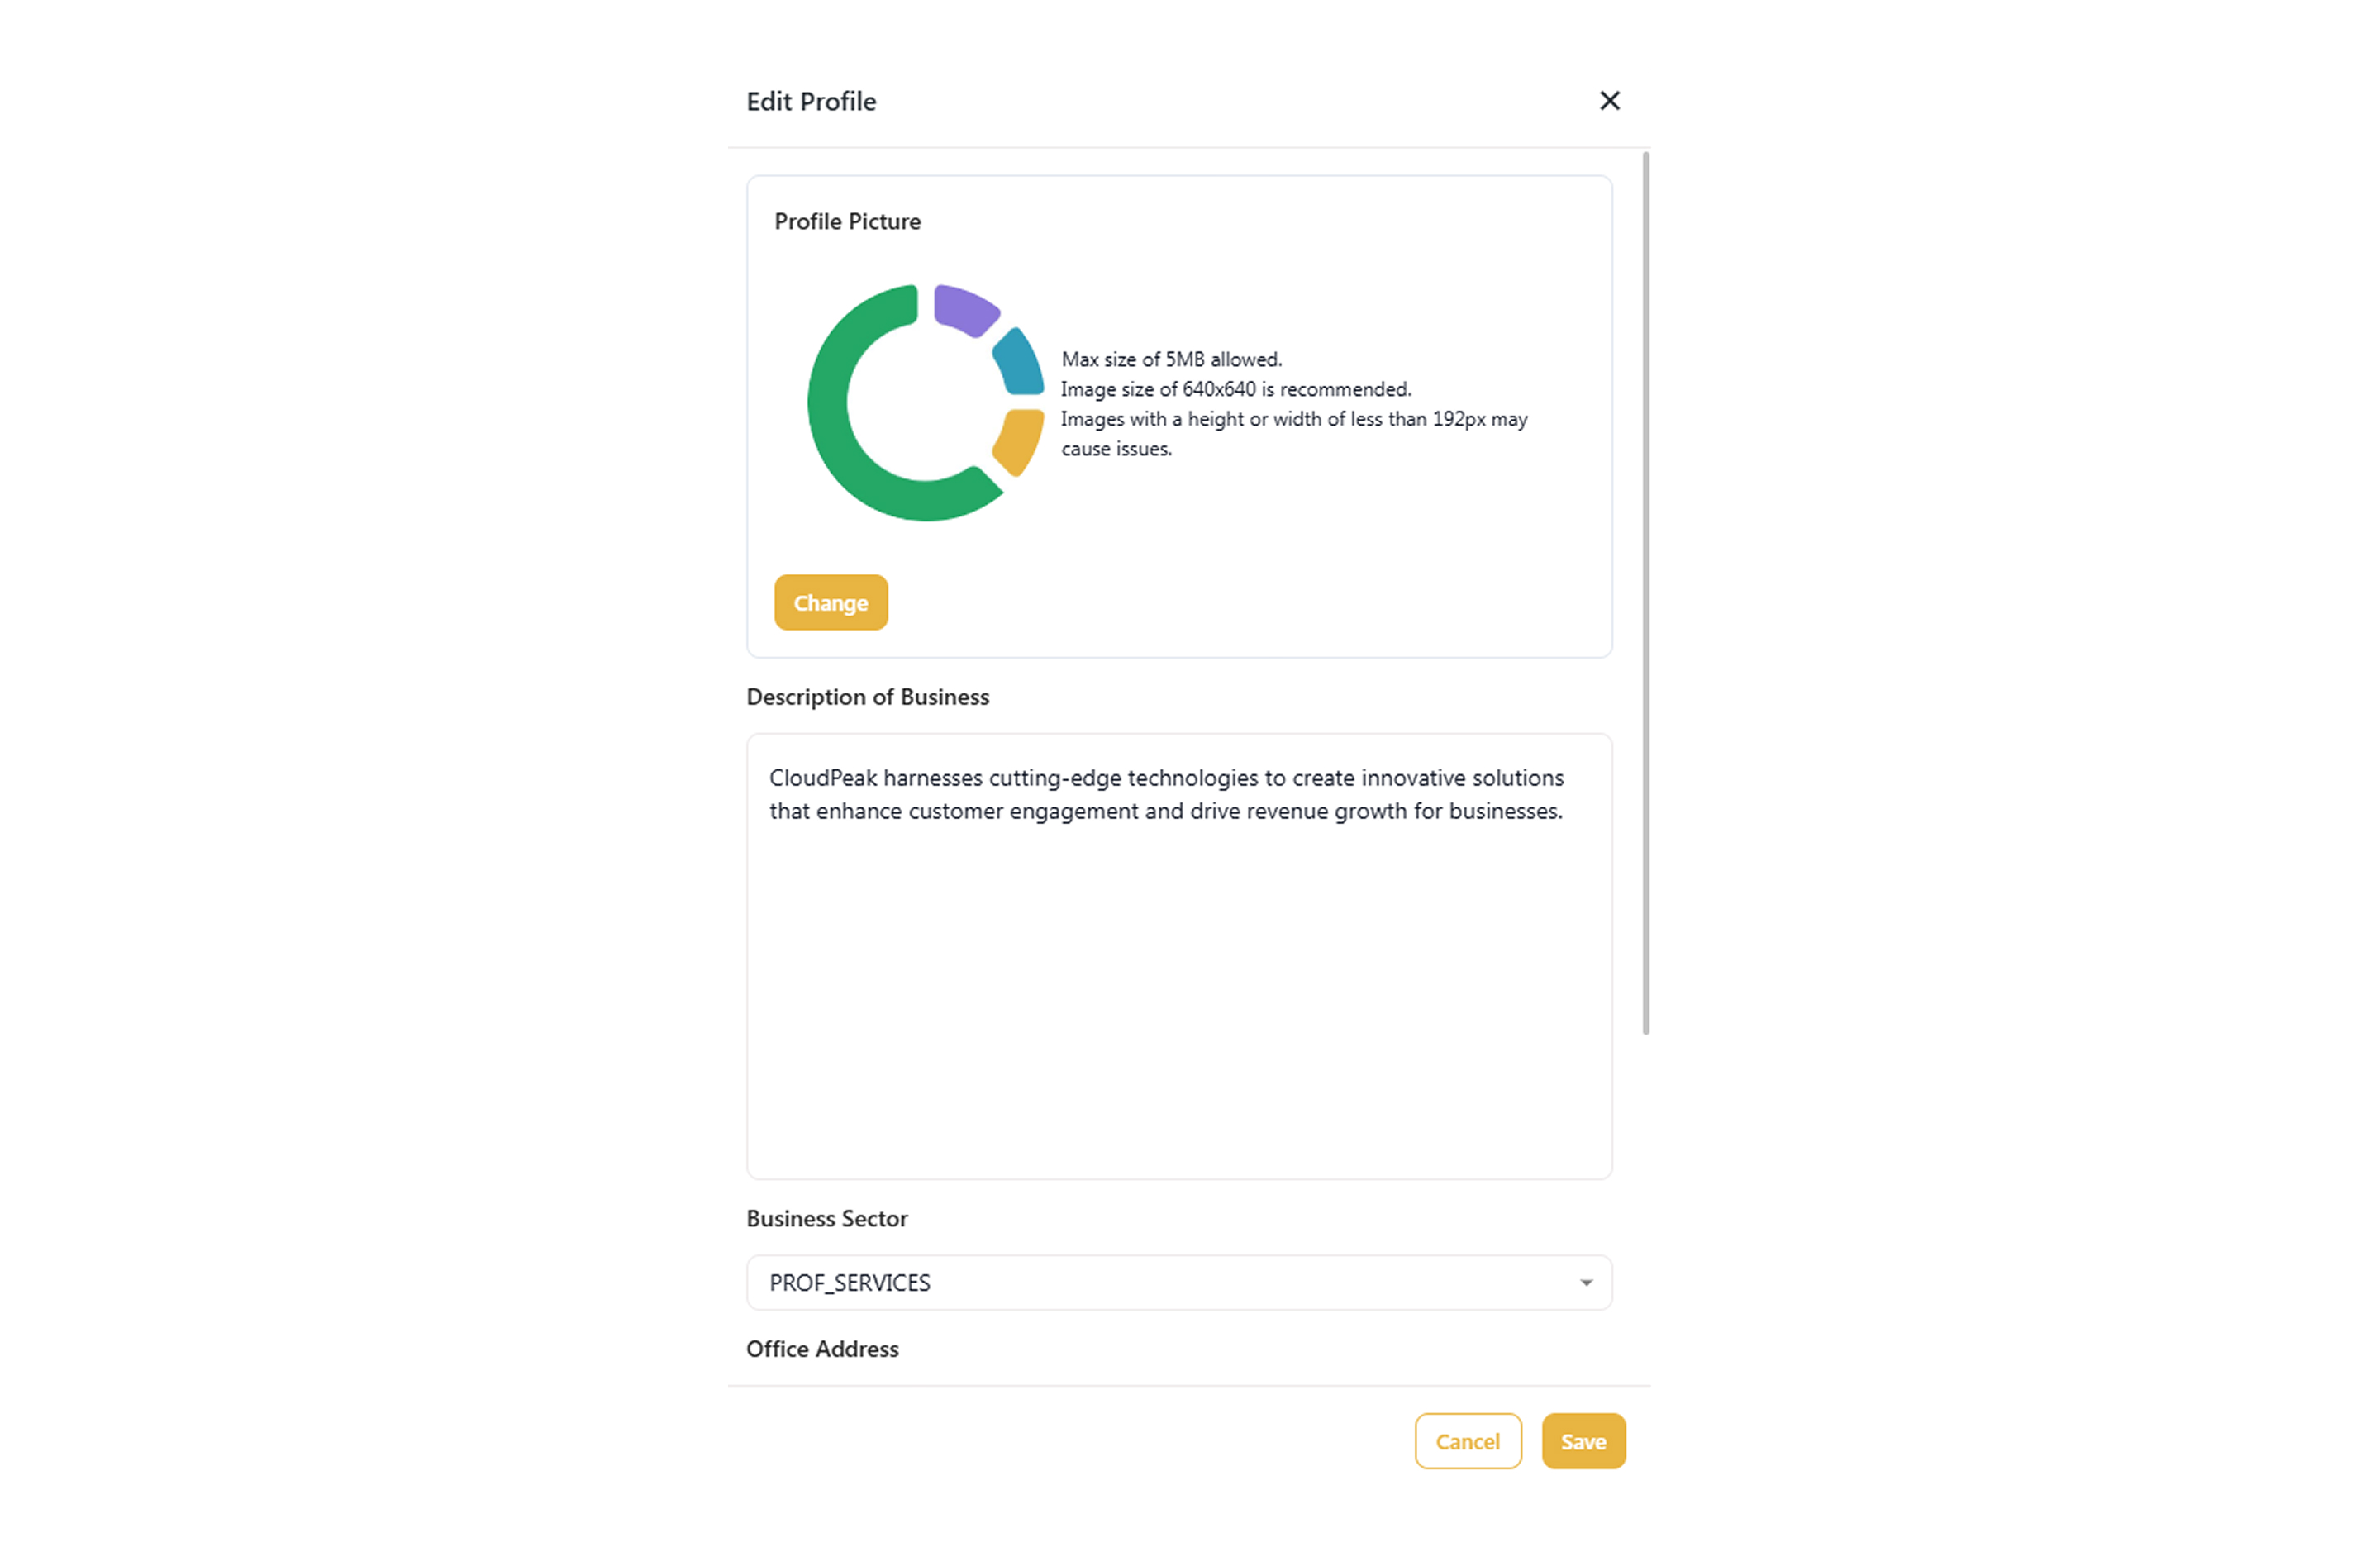
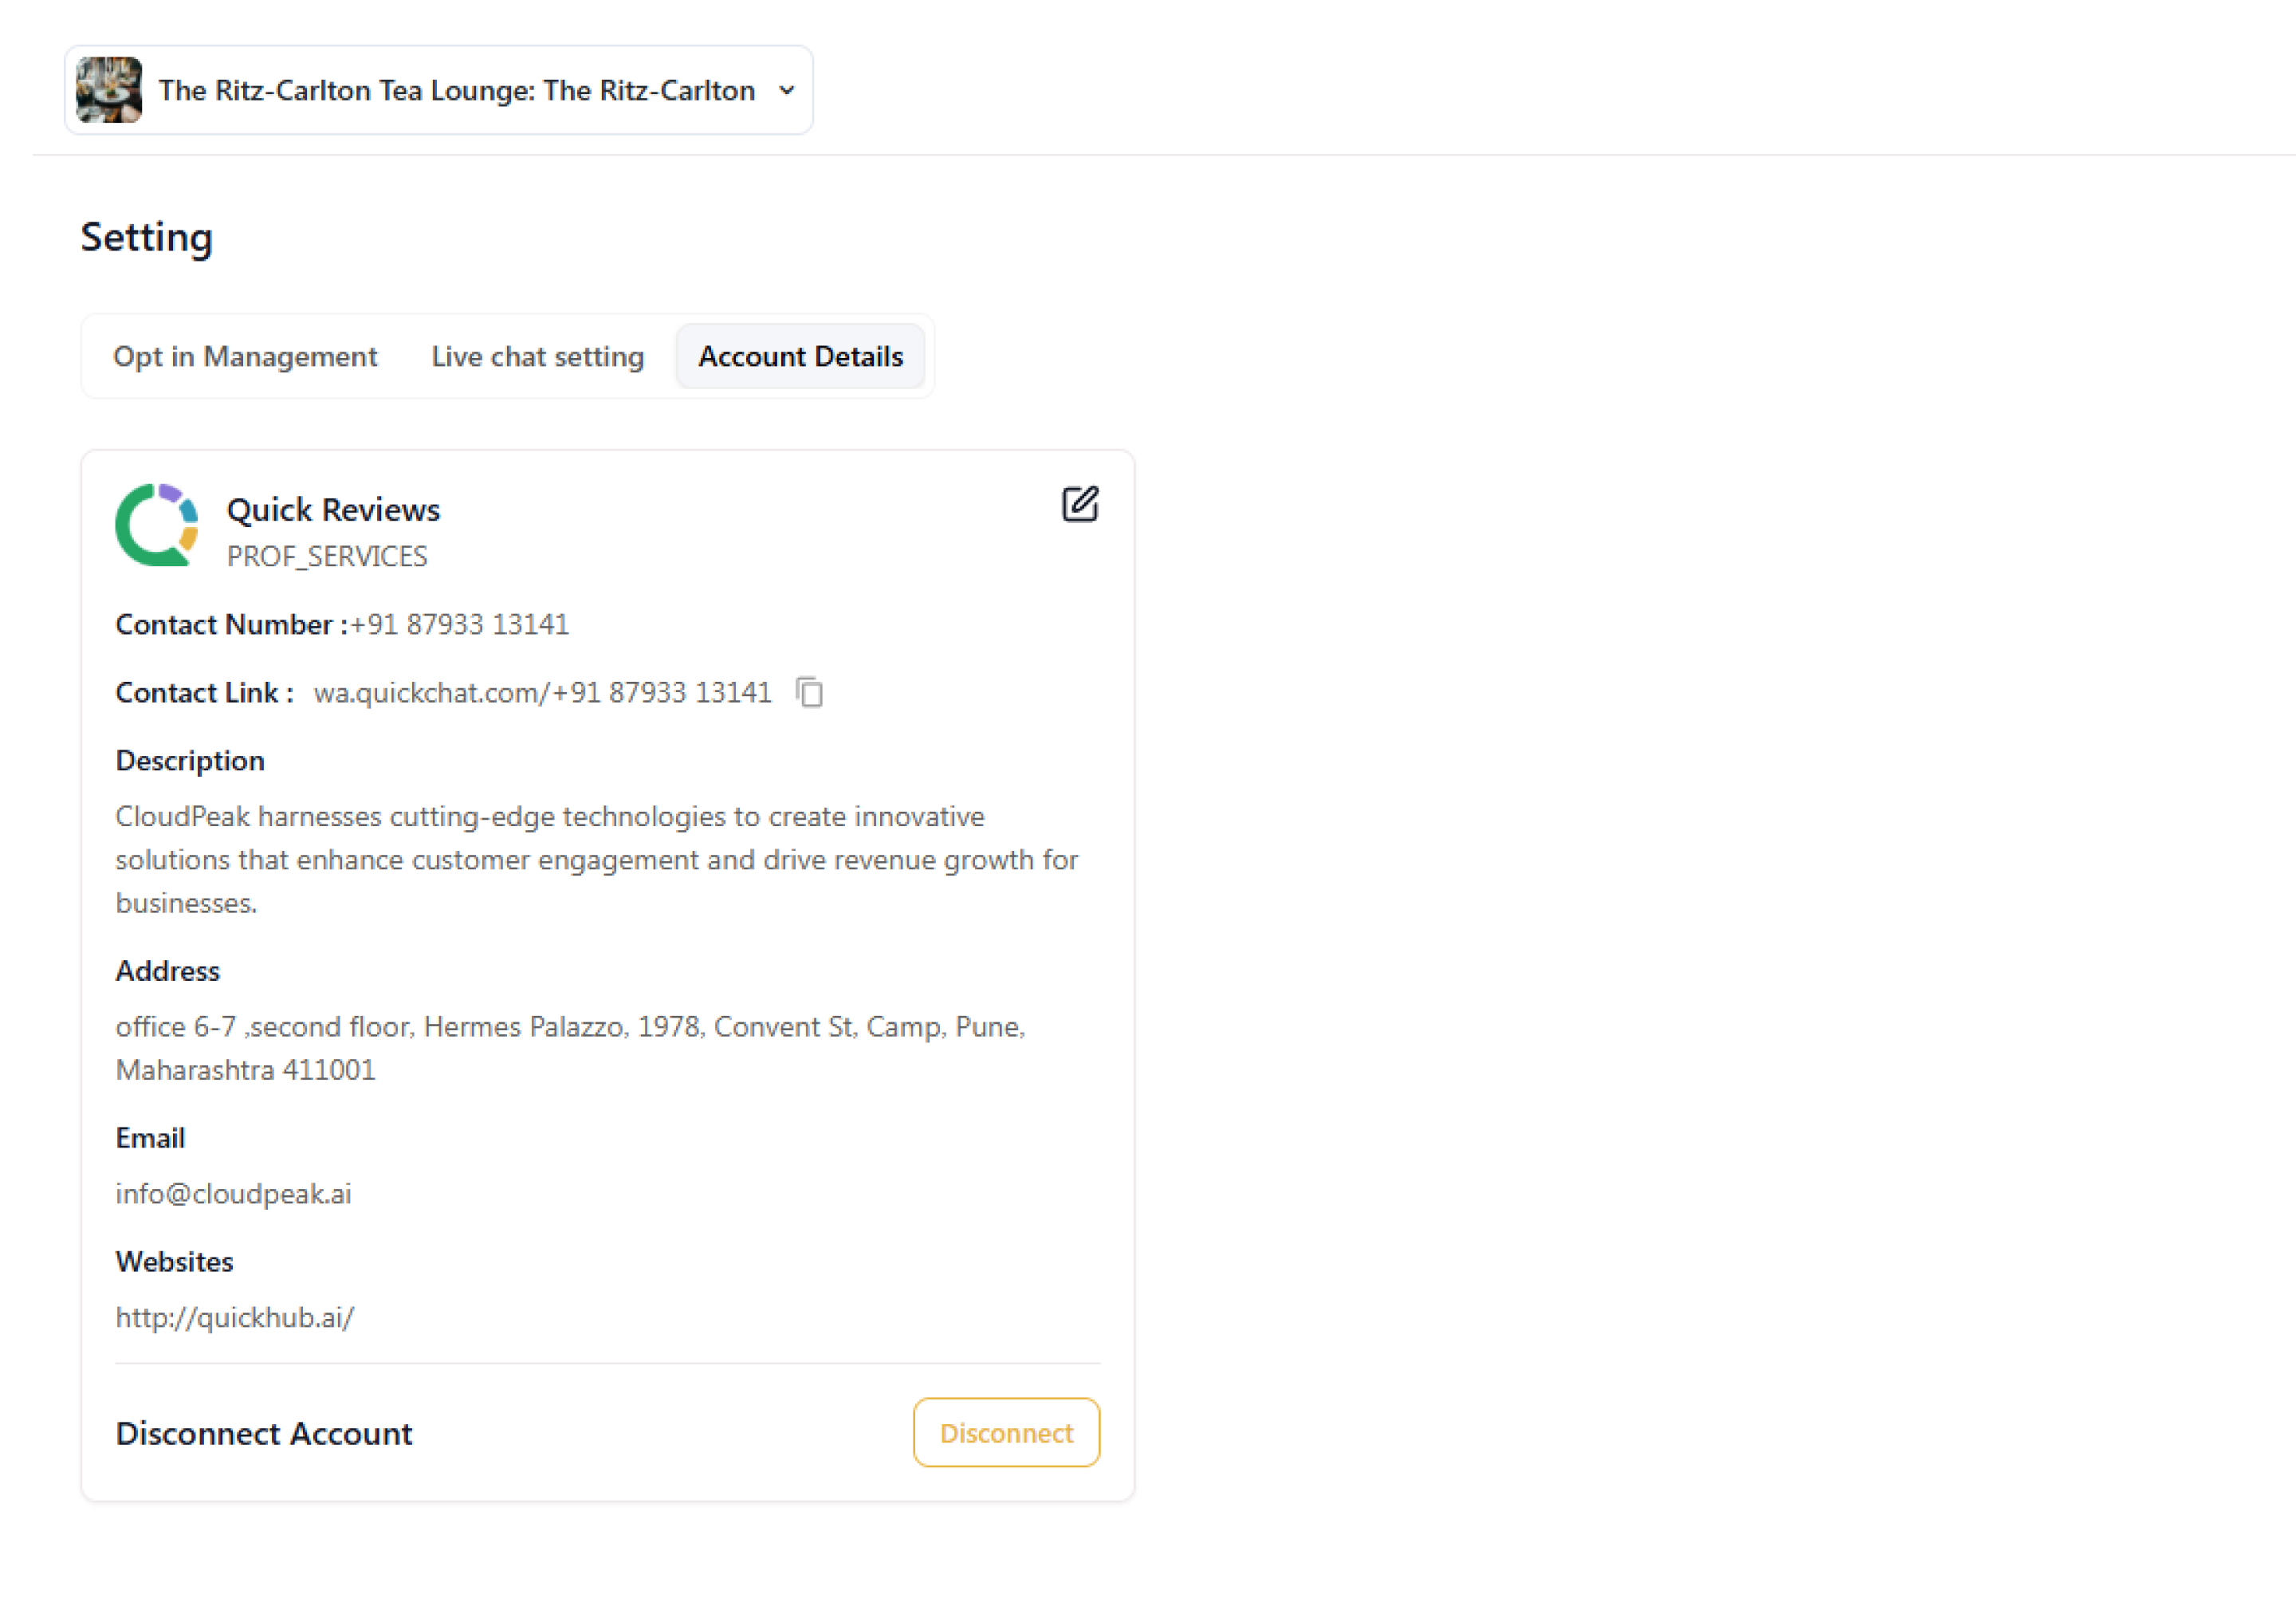
- Go to Account Details and click the Edit icon to update your business photo, contact info, description, address, email, and website.
- Once you have entered the details, click on Save.