How to Create, Edit, and Review Ad Campaigns
-
Go to Quick Hub.
-
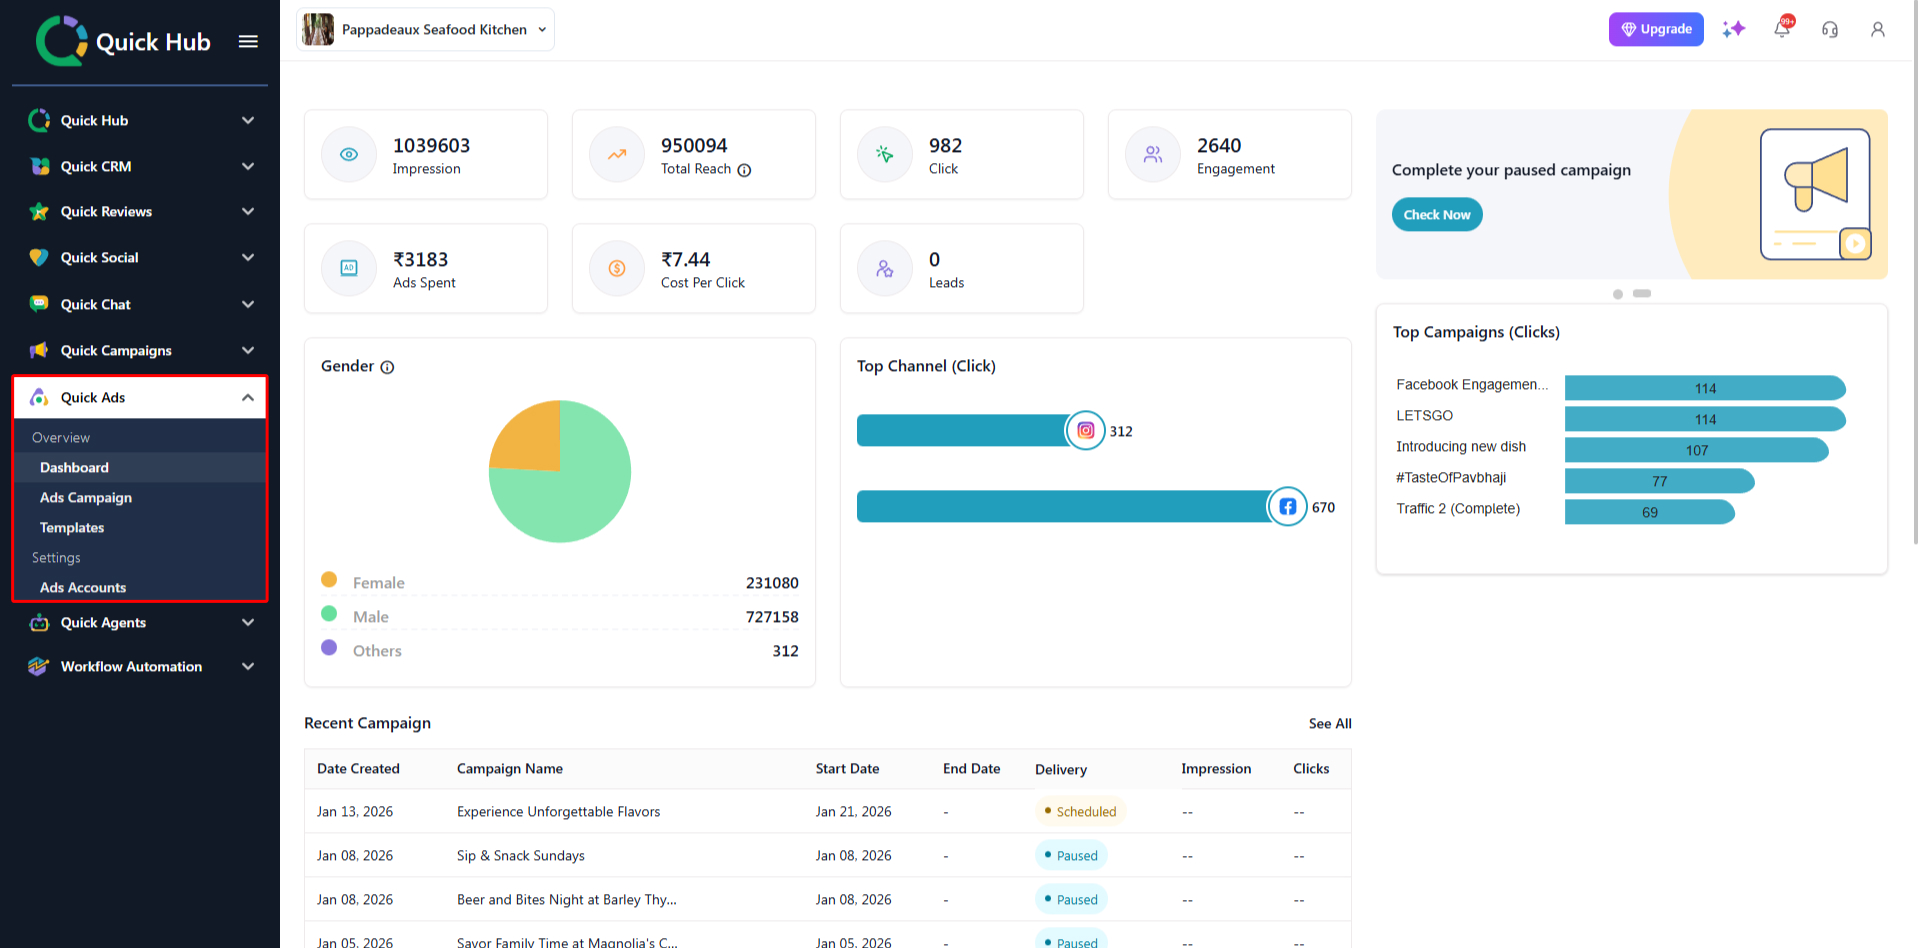
Navigate to Quick Ads, and click on Dashboard.
-
Here, you can check the metrics for your ads, which include pending tasks, impressions, total reach, clicks, engagement, ad spend, cost per click, leads, gender, top channel, and recent campaigns.
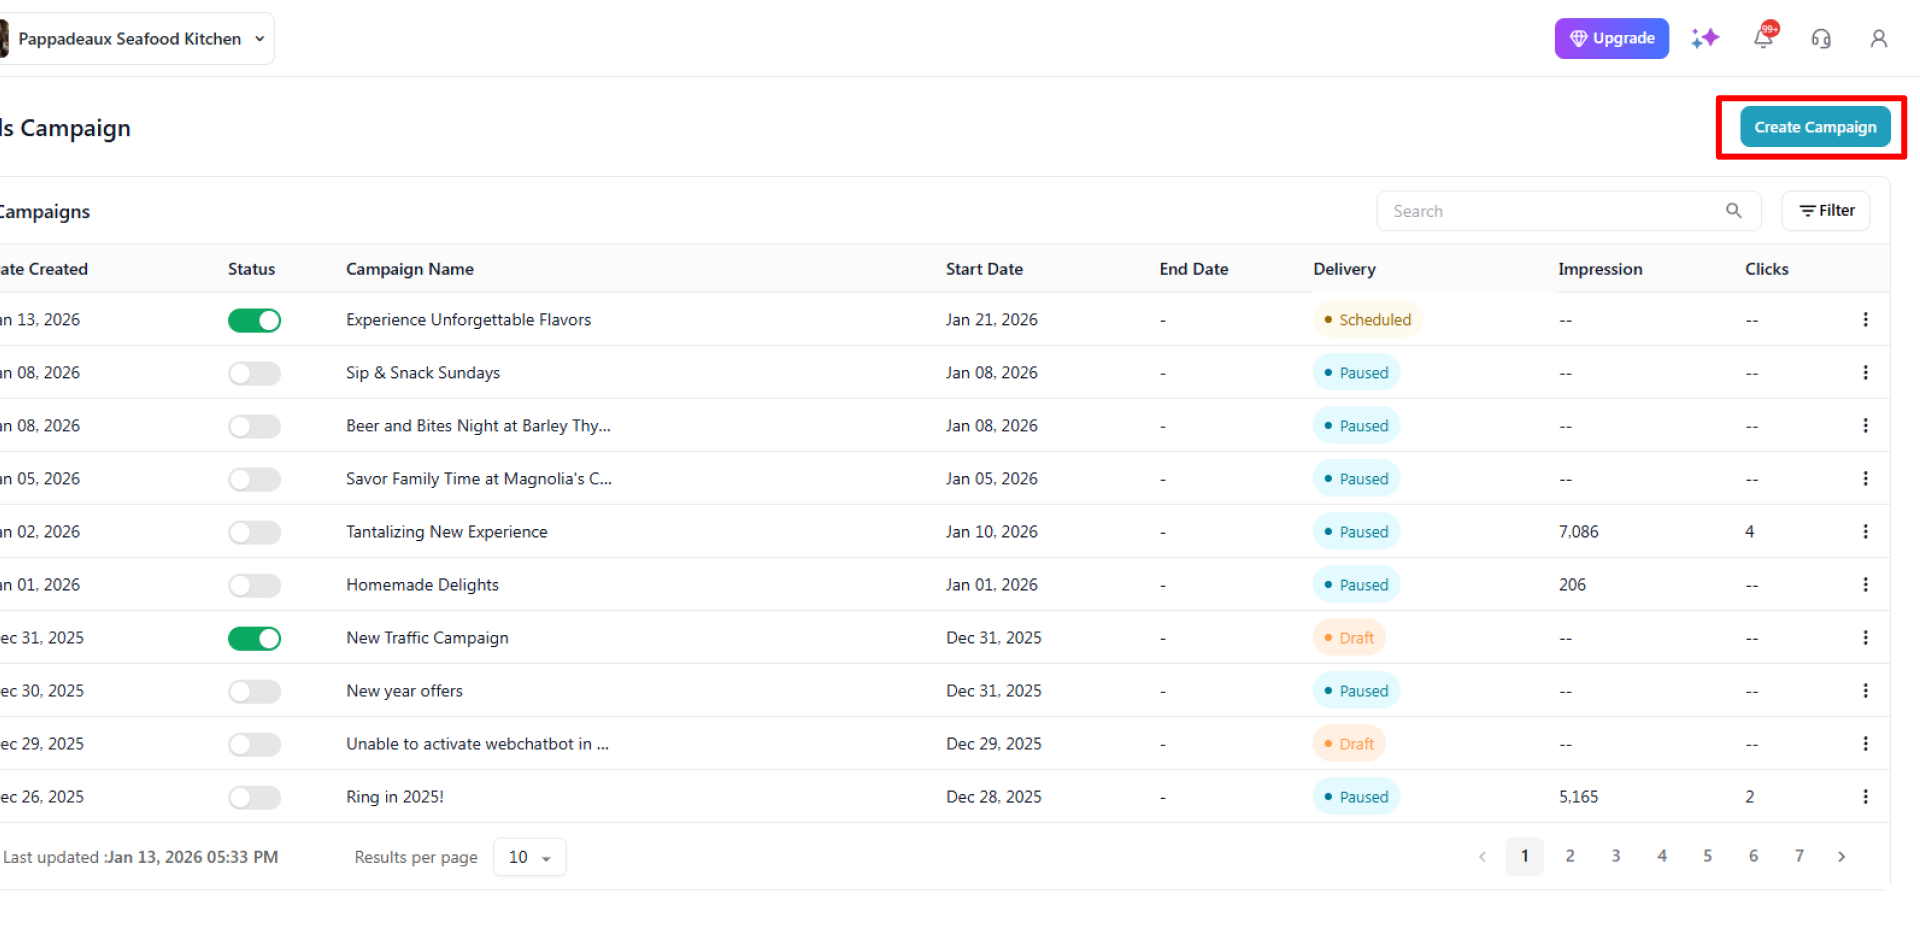
- To create an ad campaign, click the ‘Ads Campaign’ option, then click ‘Create Campaign’ in the top right corner.

-
Enter the ‘Campaign Name’ and ‘Objective.’
-
Click Create Campaign.
-
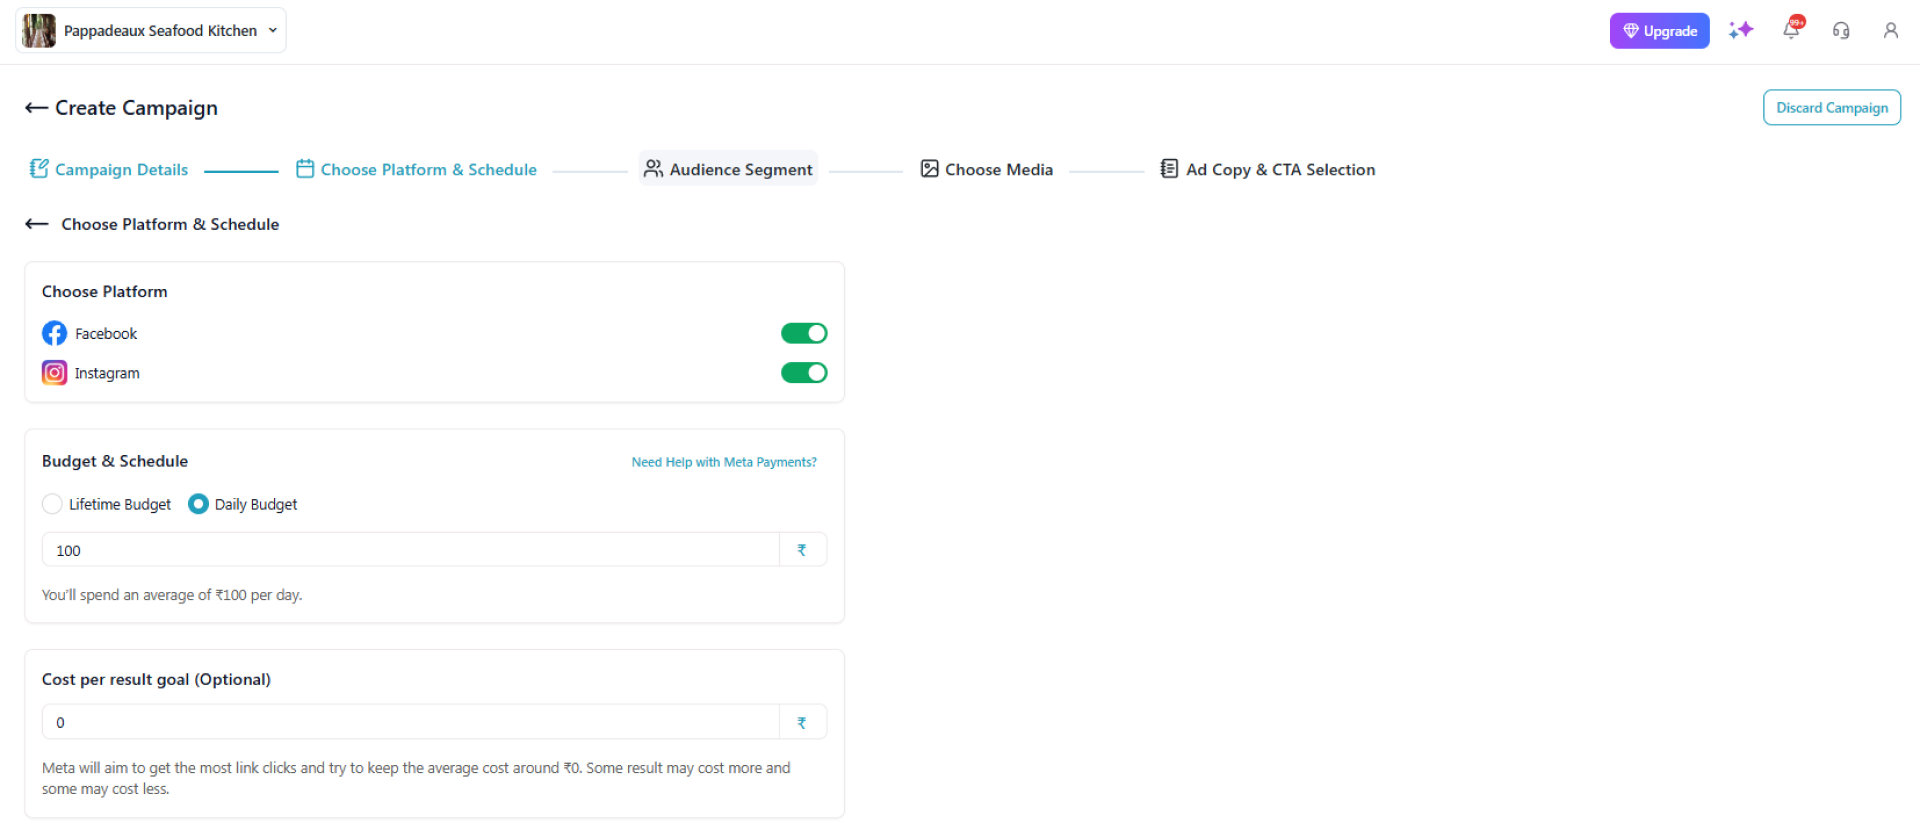
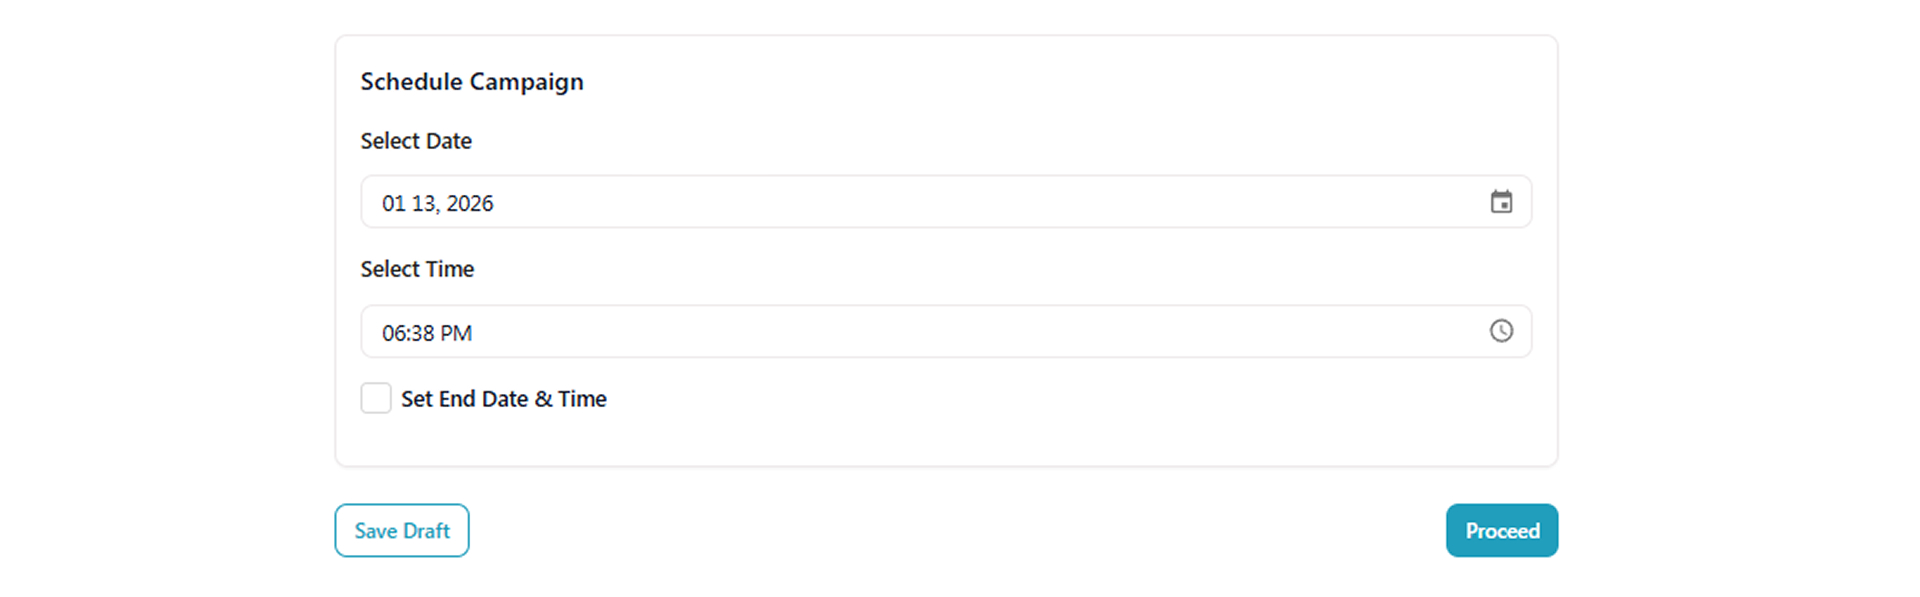
Here, you will be able to choose the platform and the ad budget, and select a date and time to schedule.
-
Click Proceed.

-
Next, select the audience segment and demographics for which you want to run the ad campaign. For this example, let’s select Fresno as our location.
-
Once you select the demographics, interests, and behaviours, click Proceed.
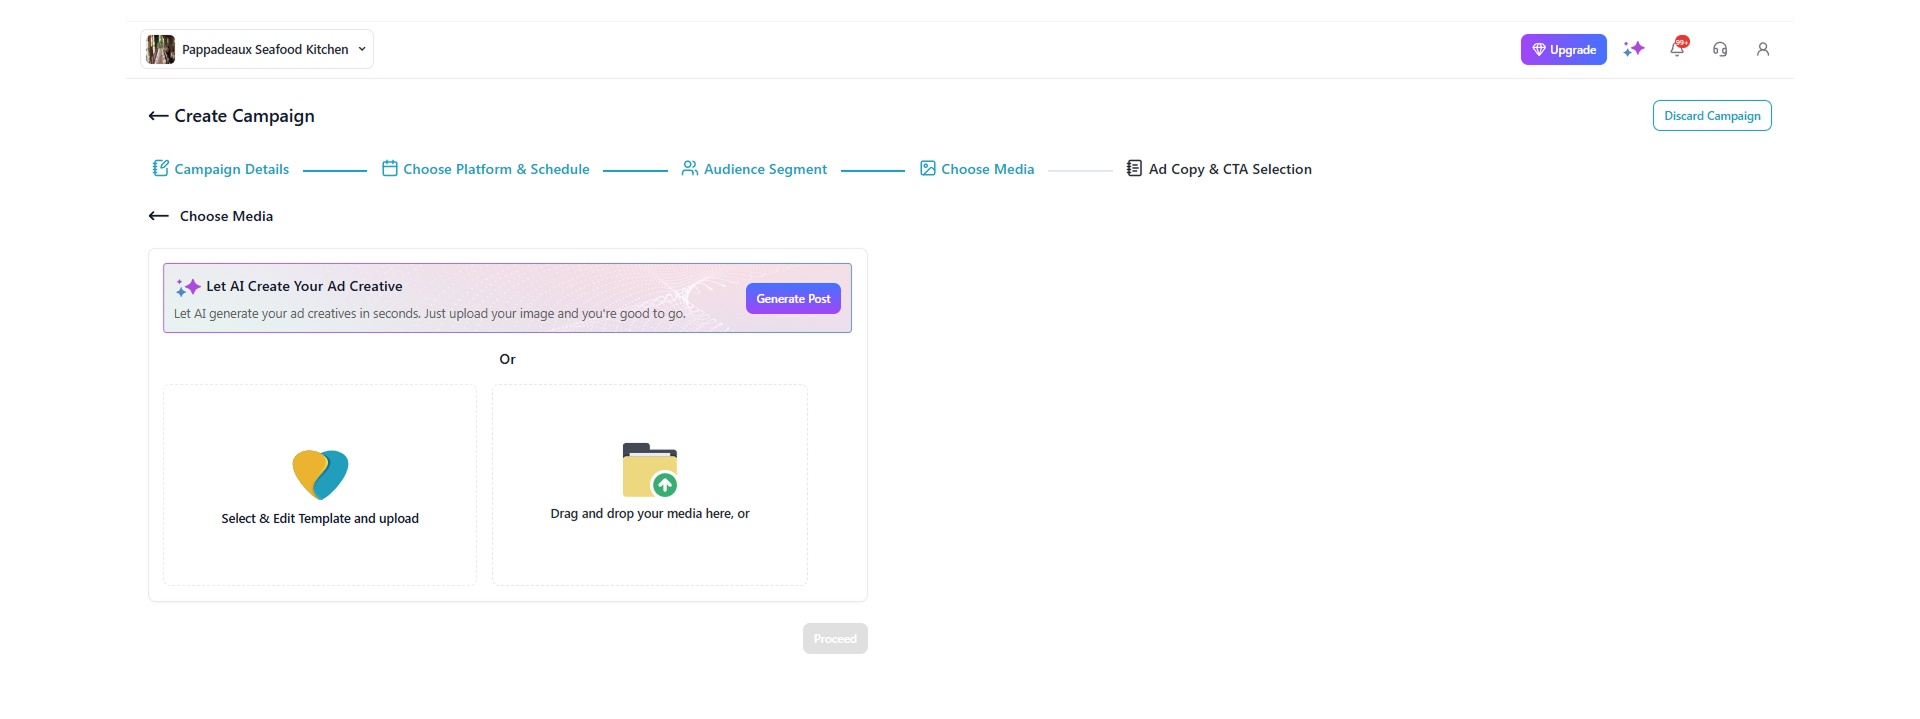
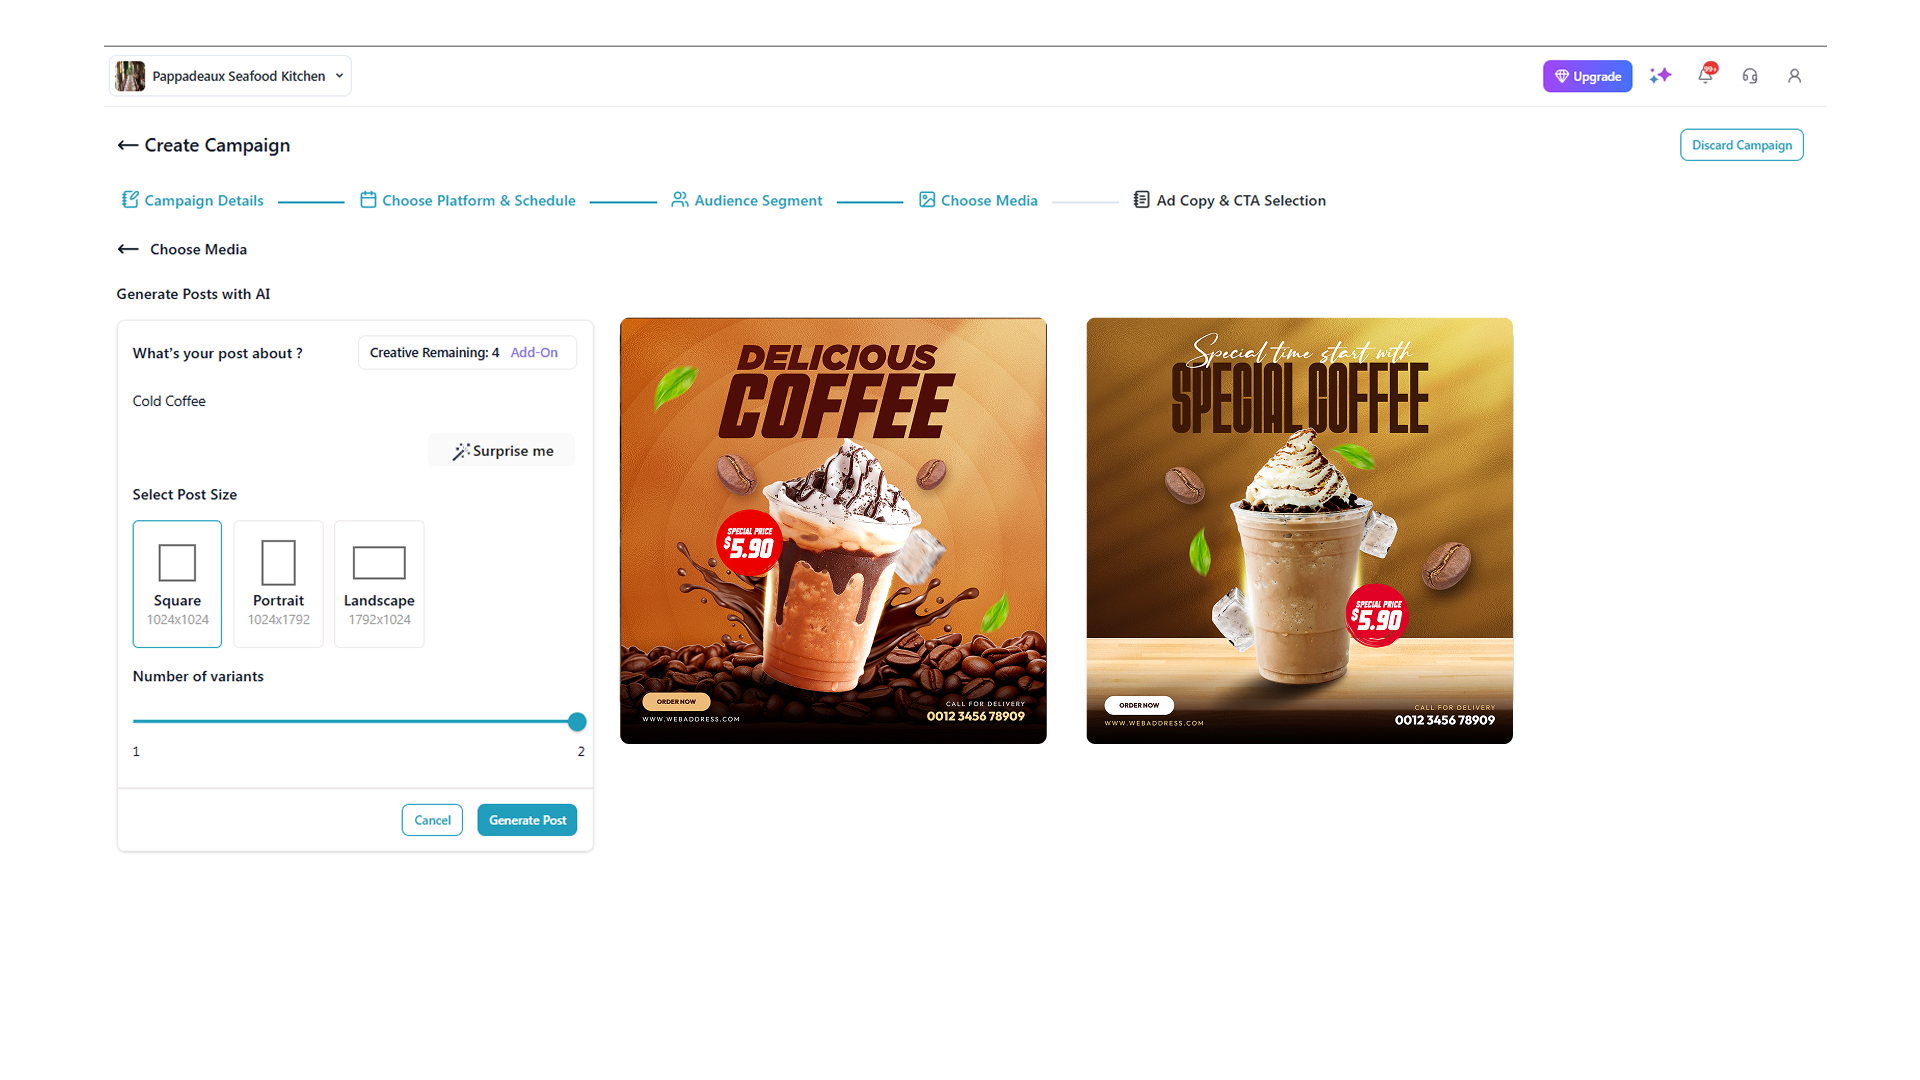
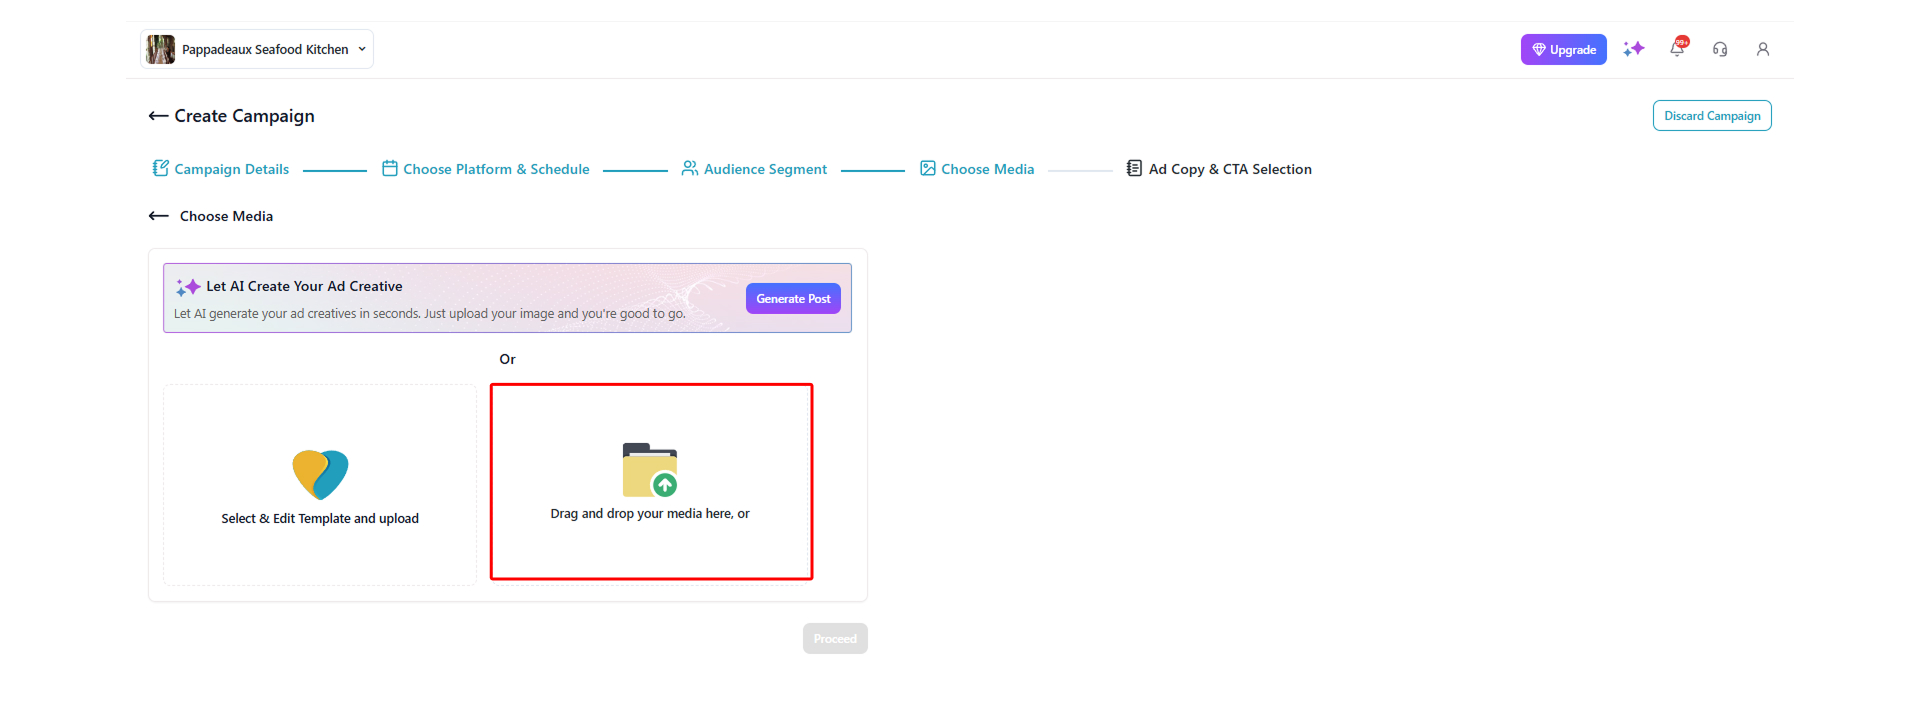
- Here, you can select or create a post for your ad campaign; you can drag and drop a file or use AI to generate a post. Let’s go with AI.
- Click ‘Generate Post.’

-
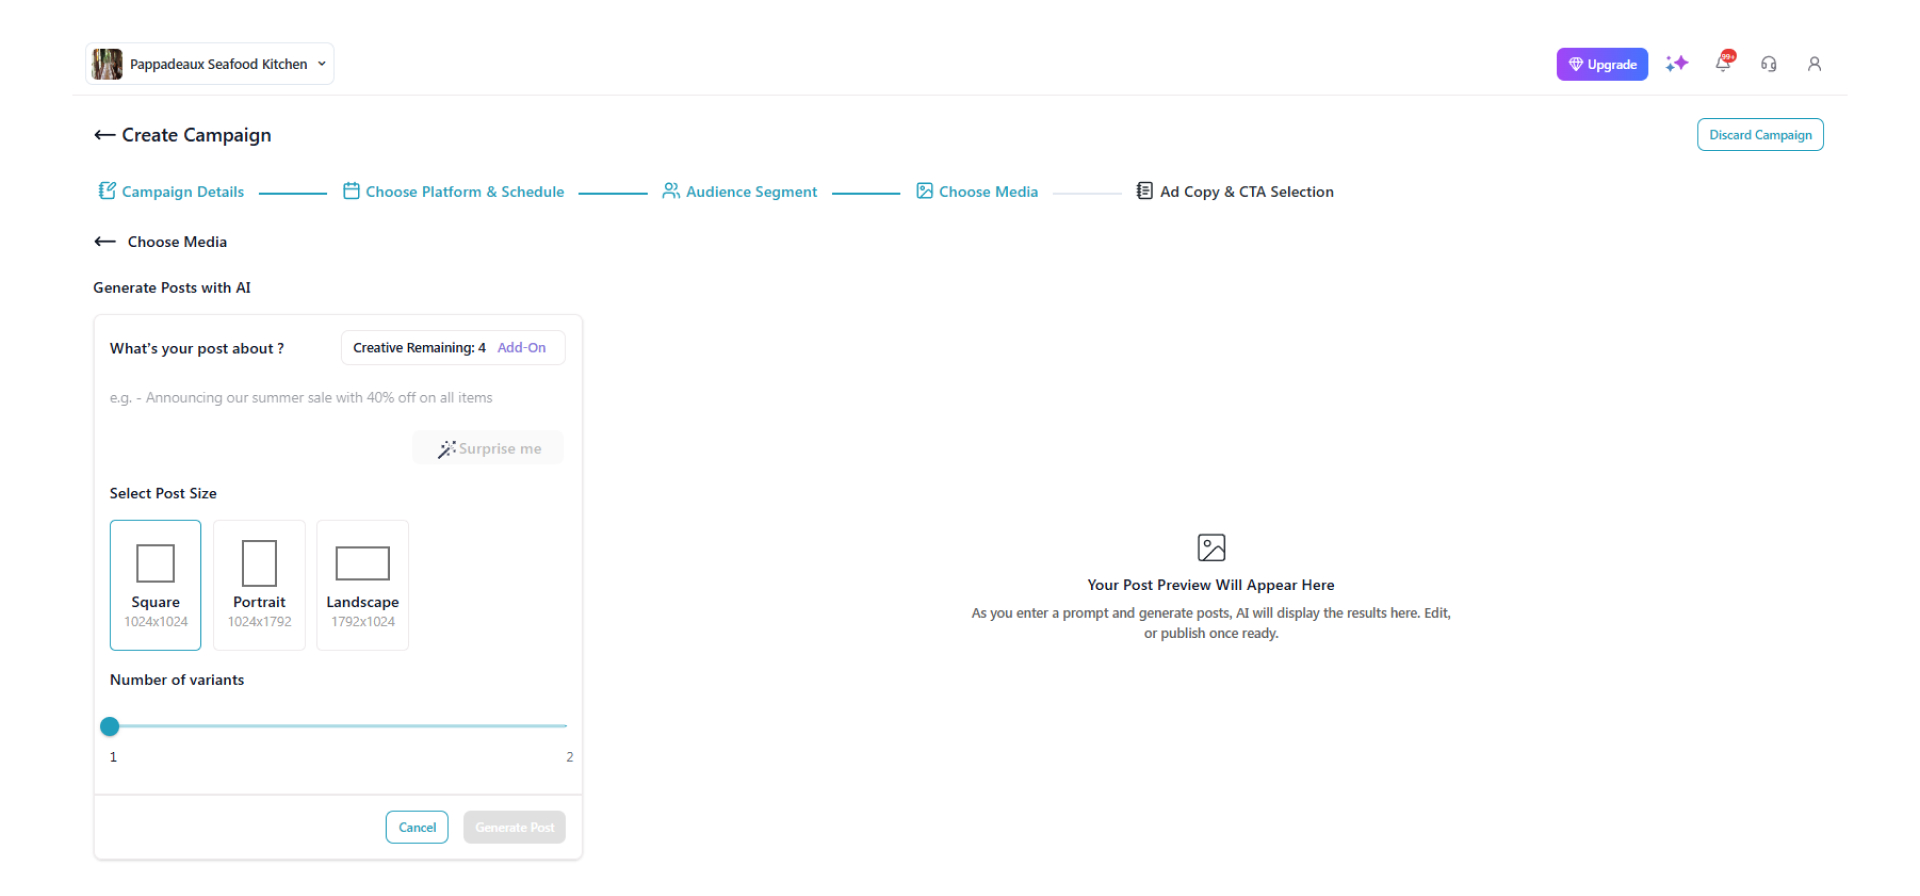
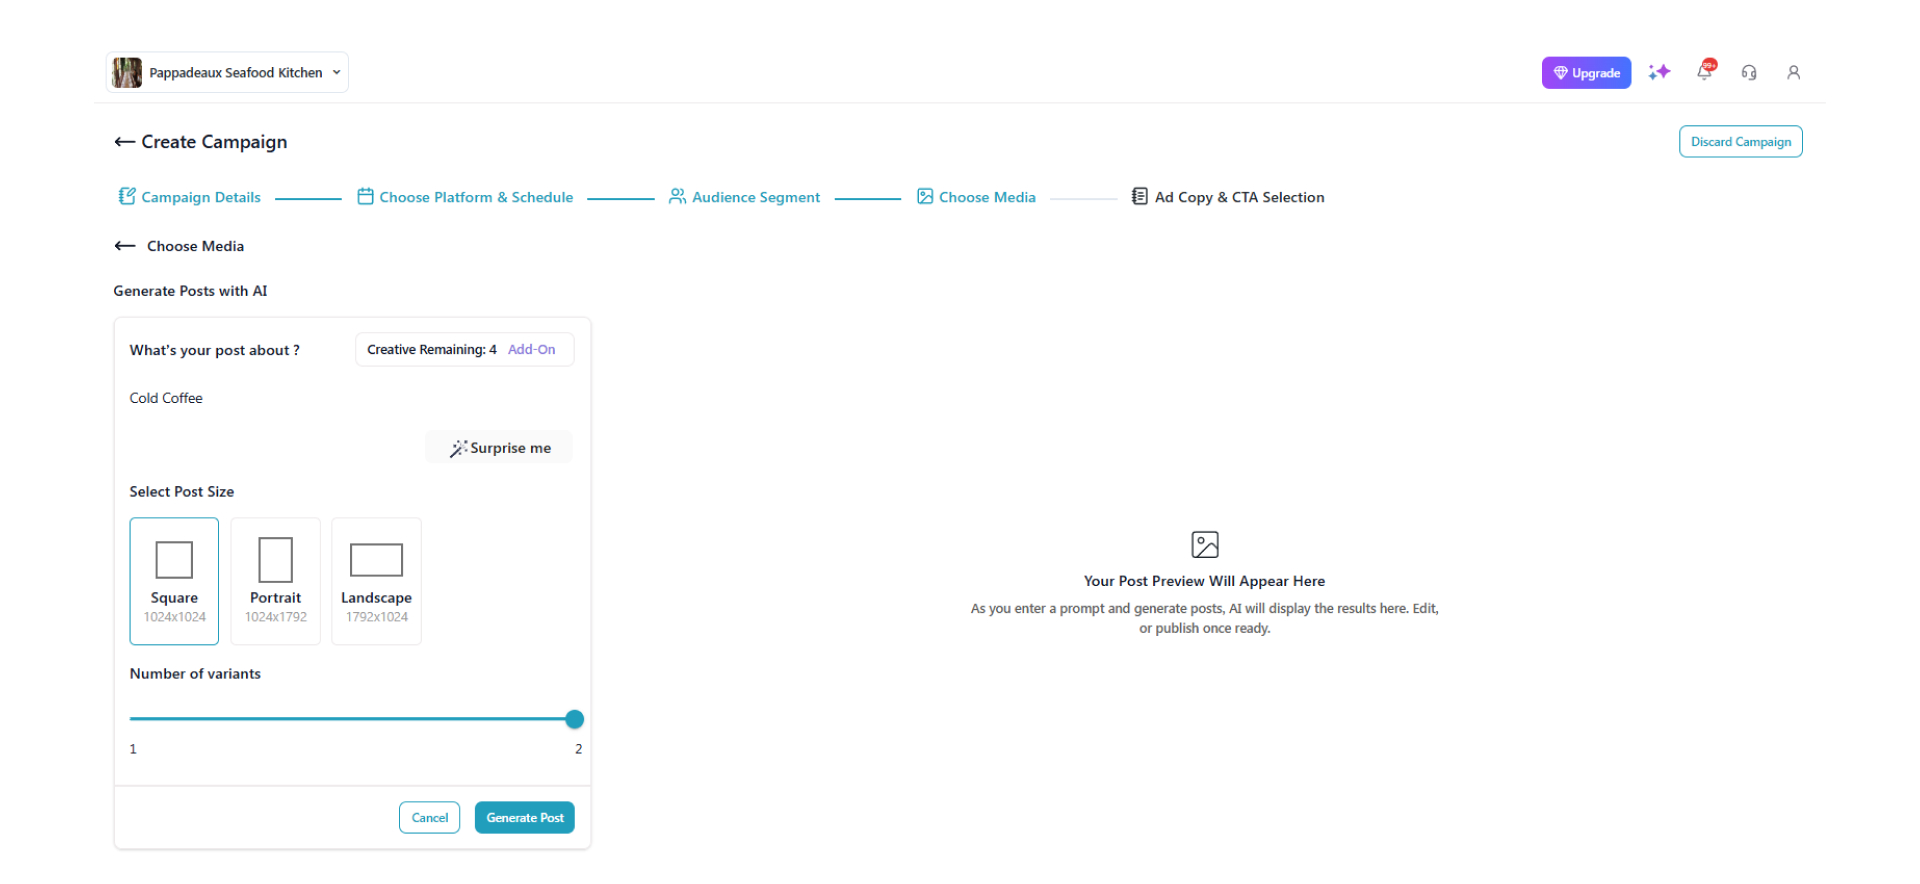
Select the post size, number of variants, and a few keywords for the AI to generate the ad creative.
-
Click Generate post.
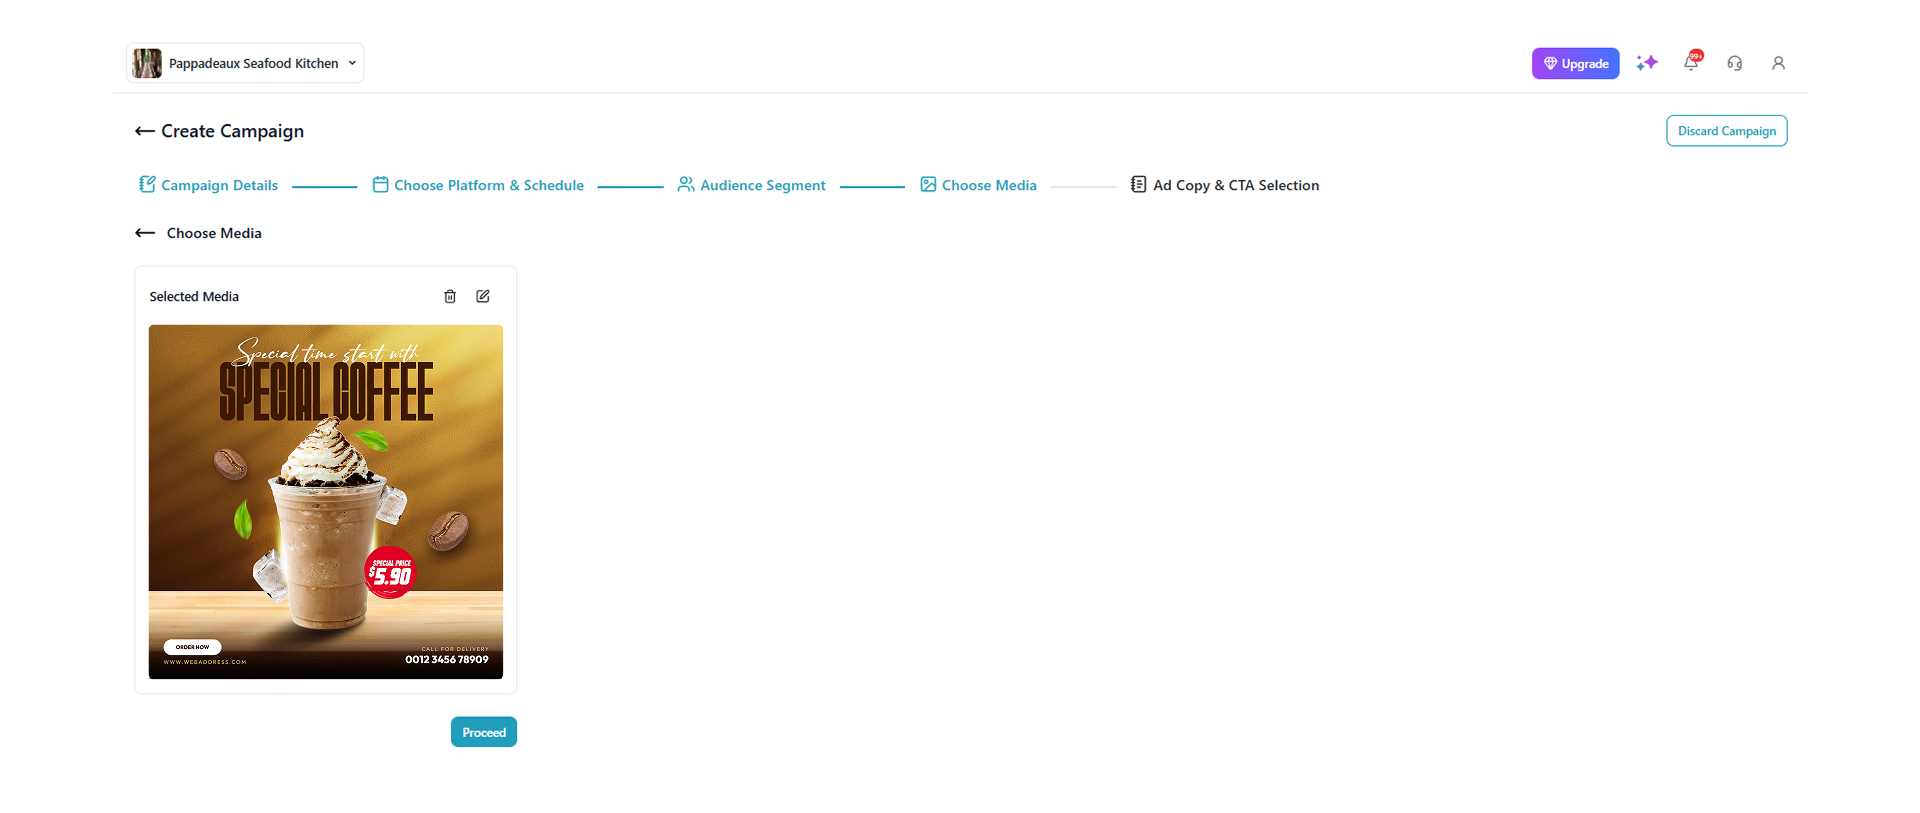
- The AI will generate the posts for you. Your posts will appear as shown in the image below. Click ‘Use this template’ on the one you like.
- Then, click ‘Proceed.’
-
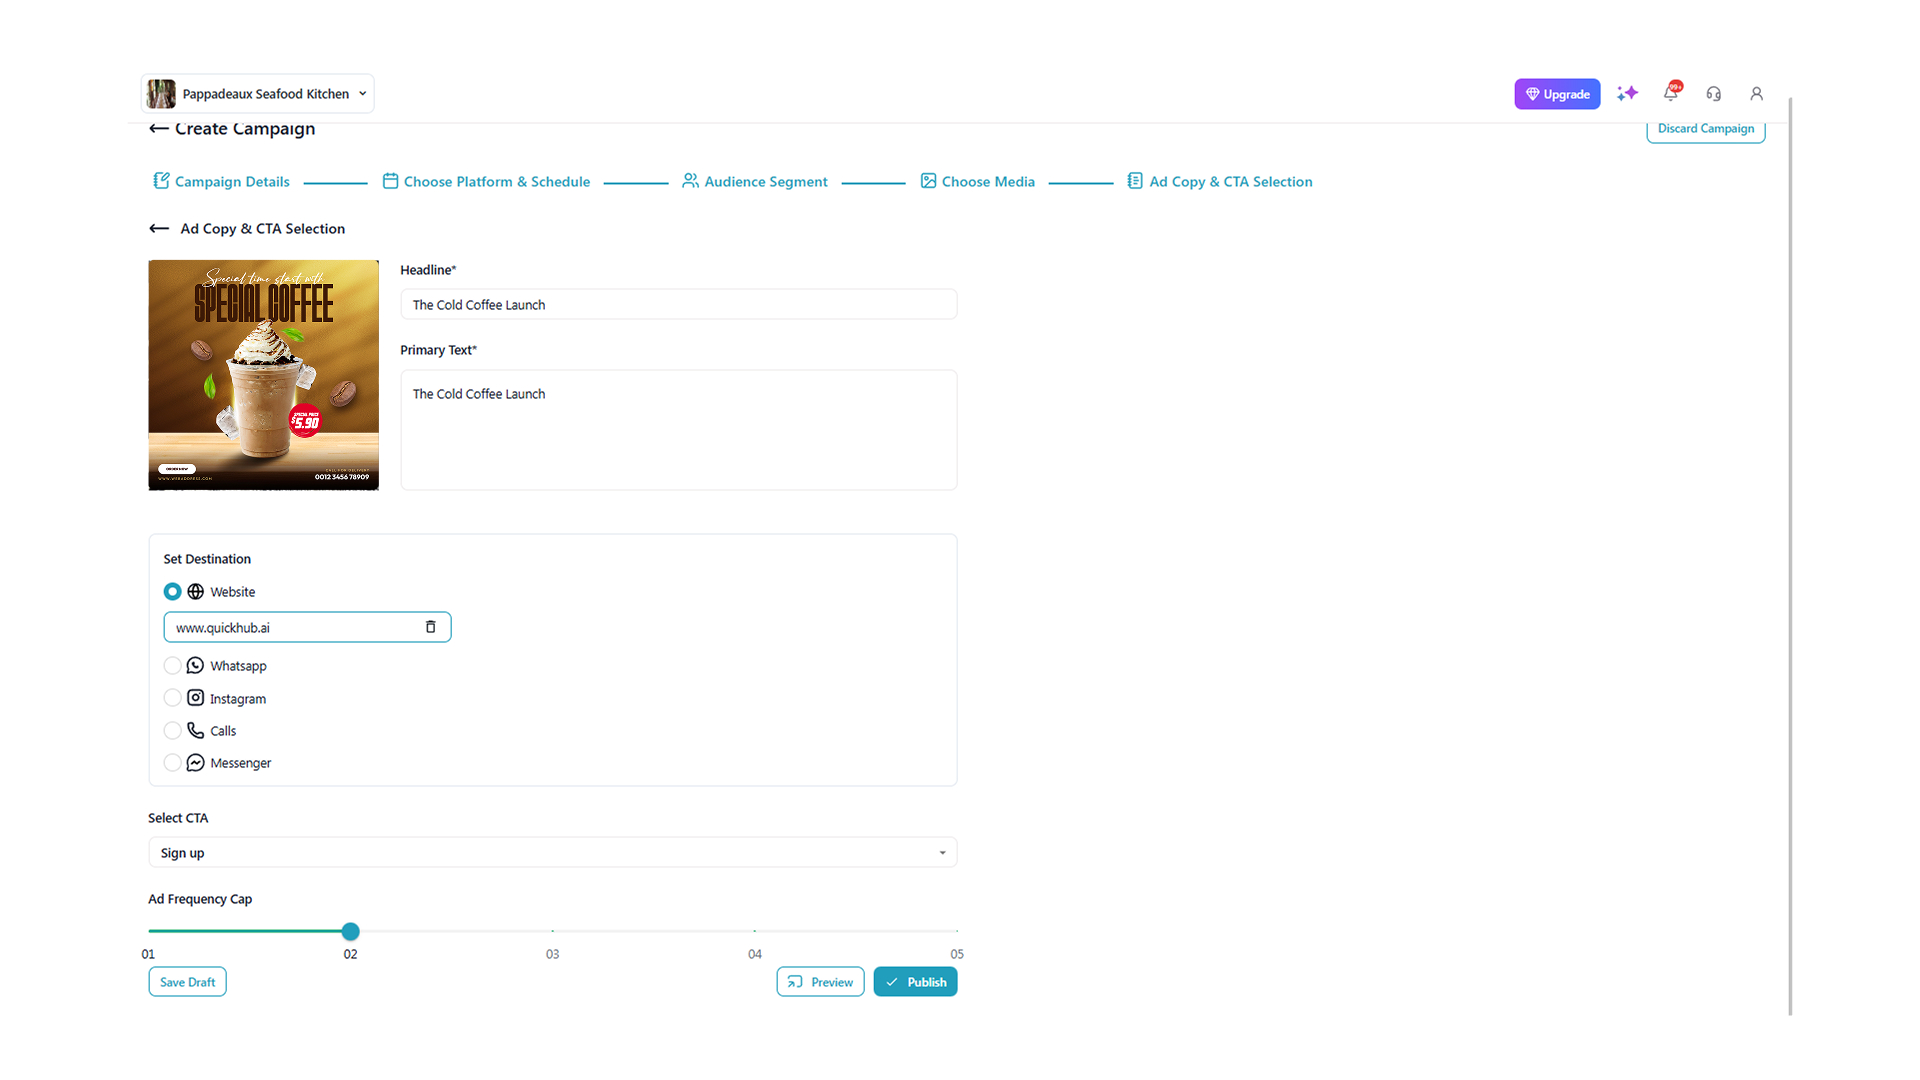
This is the ad copy and CTA section; enter the details such as the headline and primary text, and set the destination.
-
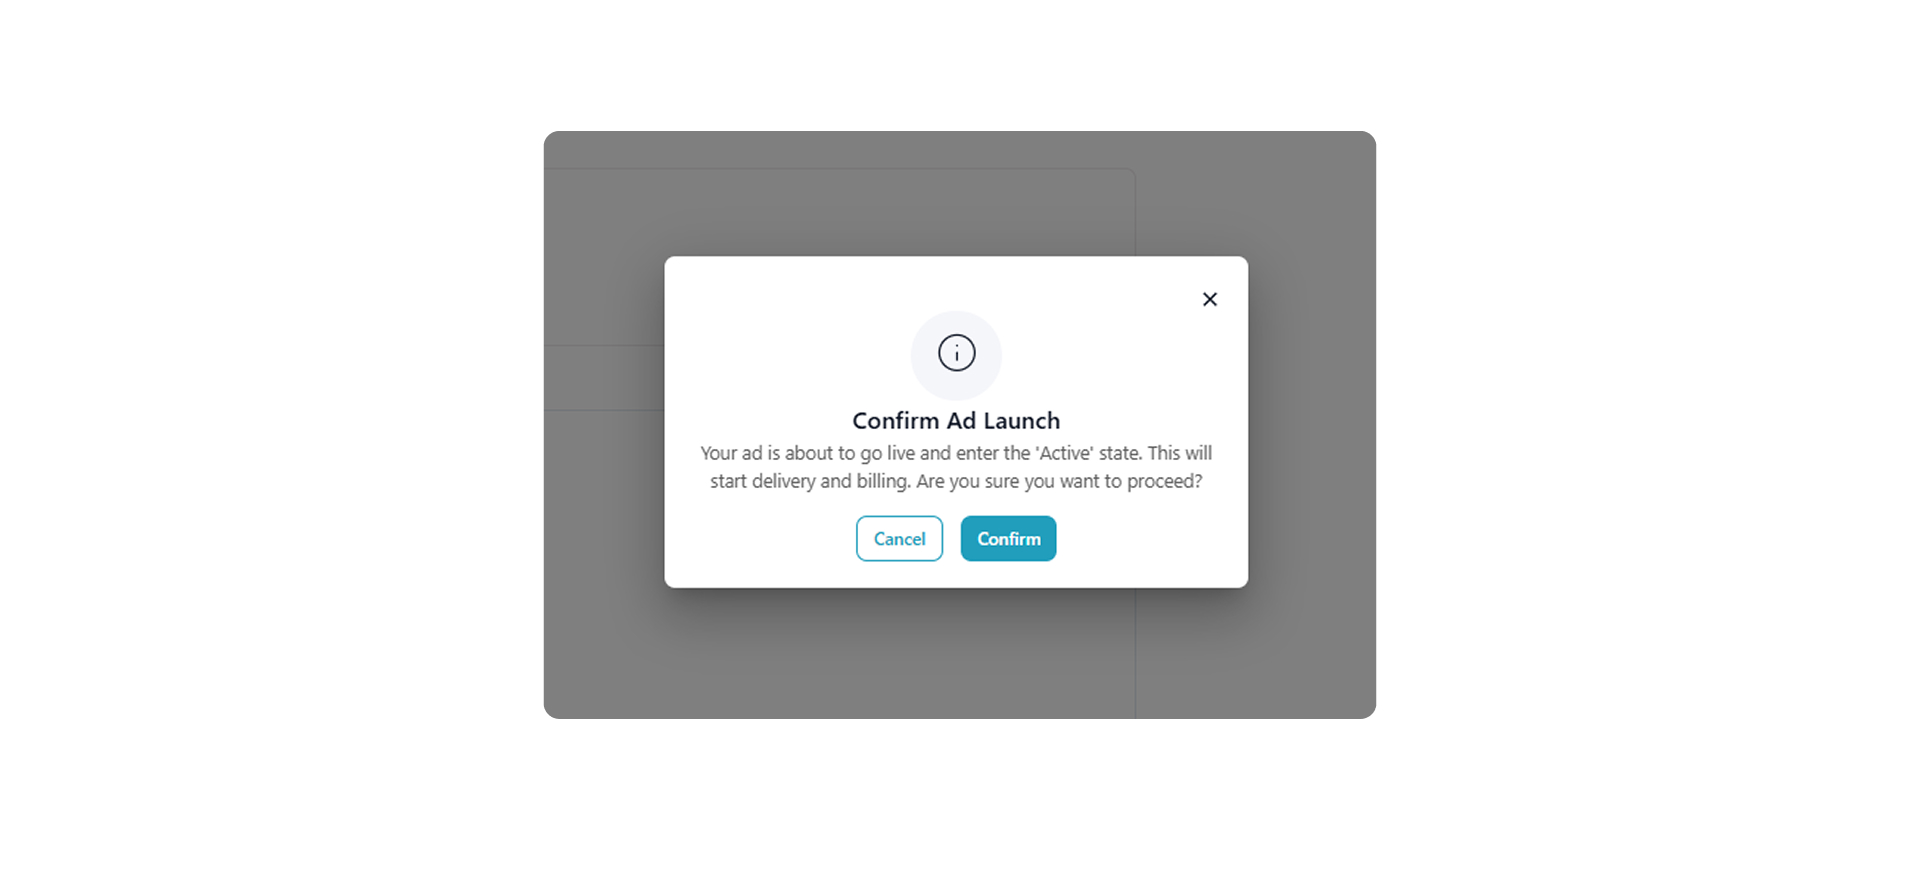
Then select the CTA and the ad frequency cap, and click Publish.
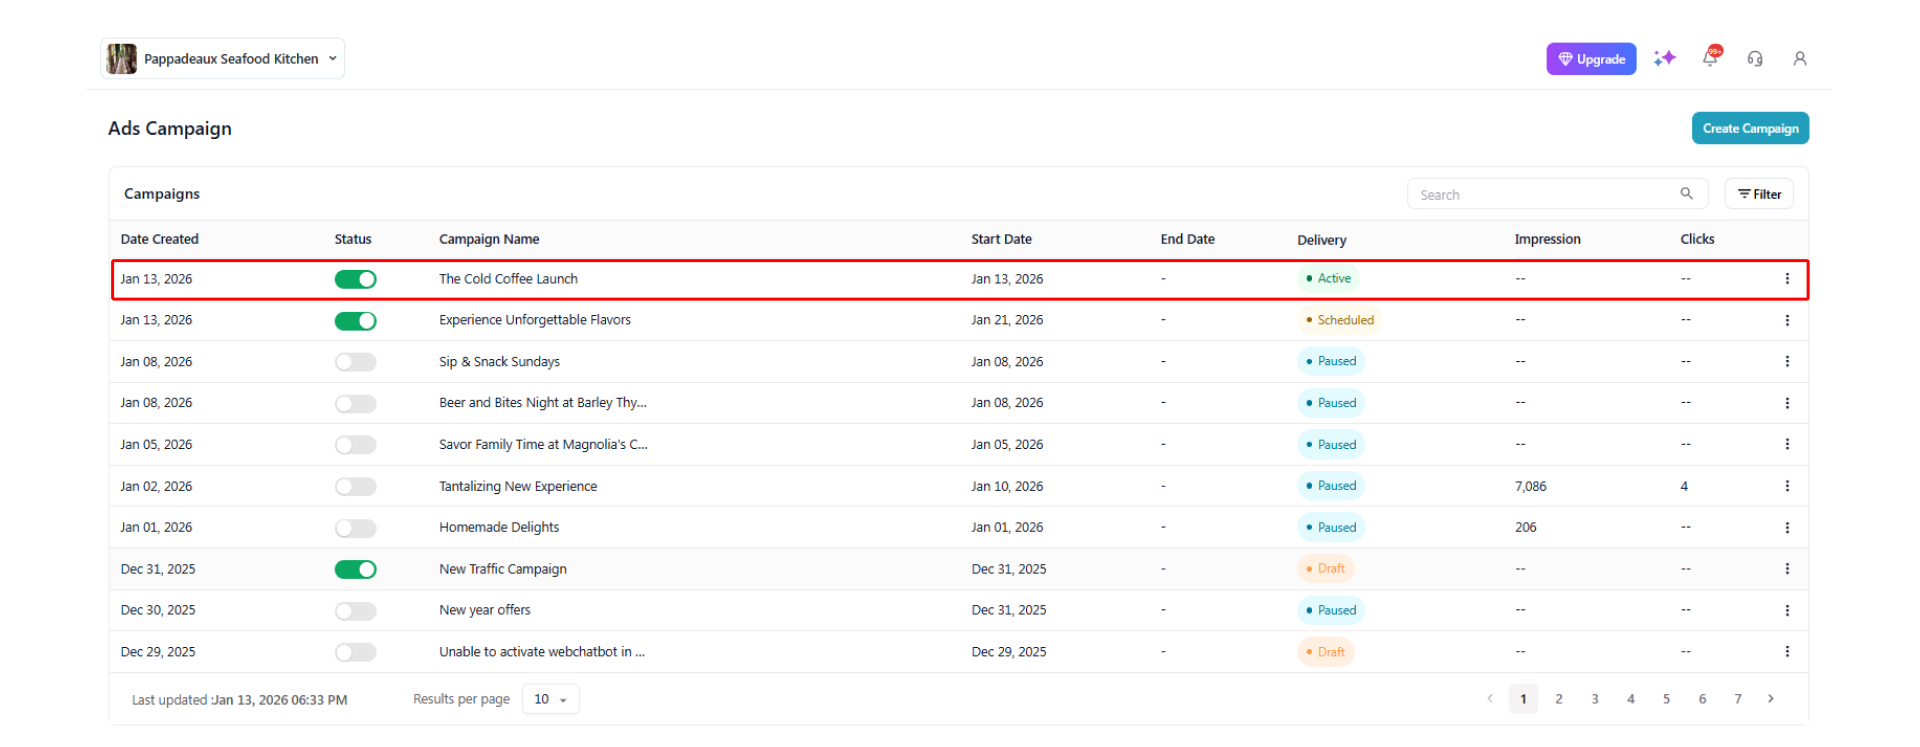
- Click ‘Confirm,’ and your ad campaign will be active.
The ad is active now, and you will be able to view the start and end date, delivery, impressions, and clicks in the dashboard.

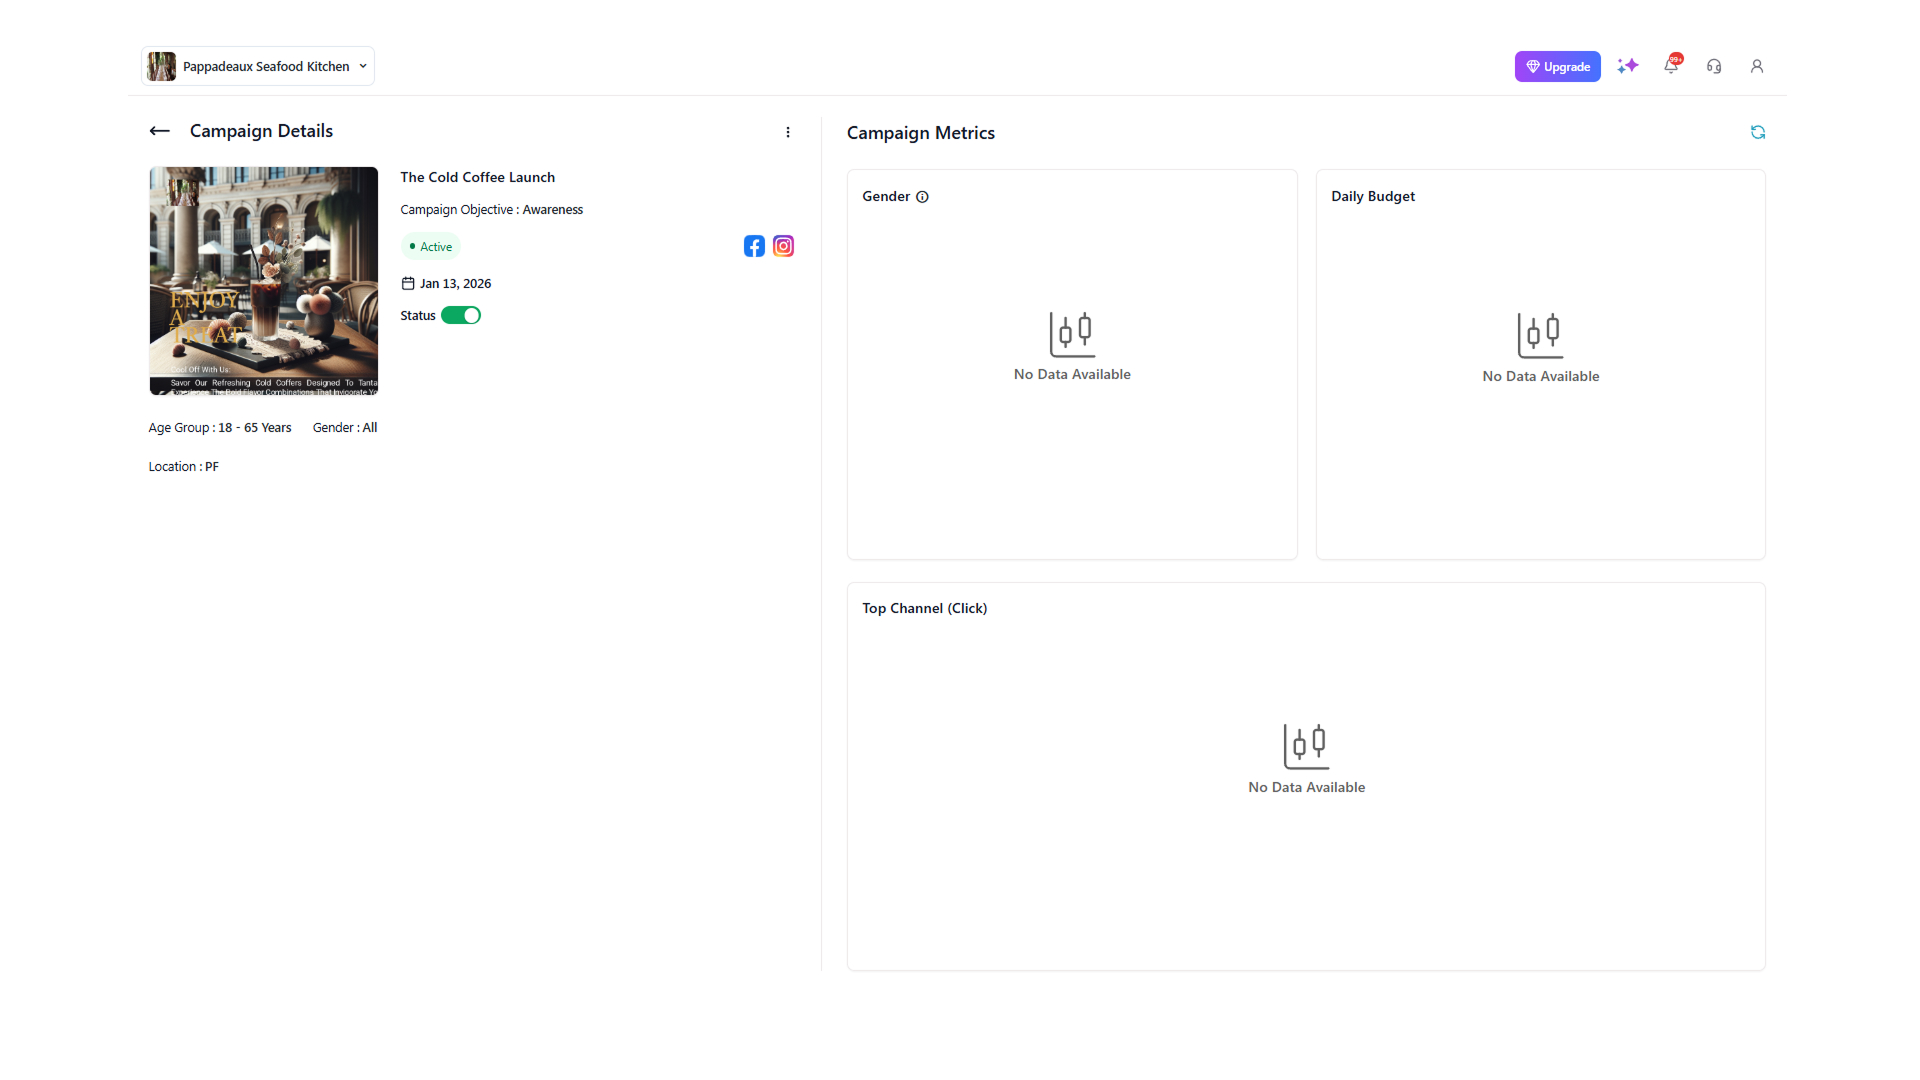
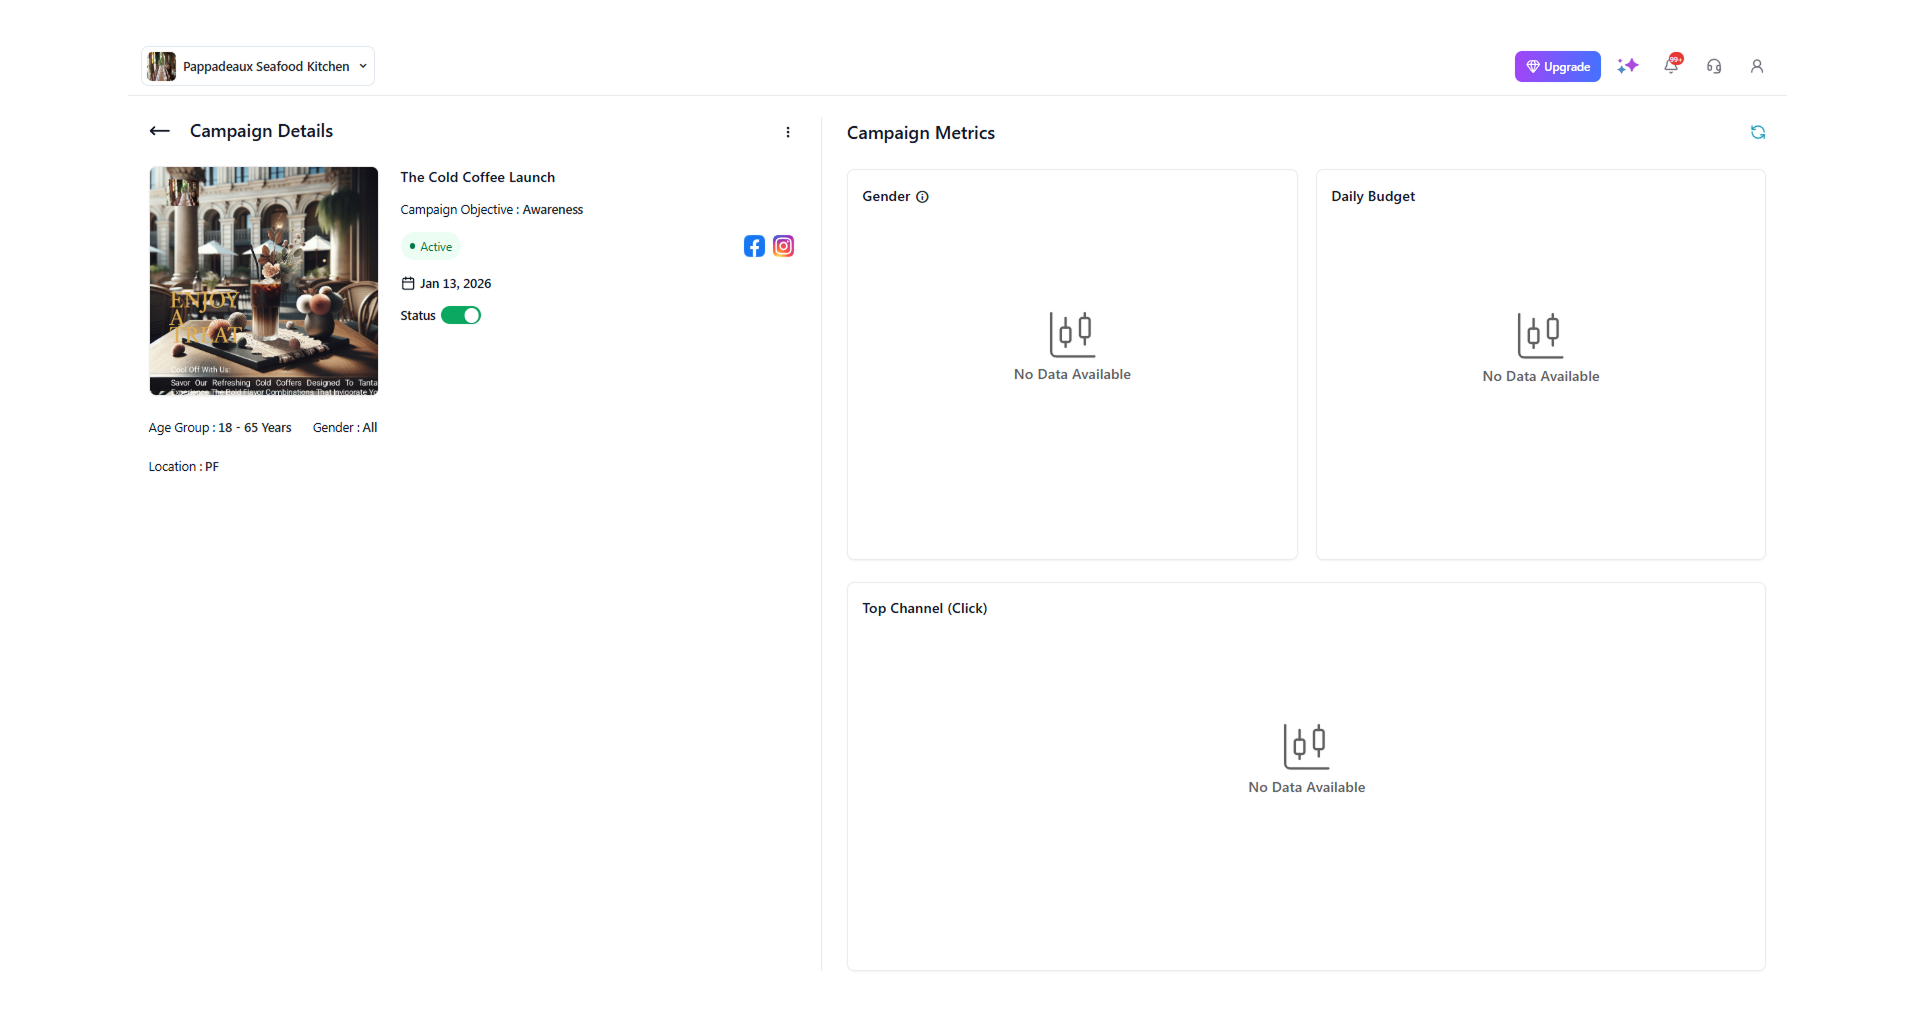
- To view in-depth campaign details, click on the ad. Here, you will be able to view the campaign objective, metrics, and the campaign leads.
Now, let us upload an image manually to the ad campaign.
- Drag and drop the image you have already created.
- Click on ‘Proceed.’
-
On the next page, you will be able to add a headline, add primary text, set the destination, select CTA, and set the ad frequency cap.
-
Click on Publish.
- Click on ‘Confirm.’

The ad is active now, and you will be able to view the start and end date, delivery, impressions, and clicks in the dashboard.

- To view in-depth campaign details, click on the ad. Here, you will be able to view the campaign objective, metrics, and the campaign leads.