How to Set Up WhatsApp Workflow Automation in Quick Hub
You can build automated WhatsApp conversations in Quick Hub using ready-made templates or a blank canvas. Follow the steps below to create and publish your first WhatsApp workflow.
-
Go to Quick Hub.
-
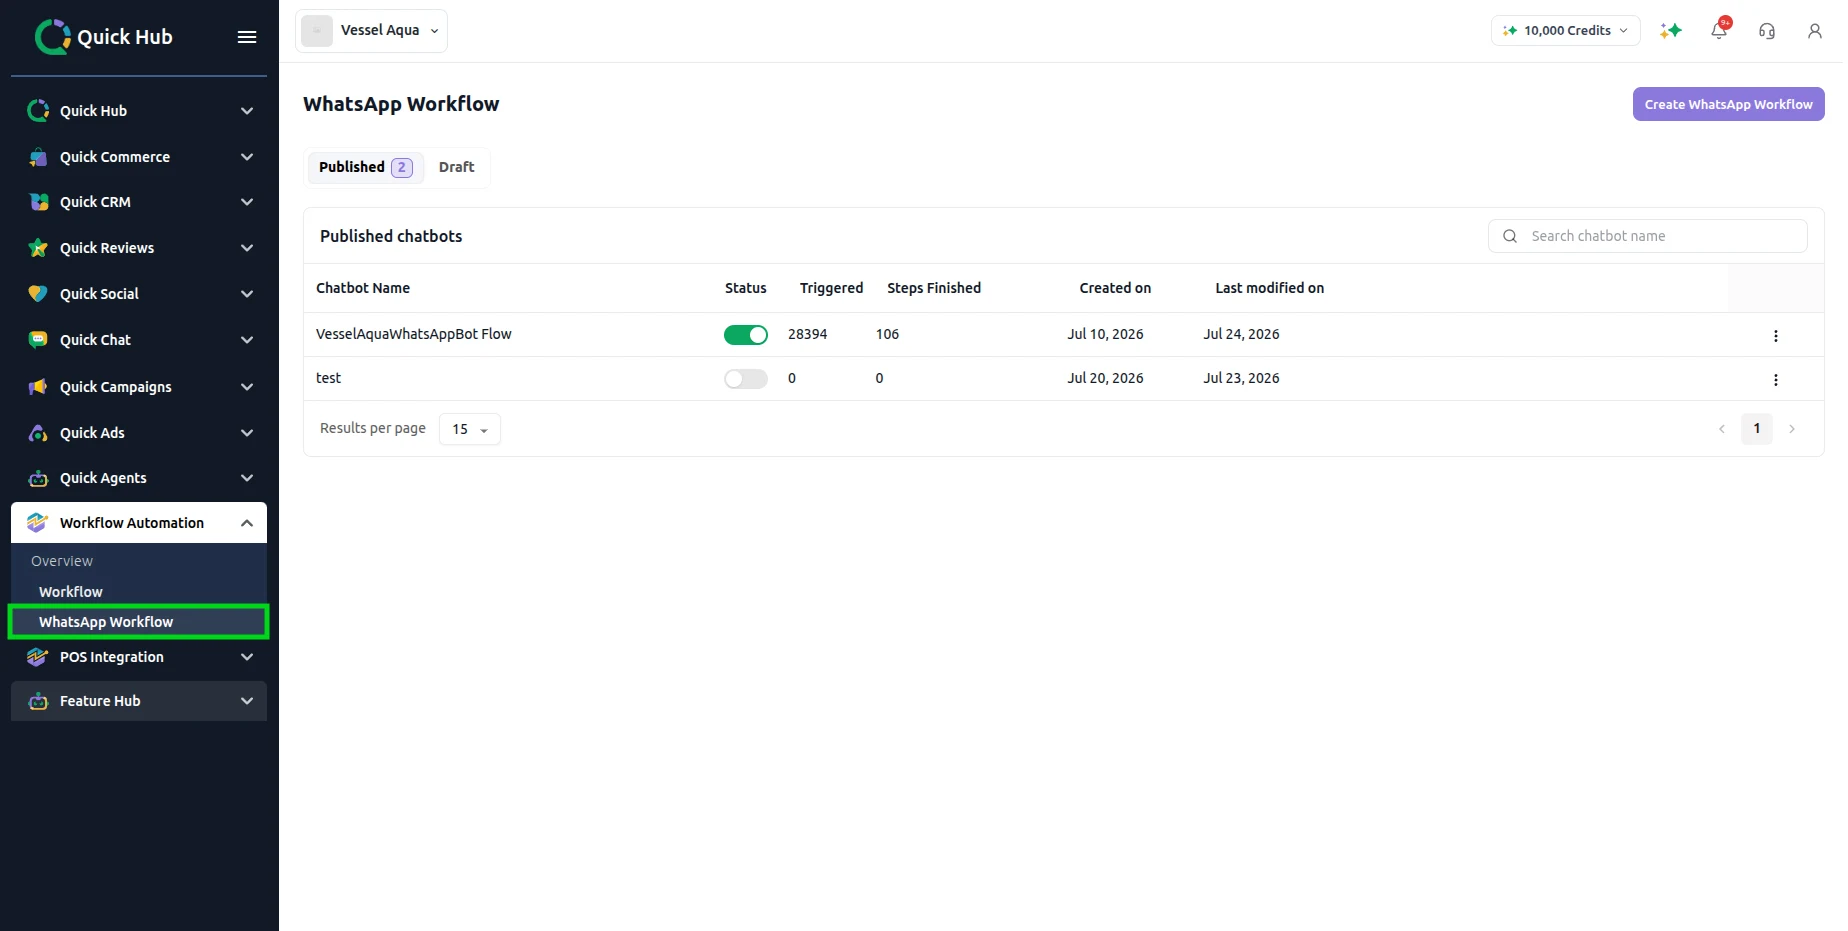
On the left side, click Workflow Automation to expand it, then click WhatsApp Workflow.
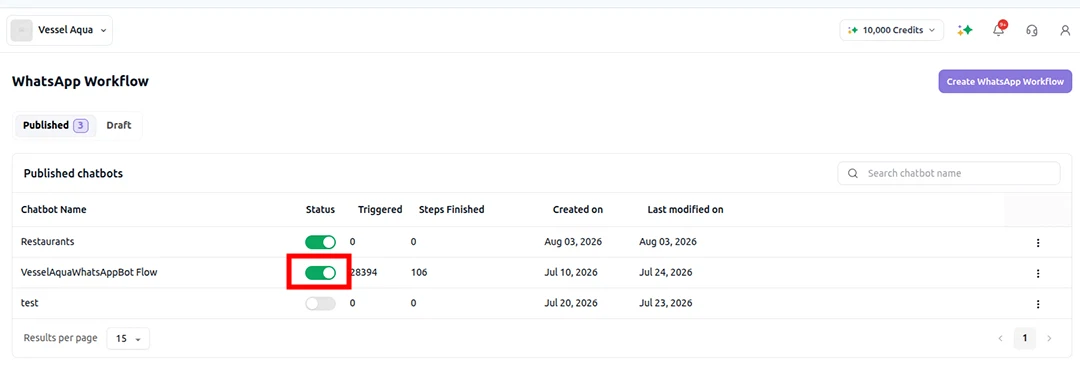
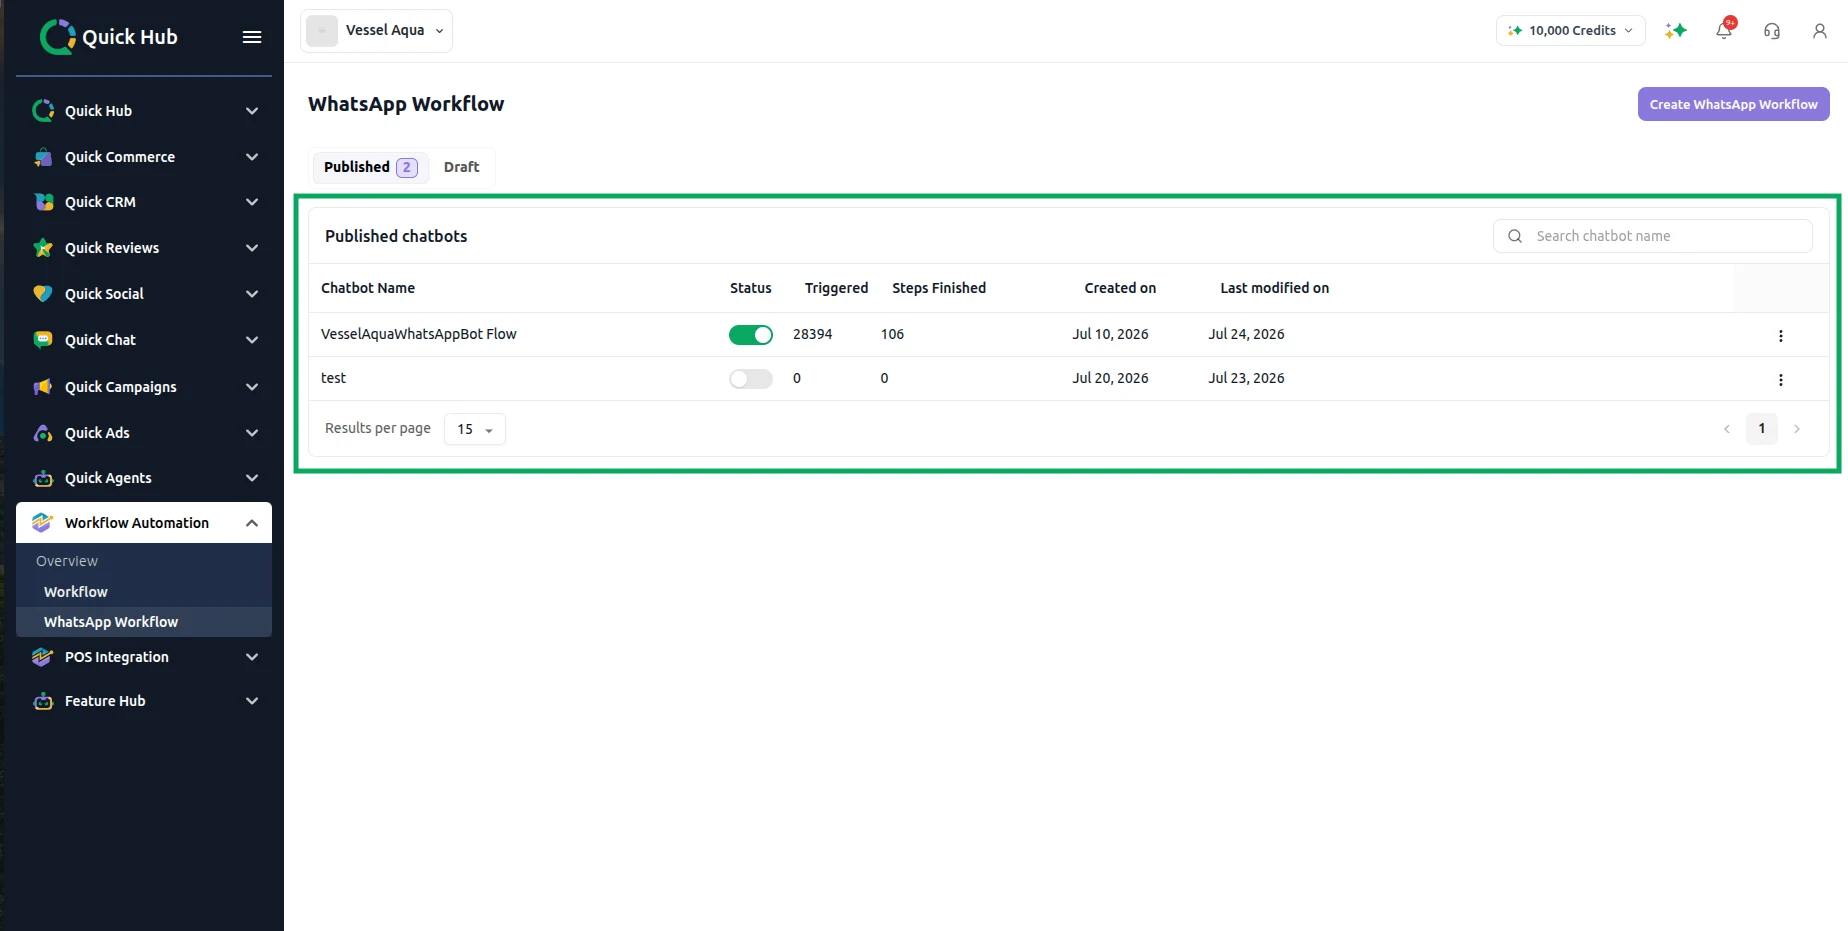
- The dashboard shows all your chatbots under the Published and Draft tabs, along with each bot's Status, Triggered count, Steps Finished, and Created/Last modified dates.
-
To create a new workflow, click Create WhatsApp Workflow in the top right corner.
-
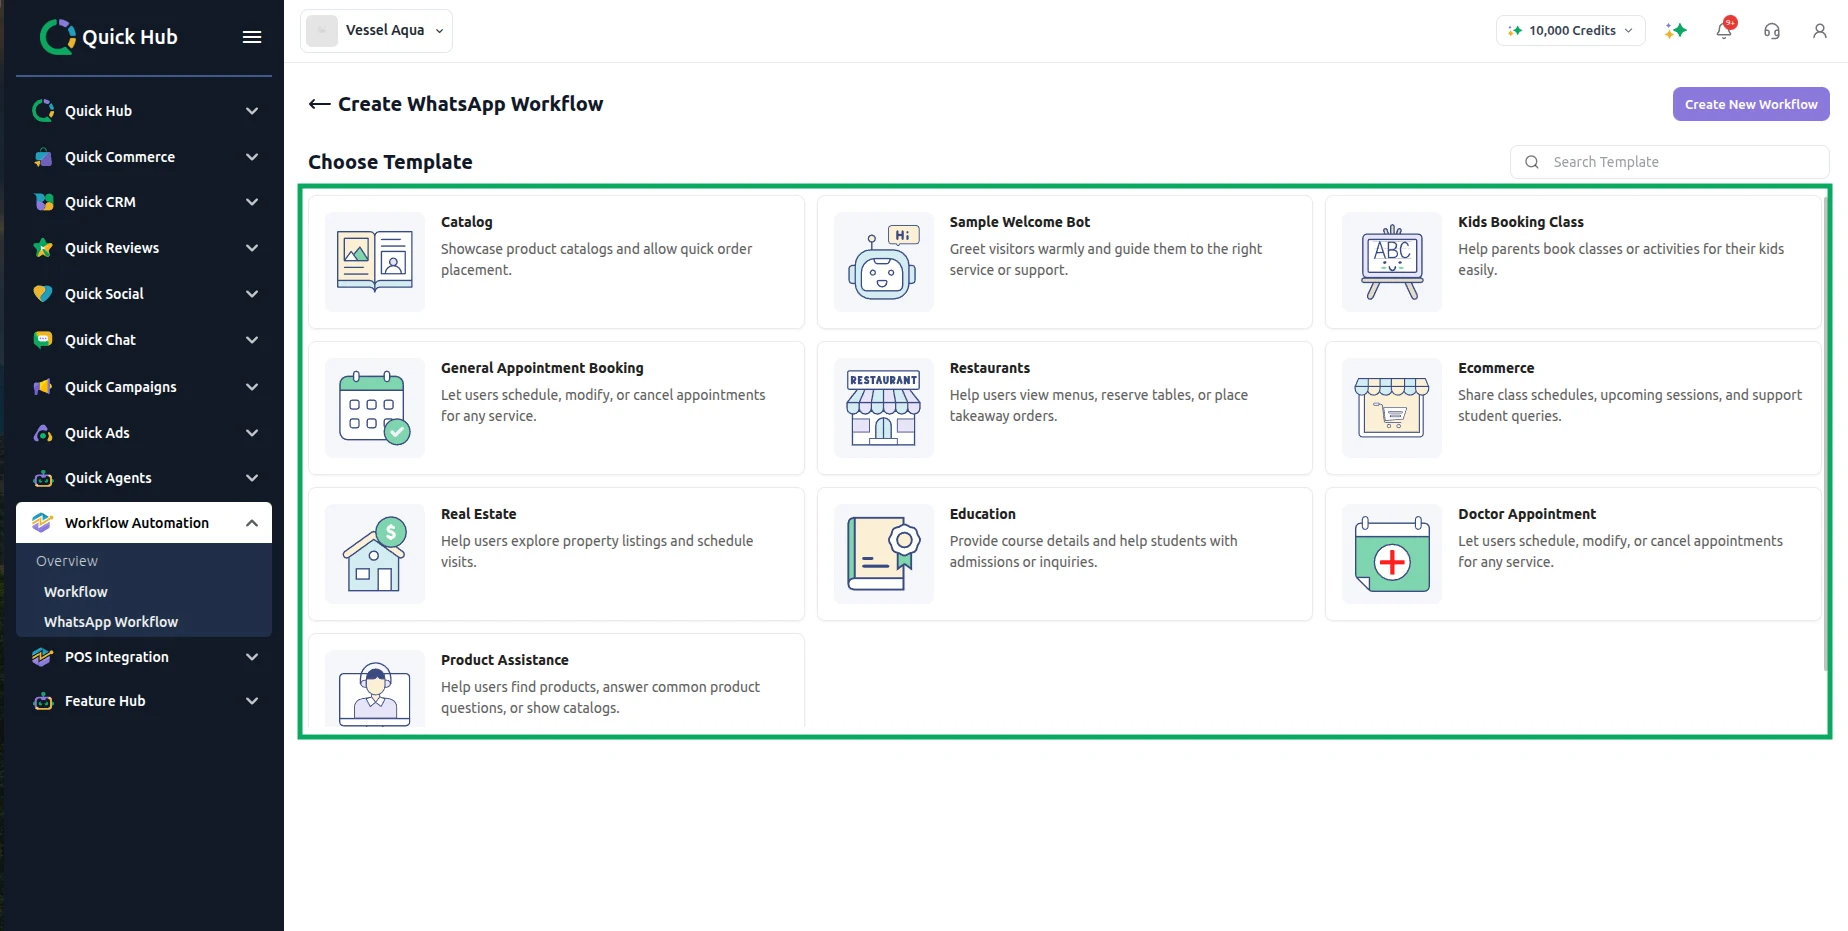
On the Choose Template screen, pick a ready-made template that matches your use case—options include Catalog, Sample Welcome Bot, Kids Booking Class, General Appointment Booking, Restaurants, Ecommerce, Real Estate, Education, Doctor Appointment, and Product Assistance. Or click Create New Workflow in the top right corner to start from a blank flow.
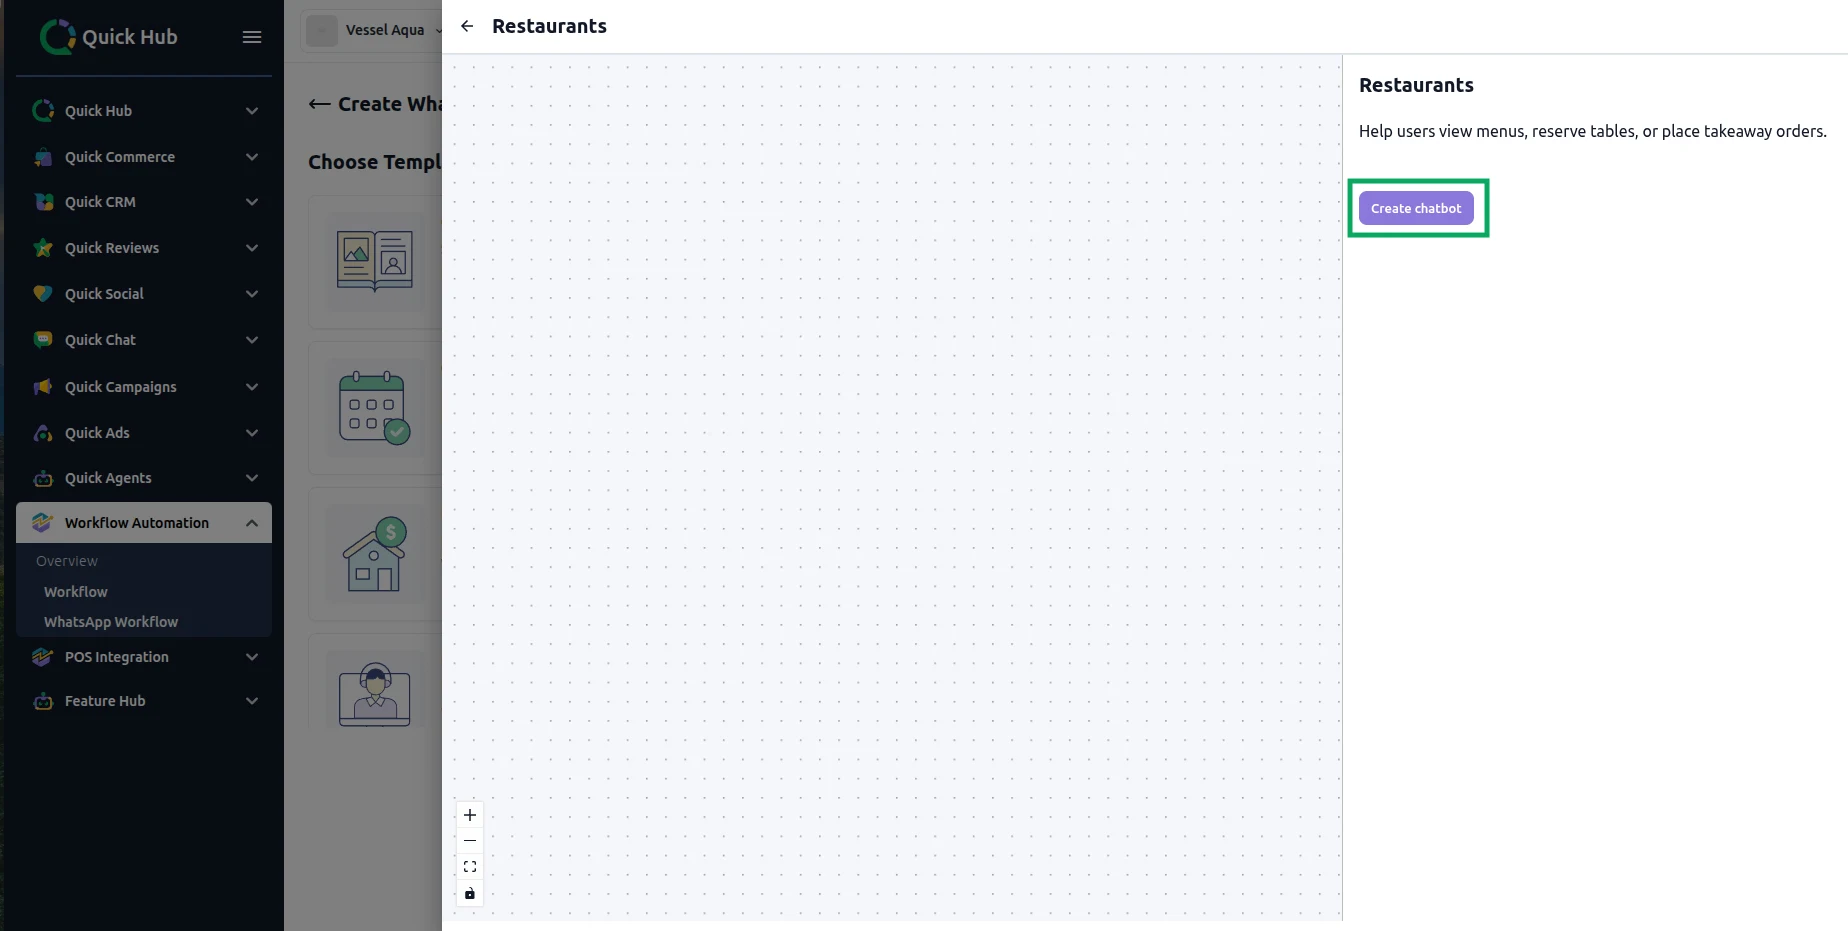
- Clicking a template opens a preview with the flow's name, description, and a Create chatbot button on the right.
-
Click Create chatbot to open the naming dialog.
-
Enter a Chatbot Name—the field is pre-filled with the template name, for example "Restaurants (copy)", so edit it as needed—then click Save.
-
This opens the workflow builder canvas, where your template's pre-built flow appears as connected nodes.
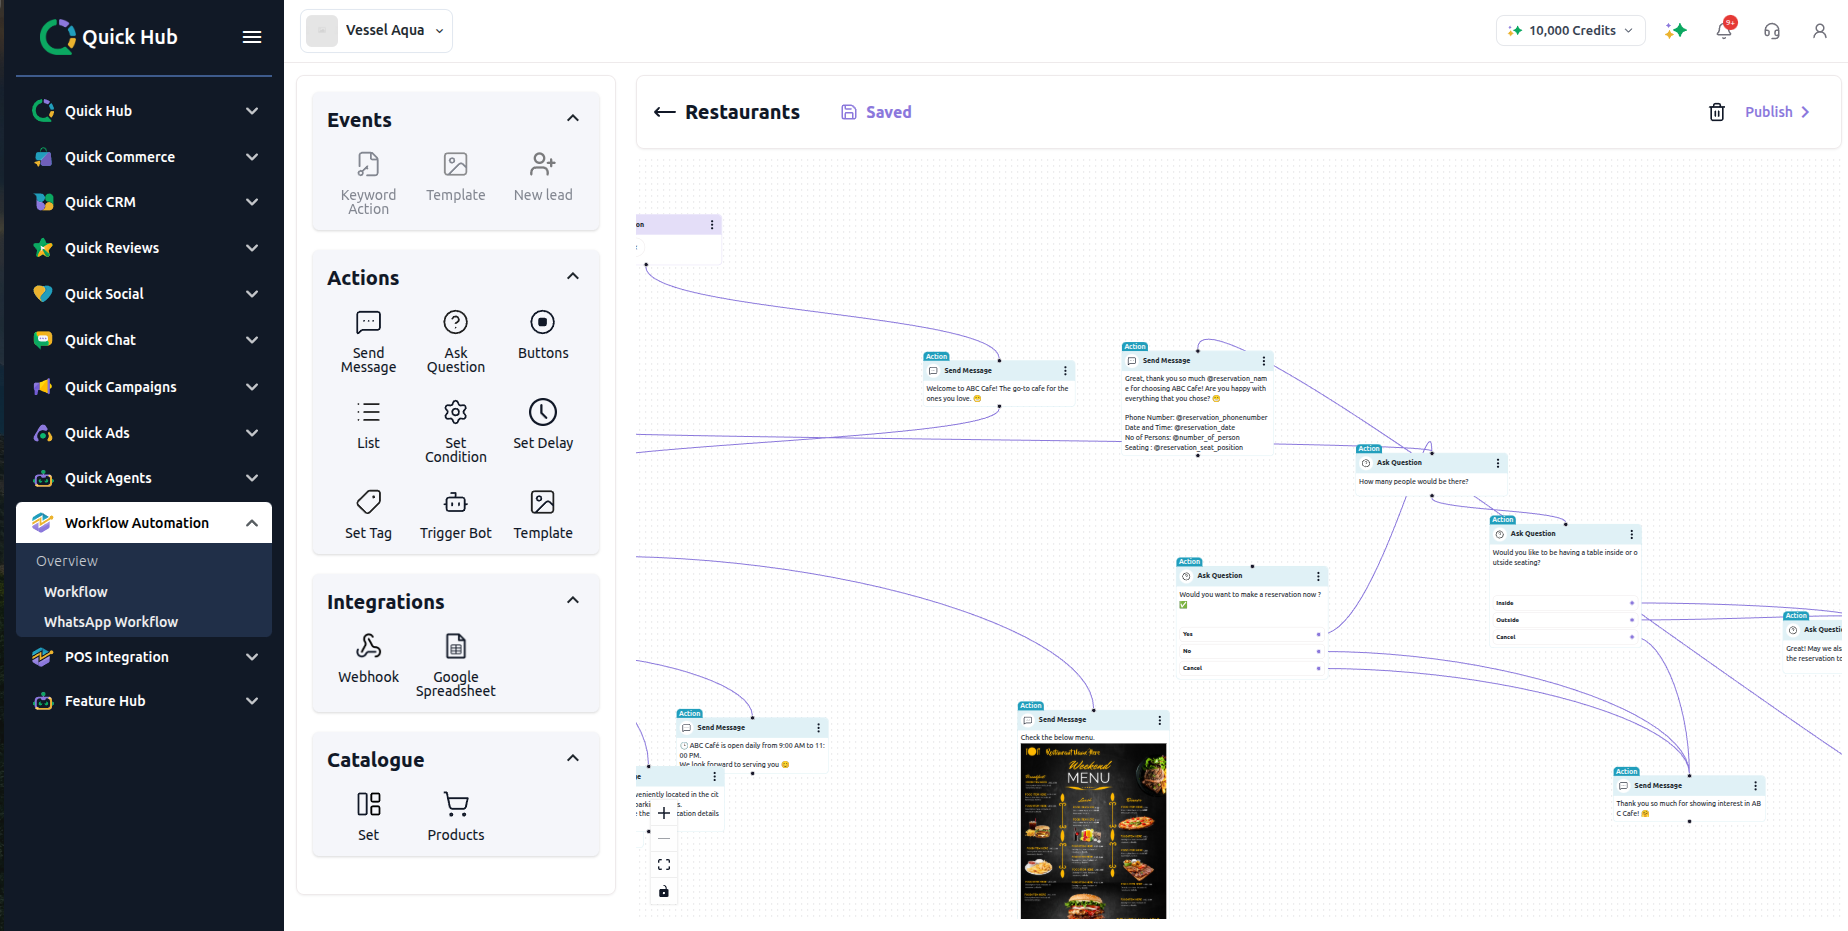
- On the left panel, use Events to define what starts the conversation: Keyword Action, Template, or New Lead.
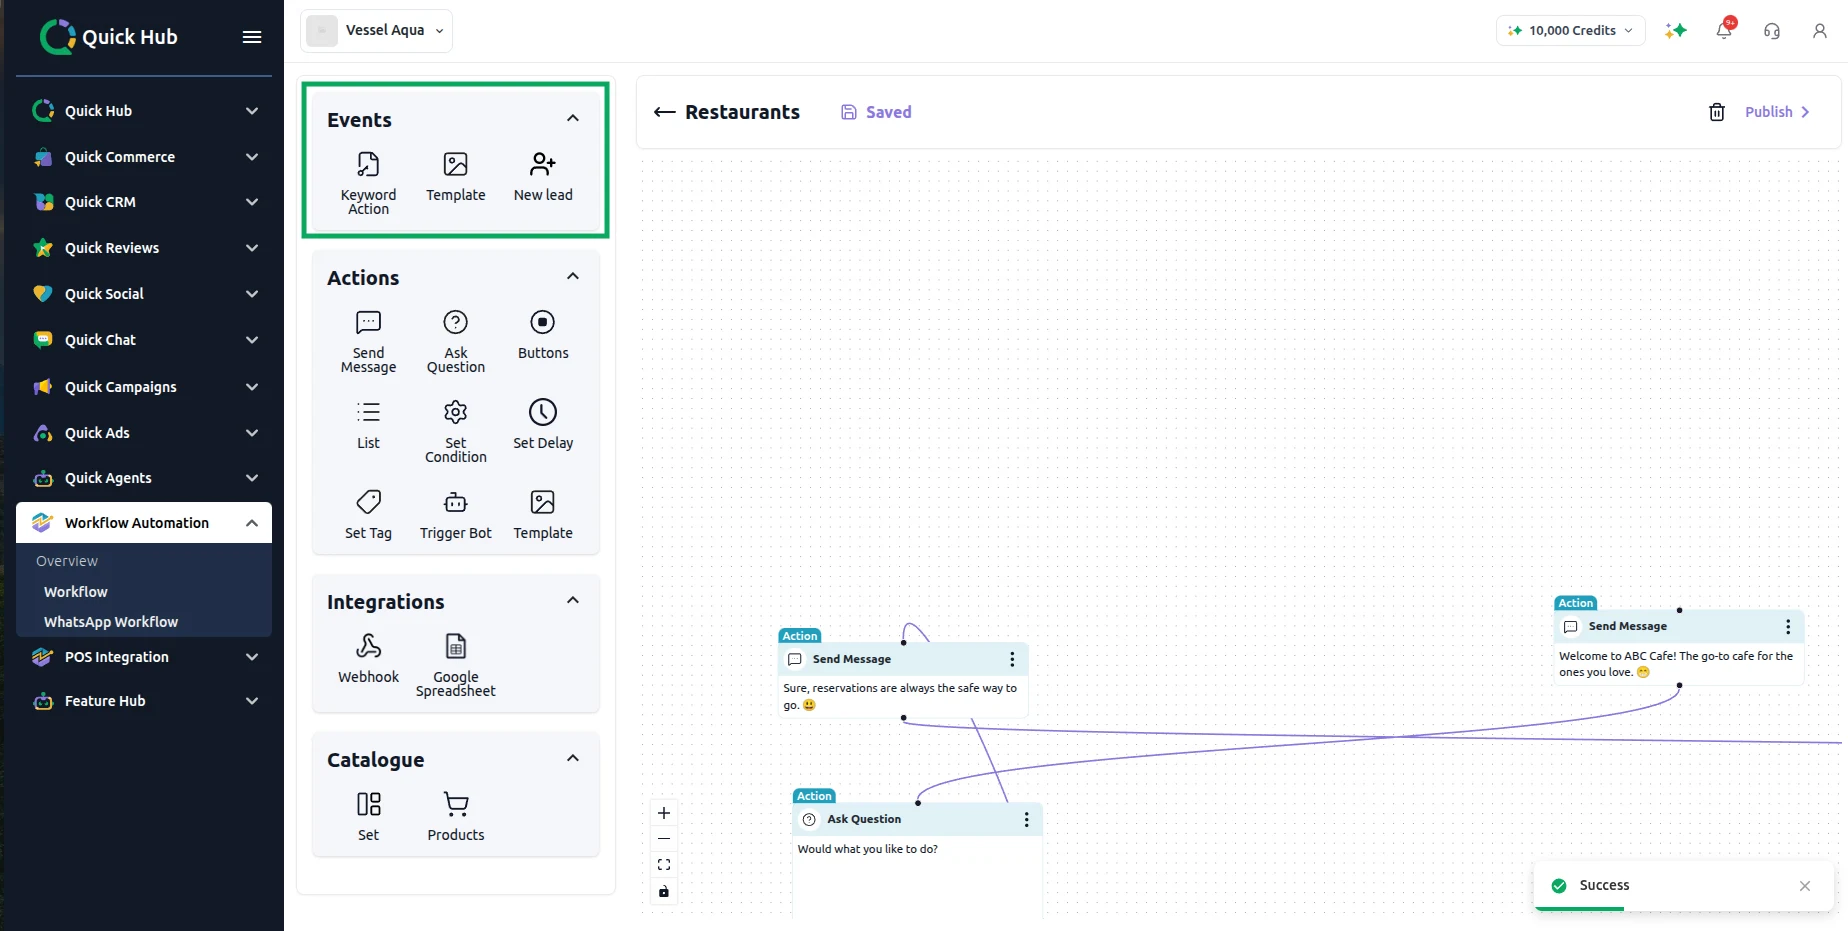
- Use Actions to add steps to the flow: Send Message, Ask Question, Buttons, List, Set Condition, Set Delay, Set Tag, and Trigger Bot.
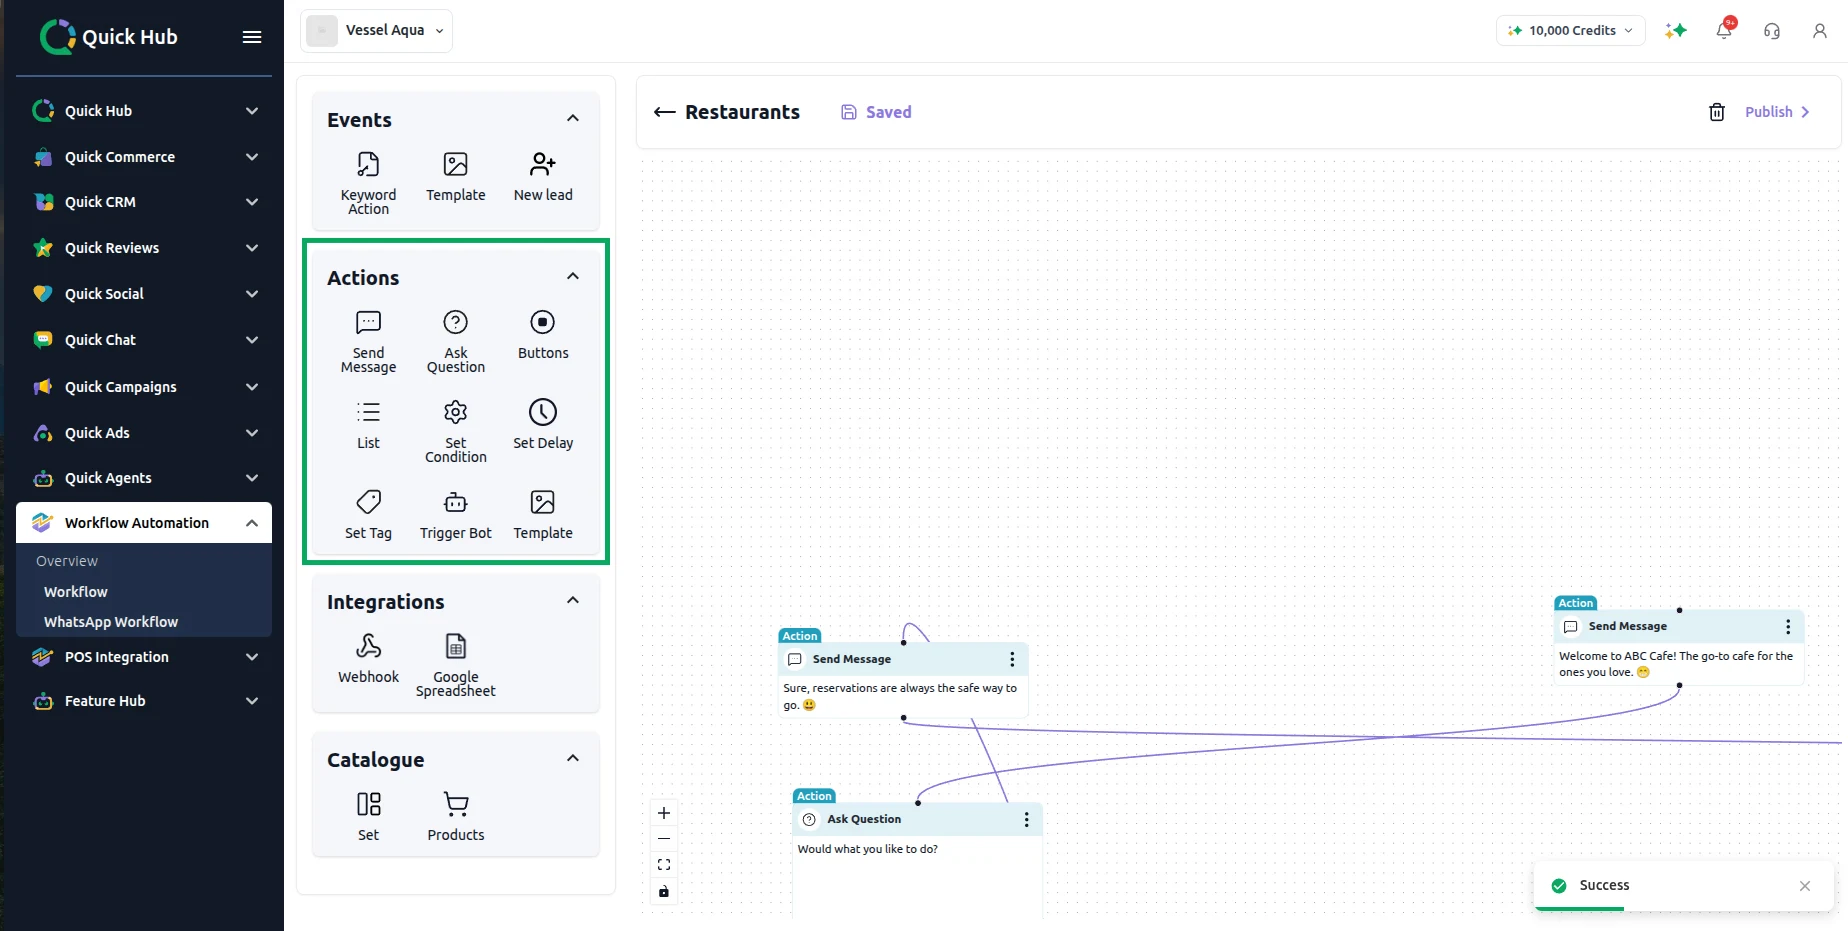
- Use Integrations to connect external tools: Webhook or Google Spreadsheet.
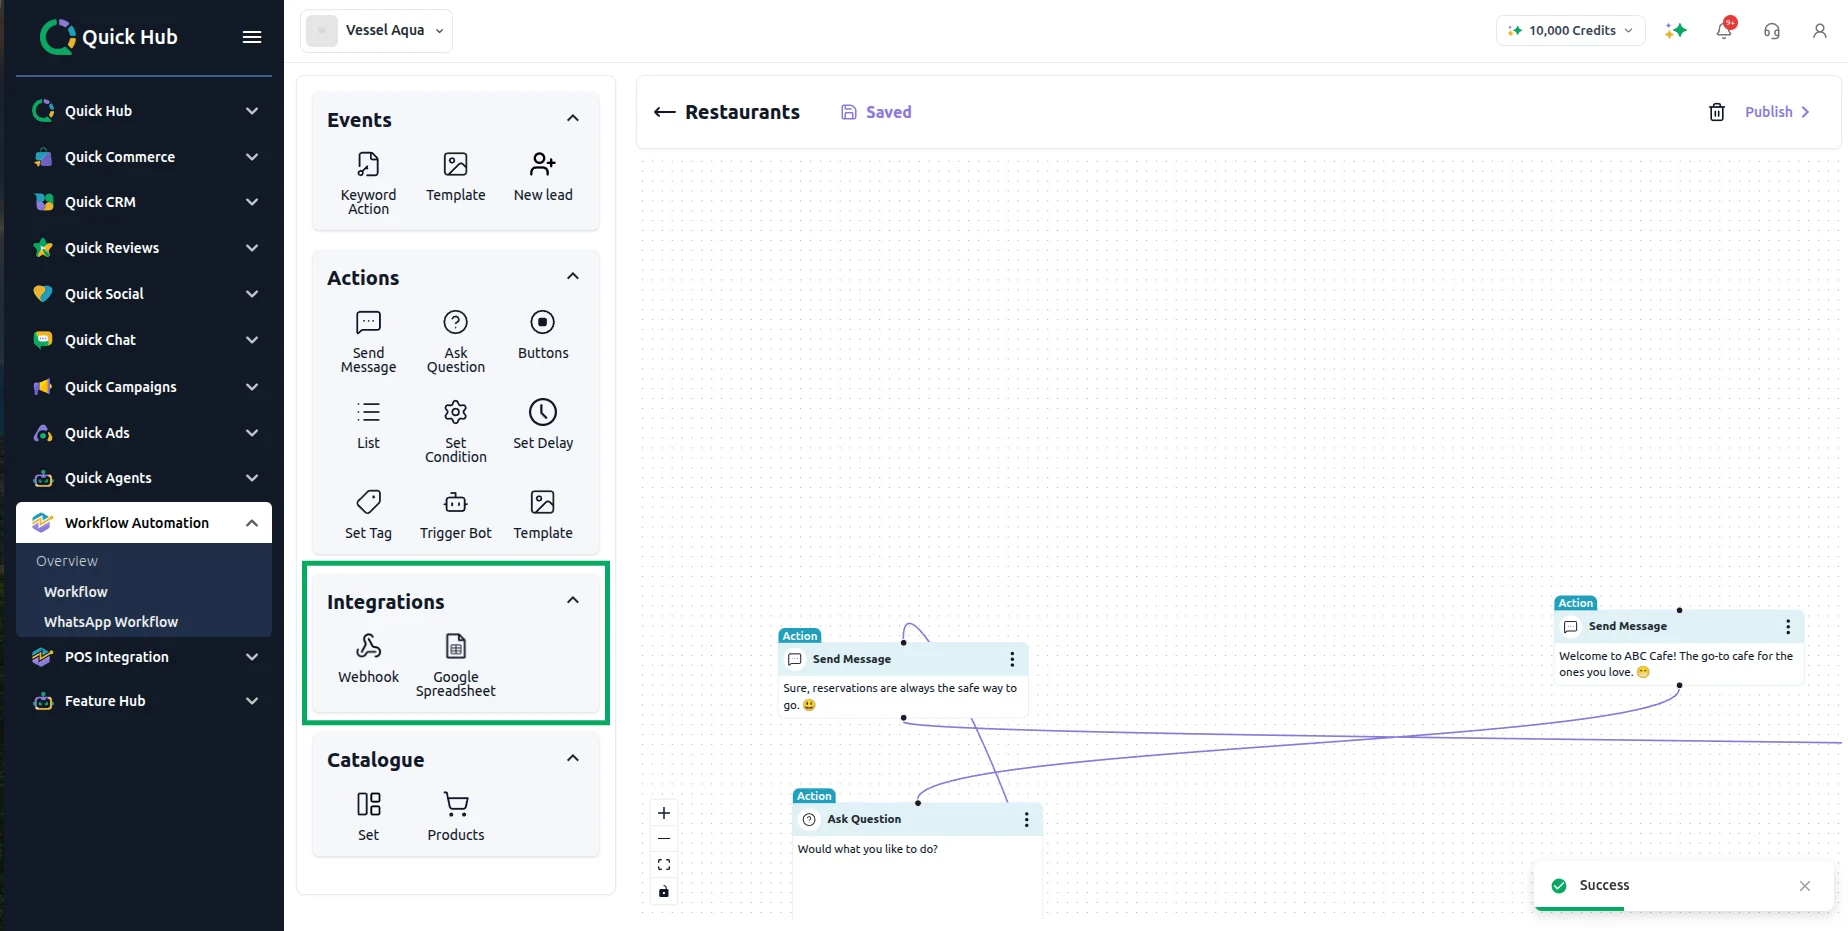
- Use Catalogue to add product-related steps: Set or Products.
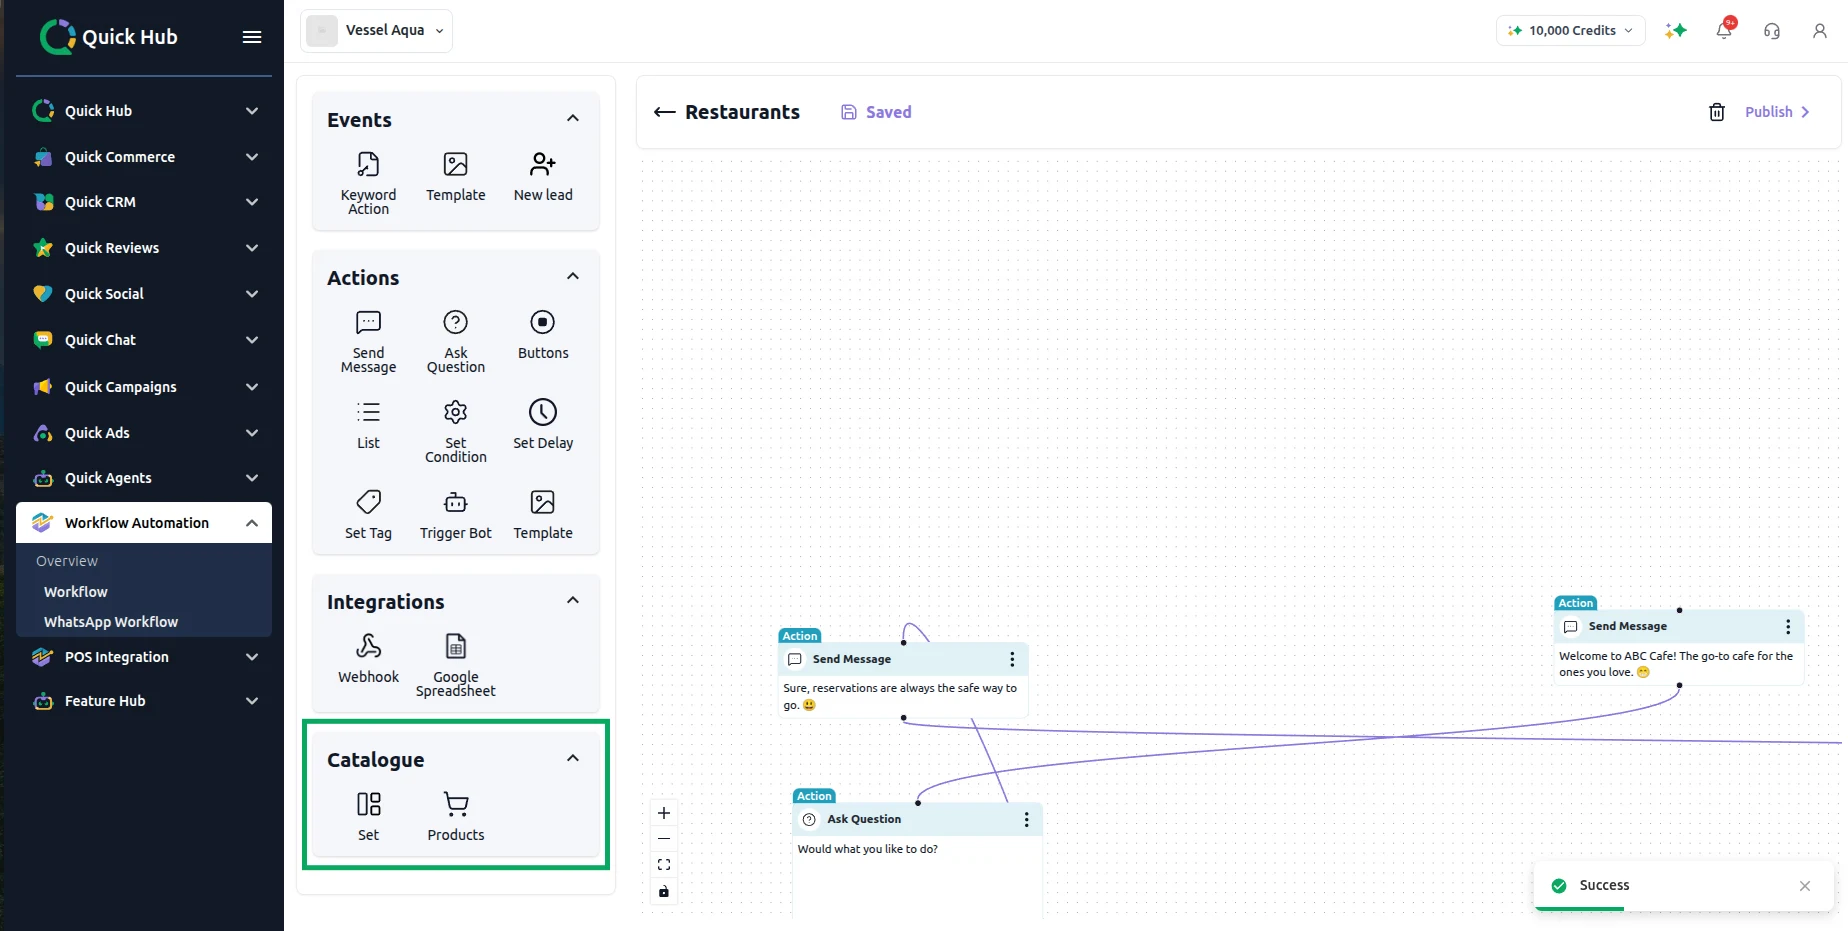
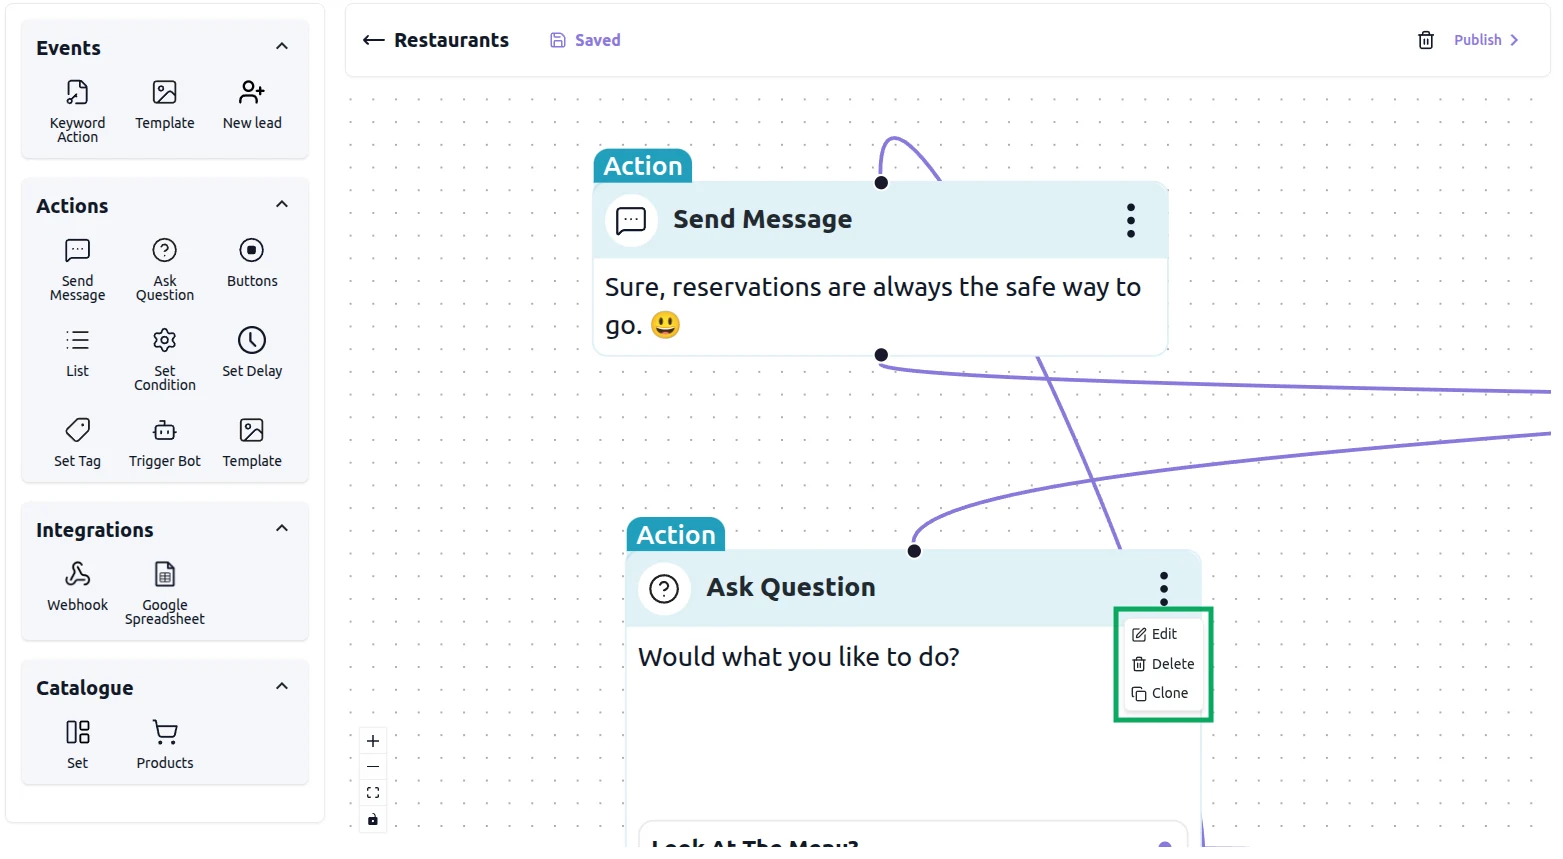
- Drag nodes onto the canvas and connect them to build your conversation flow. Click any node to edit its message text, delete it, or clone it.
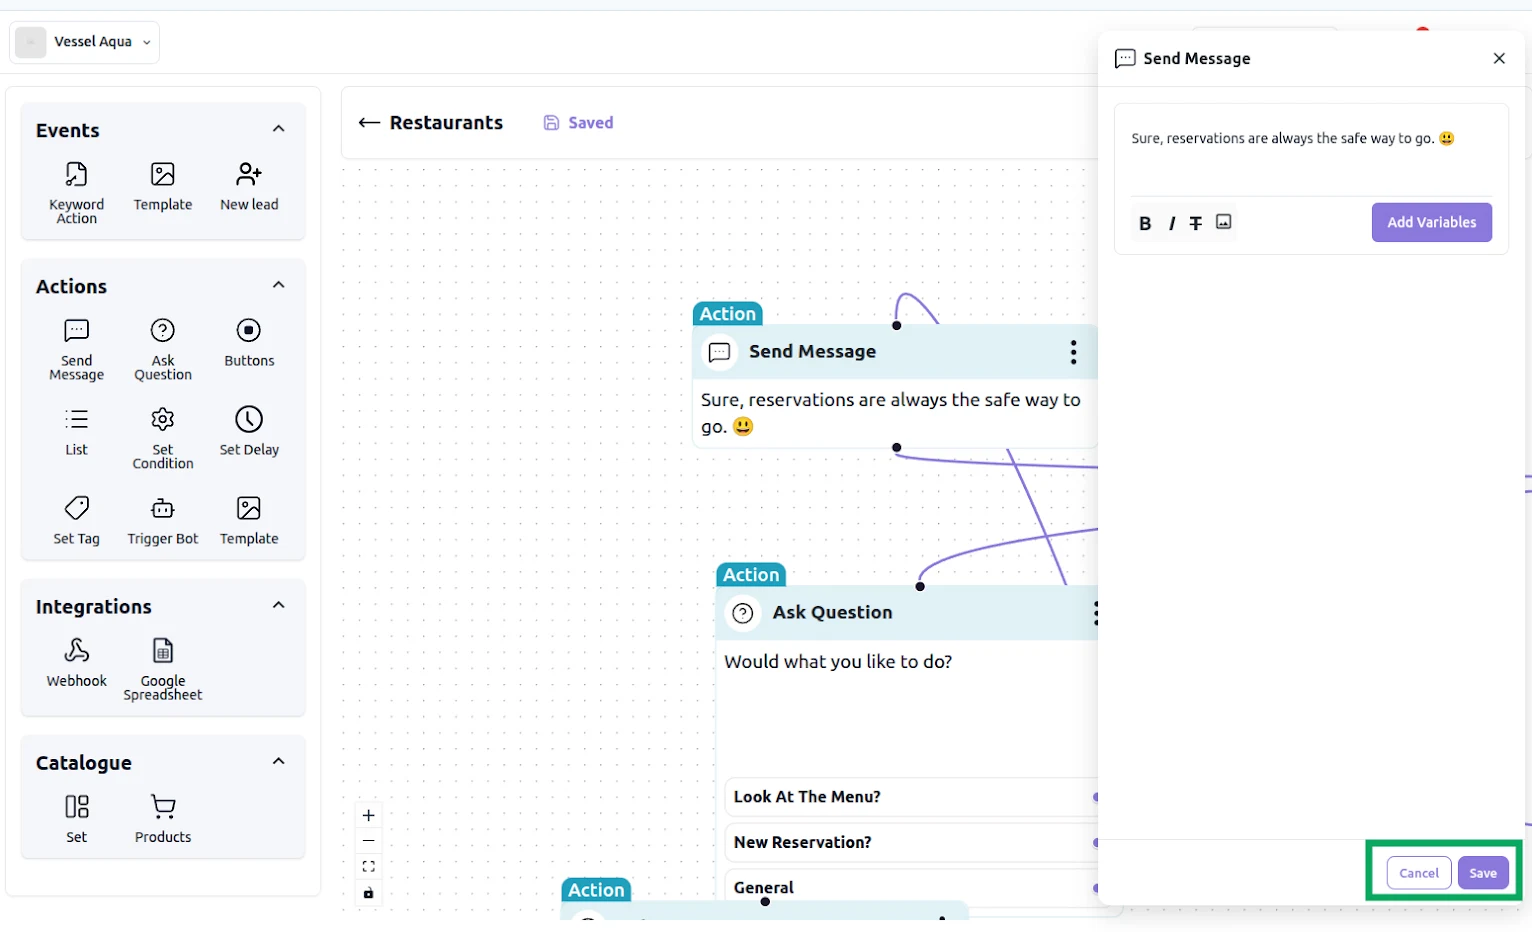
- Click the Save button in the bottom-right corner to save your workflow changes.
- To remove the workflow, click the trash/delete icon in the top right corner.
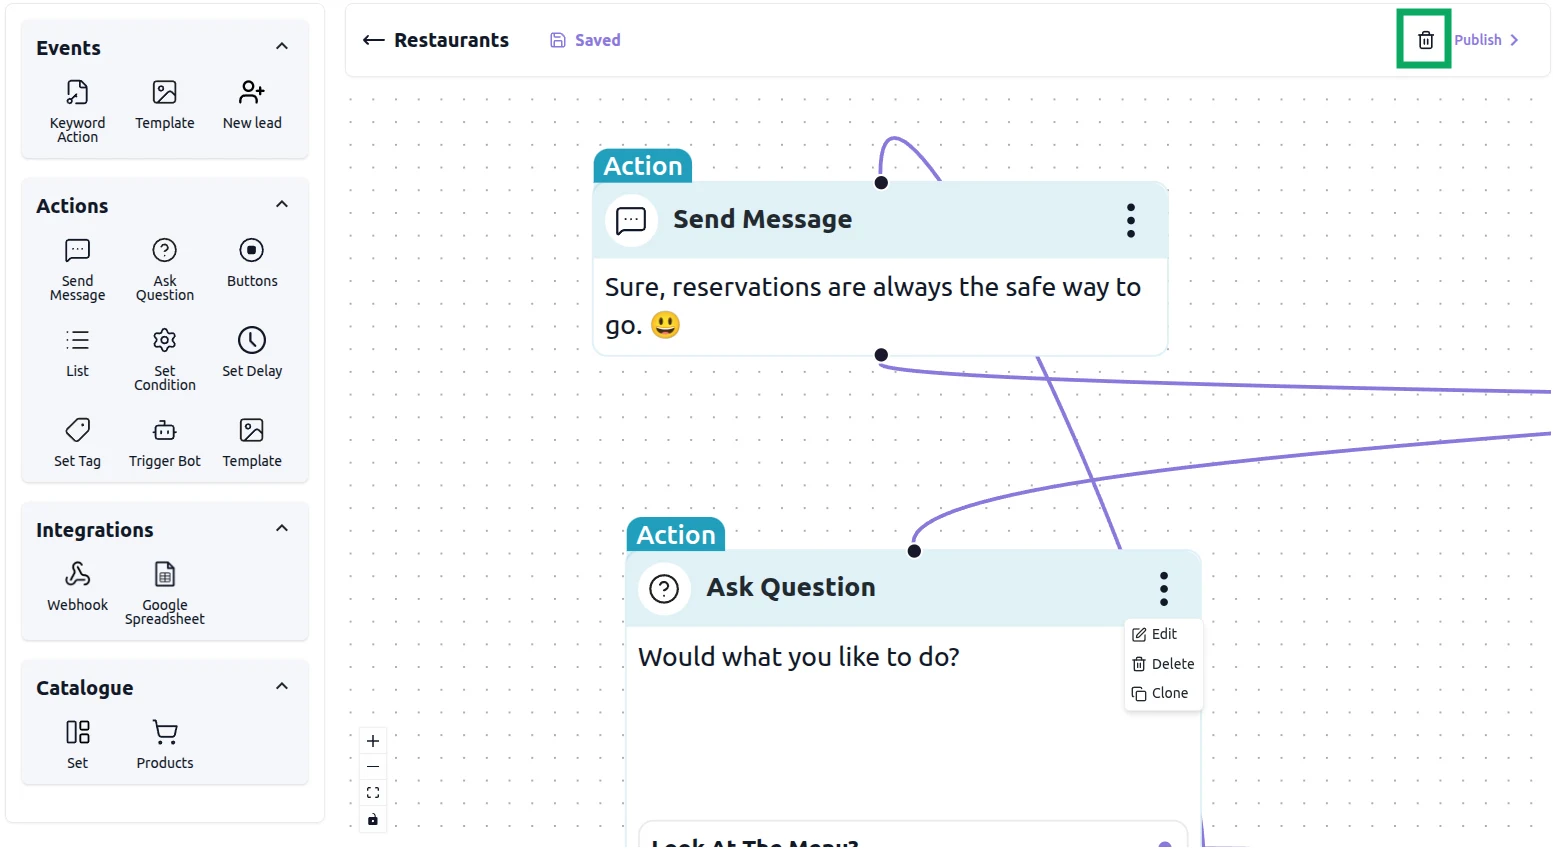
- Once your flow is ready, click Publish in the top right corner.

- You'll be taken back to the WhatsApp Workflow dashboard, where a Success confirmation appears and your new bot now shows up under the Published tab with its status toggled on.
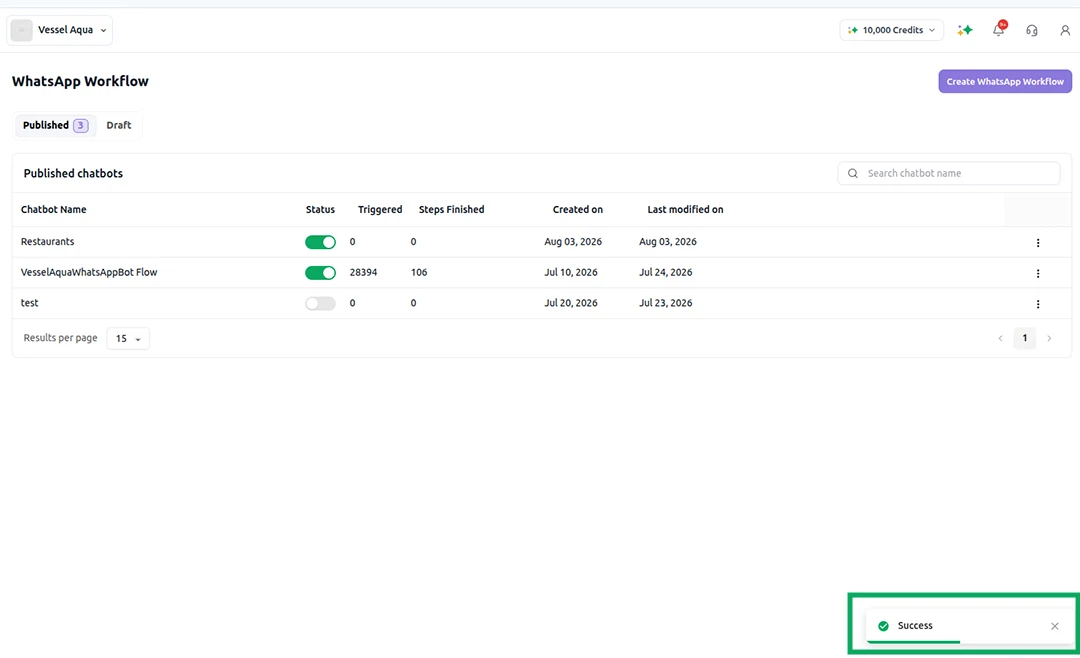
- From the dashboard, use the status toggle to turn a bot on or off, or click the three dots next to any bot to view more options.